
Seamless Dual-Monitor Linux Setup: 3 Tools for Enhanced Productivity
Transform your dual-monitor Linux setup into a seamless productivity hub with three powerful tools: Edge Barrier, KWin Tiling Editor, and ddcutil. Learn to configure your system for a smoother workflow in a few steps.
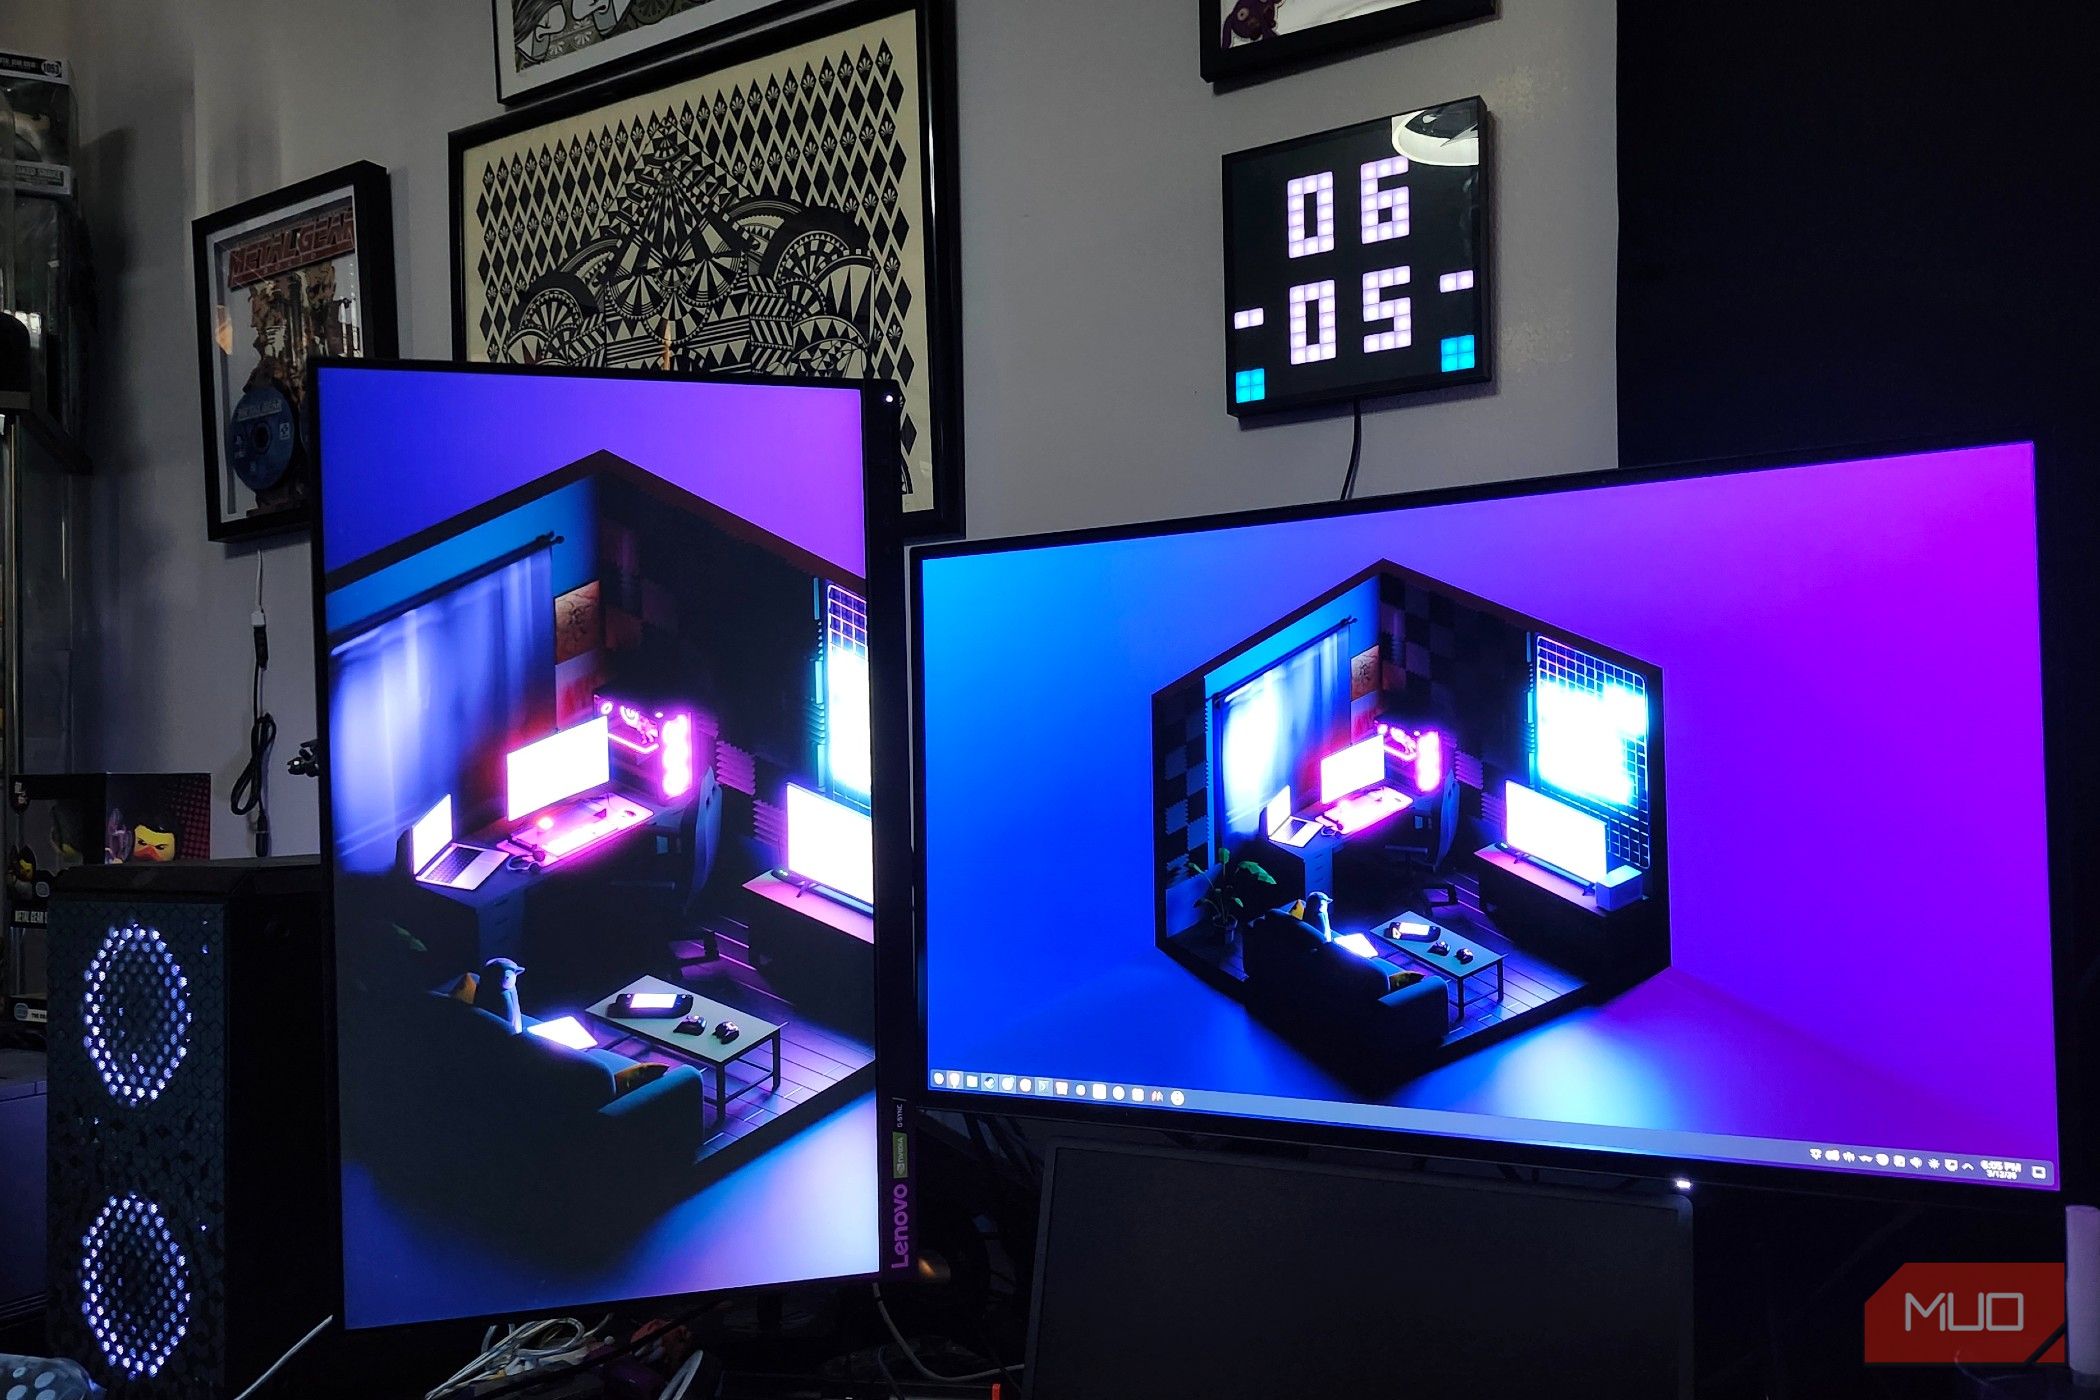
Ready to transform your dual-monitor Linux setup into a truly seamless and productive environment? Moving from one operating system to another, especially with a multi-monitor configuration, can sometimes introduce unexpected hurdles. But fear not! This guide will walk you through three essential tools and settings that made one user's transition to Linux (specifically Bazzite with KDE/Wayland) incredibly smooth, helping them achieve a workflow that matches, or even surpasses, their previous setup.
By following these steps, you'll learn how to eliminate annoying cursor snags between screens, efficiently organize your windows with advanced tiling features, and gain command-line control over your display settings for perfect synchronization.
Prerequisites
Before you dive in, ensure you have the following:
- A Linux operating system with a dual-monitor setup. The tools discussed here are particularly effective for KDE Plasma environments (version 5.27 or higher) running Wayland, as this was the author's specific setup on Bazzite OS.
- Basic familiarity with navigating your system's display settings and opening a terminal (Konsole or similar).
- An active internet connection for installing
ddcutil.
1. Conquer the Cursor Snag: Disable Edge Barrier
One of the most frustrating initial experiences for dual-monitor users on Linux can be the slight delay or 'grab' that occurs when attempting to move your cursor from one screen to another. This feature, known as Edge Barrier, is designed to prevent accidental window dragging or cursor swaps, but for many, it disrupts muscle memory and flow.
What you'll accomplish: A fluid, uninterrupted cursor movement between your monitors.
**Step-by-Step Guide: **
- Access Display Settings: Open your system's
Display Settings. In KDE Plasma, this is typically found by right-clicking on your desktop and selectingConfigure Display Settingsor by searching in your application launcher. - Locate Edge Barrier: Within the Display Settings, look for an option related to screen edges or barriers. This setting is often found where you configure screen arrangement or behavior.
- Disable the Feature: Find
Edge Barrierand switch it off. The exact naming might vary slightly depending on your KDE version, but its function is consistent.
Tip: This setting is primarily found in KDE/Wayland installations. If you're using GNOME, you might encounter something called Sticky Edges. While the name sounds similar, Sticky Edges in GNOME provides a different functionality (making it easier to resize windows at screen edges) and is not the same as KDE's Edge Barrier.
2. Master Window Tiling: Utilize KWin Tiling Editor
If you've ever enjoyed the precise window organization offered by tools like FancyZones on Windows, you'll be delighted by KDE's preinstalled KWin Tiling Editor. This powerful feature allows you to define custom zones on your display and snap windows into place with ease, significantly boosting your multitasking capabilities.
What you'll accomplish: Custom, persistent window layouts for enhanced productivity.
Prerequisite: Your system must be running Plasma 5.27 or higher.
**Step-by-Step Guide: **
- Activate KWin Tiling Editor: Press the
Windows key(orMeta key) +Tsimultaneously. Your screen will display a grid overlay, indicating the Tiling Editor is active. - Create Custom Zones:
- Define an area: Click and drag your mouse across the section of your screen where you want to create a new zone.
- Split horizontally: After defining an area, click within it to split it horizontally.
- Split vertically: Hold the
Controlkey and click within an area to split it vertically.
- Snap Windows into Zones: Once your zones are set up:
- Hold the
Windows key. - Click and drag any window to your desired zone. The window will automatically resize and lock into place.
- Hold the
Best Practice: Experiment with different layouts to find what works best for your workflow. Your defined layouts are automatically saved and will persist even after a system reboot, ensuring your setup is exactly where you left it.
Tip: While KWin Tiling Editor doesn't yet support saving and switching between different layout profiles, this feature has been frequently requested and may be introduced in future updates.
3. Gain Command-Line Control: Install and Use ddcutil
Managing settings across different types of monitors (e.g., an IPS and an OLED panel) can be challenging, often requiring manual adjustments via physical buttons. ddcutil is a command-line utility that provides powerful control over your displays, allowing you to adjust brightness, contrast, color gain, and more directly from your terminal, making it perfect for synchronizing diverse monitors.
What you'll accomplish: Centralized, precise control over your monitor settings without touching physical buttons.
Prerequisites: Familiarity with the terminal and sudo commands.
**Step-by-Step Guide: **
-
Install ddcutil: Open your terminal (e.g., Konsole) and enter the following commands. Note that
brewis used here as it was the installation method on the specific Bazzite setup. bash brew install ddcutil sudo modprobe i2c-dev echo "i2c-dev" | sudo tee /etc/modules-load.d/i2c-dev.conf- The
brew install ddcutilcommand fetches and installs the utility. sudo modprobe i2c-devloads thei2c-devkernel module, whichddcutilrelies on to communicate with your monitors.echo "i2c-dev" | sudo tee /etc/modules-load.d/i2c-dev.confensures this module is loaded automatically on every boot.- You may be prompted for your password during this process. Enter it and let the installation complete.
- The
-
Adjust Monitor Brightness: To adjust the brightness of your monitors, use the
setvcpcommand. The10refers to the VCP (Virtual Control Panel) code for brightness, and75is the brightness level (0-100). bash sudo ddcutil setvcp 10 75 --display 1 sudo ddcutil setvcp 10 75 --display 2- Replace
75with your desired brightness level (e.g.,100for full brightness,50for half). --display 1and--display 2target your first and second monitors, respectively. You can omit this if you only have one monitor or want to adjust all detected displays.
- Replace
-
Check Monitor Capabilities: Curious about what other settings
ddcutilcan control on your specific monitors? You can list their capabilities. bash sudo ddcutil capabilities --display 1 sudo ddcutil capabilities --display 2This command will output a detailed list of controllable features, including contrast, red/green/blue gain, color presets, audio volumes, and more, along with their corresponding VCP codes.
Tip: ddcutil is a highly versatile tool. Take some time to explore its capabilities output and other commands. While it can seem intimidating at first, it offers a powerful way to fine-tune your display experience.
Conclusion
Embracing a new operating system like Linux, especially with a multi-monitor setup, is an exciting journey. While initial quirks might arise, tools like these demonstrate the incredible flexibility and power available to customize your environment. By leveraging system settings like the Edge Barrier toggle, built-in features like KWin Tiling Editor, and powerful utilities like ddcutil, you can create a dual-monitor Linux setup that is not only seamless but also deeply personalized to your productivity needs. Your Linux adventure is just beginning, and there's always more to discover!
FAQ
Q: Why do I need to disable Edge Barrier? Isn't it a security feature? A: Edge Barrier is intended to prevent accidental cursor movement or window dragging across displays, which can be helpful for some users. However, for those accustomed to a fluid cursor movement, it can feel like an artificial delay. Disabling it allows for a more natural, uninterrupted flow for your cursor between screens, especially when relying on muscle memory.
Q: Can I use KWin Tiling Editor on other Linux desktop environments like GNOME or XFCE? A: KWin Tiling Editor is a feature specific to the KDE Plasma desktop environment and is integrated with its window manager, KWin. Other desktop environments have their own tiling solutions (some built-in, others requiring separate applications) that provide similar functionality, but KWin Tiling Editor itself is unique to KDE Plasma.
Q: What if brew install ddcutil doesn't work on my Linux distribution?
A: The brew install command is specific to Homebrew, which the author used on their Bazzite OS setup. If Homebrew isn't installed or isn't your package manager, you'll need to install ddcutil using your distribution's native package manager. For Debian/Ubuntu, it would typically be sudo apt install ddcutil. For Fedora, sudo dnf install ddcutil. For Arch Linux, sudo pacman -S ddcutil. Always check your distribution's documentation for the correct installation method.
Q: Will ddcutil work with all monitors?
A: ddcutil relies on the DDC/CI (Display Data Channel Command Interface) protocol, which is supported by most modern monitors. However, compatibility can vary slightly between manufacturers and models. Running sudo ddcutil capabilities --display X (where X is your display number) is the best way to determine what specific controls are available for your monitor.
Related articles
ASUS ProArt KD300 & MD301: Creators' New Tools for Productivity
ASUS is expanding its ProArt ecosystem with two new peripherals designed specifically for the discerning creator: the ProArt Keyboard KD300 and the ProArt Mouse MD301. Unlike typical gaming peripherals laden with RGB or

Boost Your Smart Home: Essential Outdoor Sensors and Their Benefits
Most smart home systems excel at monitoring and automating tasks inside your house. However, extending your smart capabilities to the outdoors can unlock a new level of convenience, security, and insight. By

I, Jack Wright: Free Streaming & VPN Access Guide
Verdict: Your Free Pass to a Gripping Whodunit, Globally (With a VPN) TechRadar provides a highly effective guide to watching I, Jack Wright, a critically acclaimed British murder mystery. Free streaming is a genuine
Secure Your Smart Home: 4 Essential Steps Before Adding Devices
Bringing new smart devices into your home is exciting! From automating your lights to monitoring your energy use, smart home tech offers incredible convenience. However, a little preparation goes a long way in ensuring
Secure Your Smart Home: A Step-by-Step VLAN Setup Guide
Learn to set up a Virtual Local Area Network (VLAN) for your smart home to enhance security by isolating vulnerable IoT devices from your main network in a few structured steps.

TechRadar's 2026 Laptop Specs Guide: Cutting Through the AI Clutter
Quick Verdict TechRadar’s “Laptop specs are getting more confusing – here’s what actually matters in 2026” offers a much-needed, no-nonsense approach to navigating the increasingly complex laptop market. It effectively