
How to 3D Print a Lens Step-Up Ring for Just $0.06
Learn to 3D print a precise lens step-up ring in under an hour for just $0.06, enabling you to adapt filters to different lenses and save money.
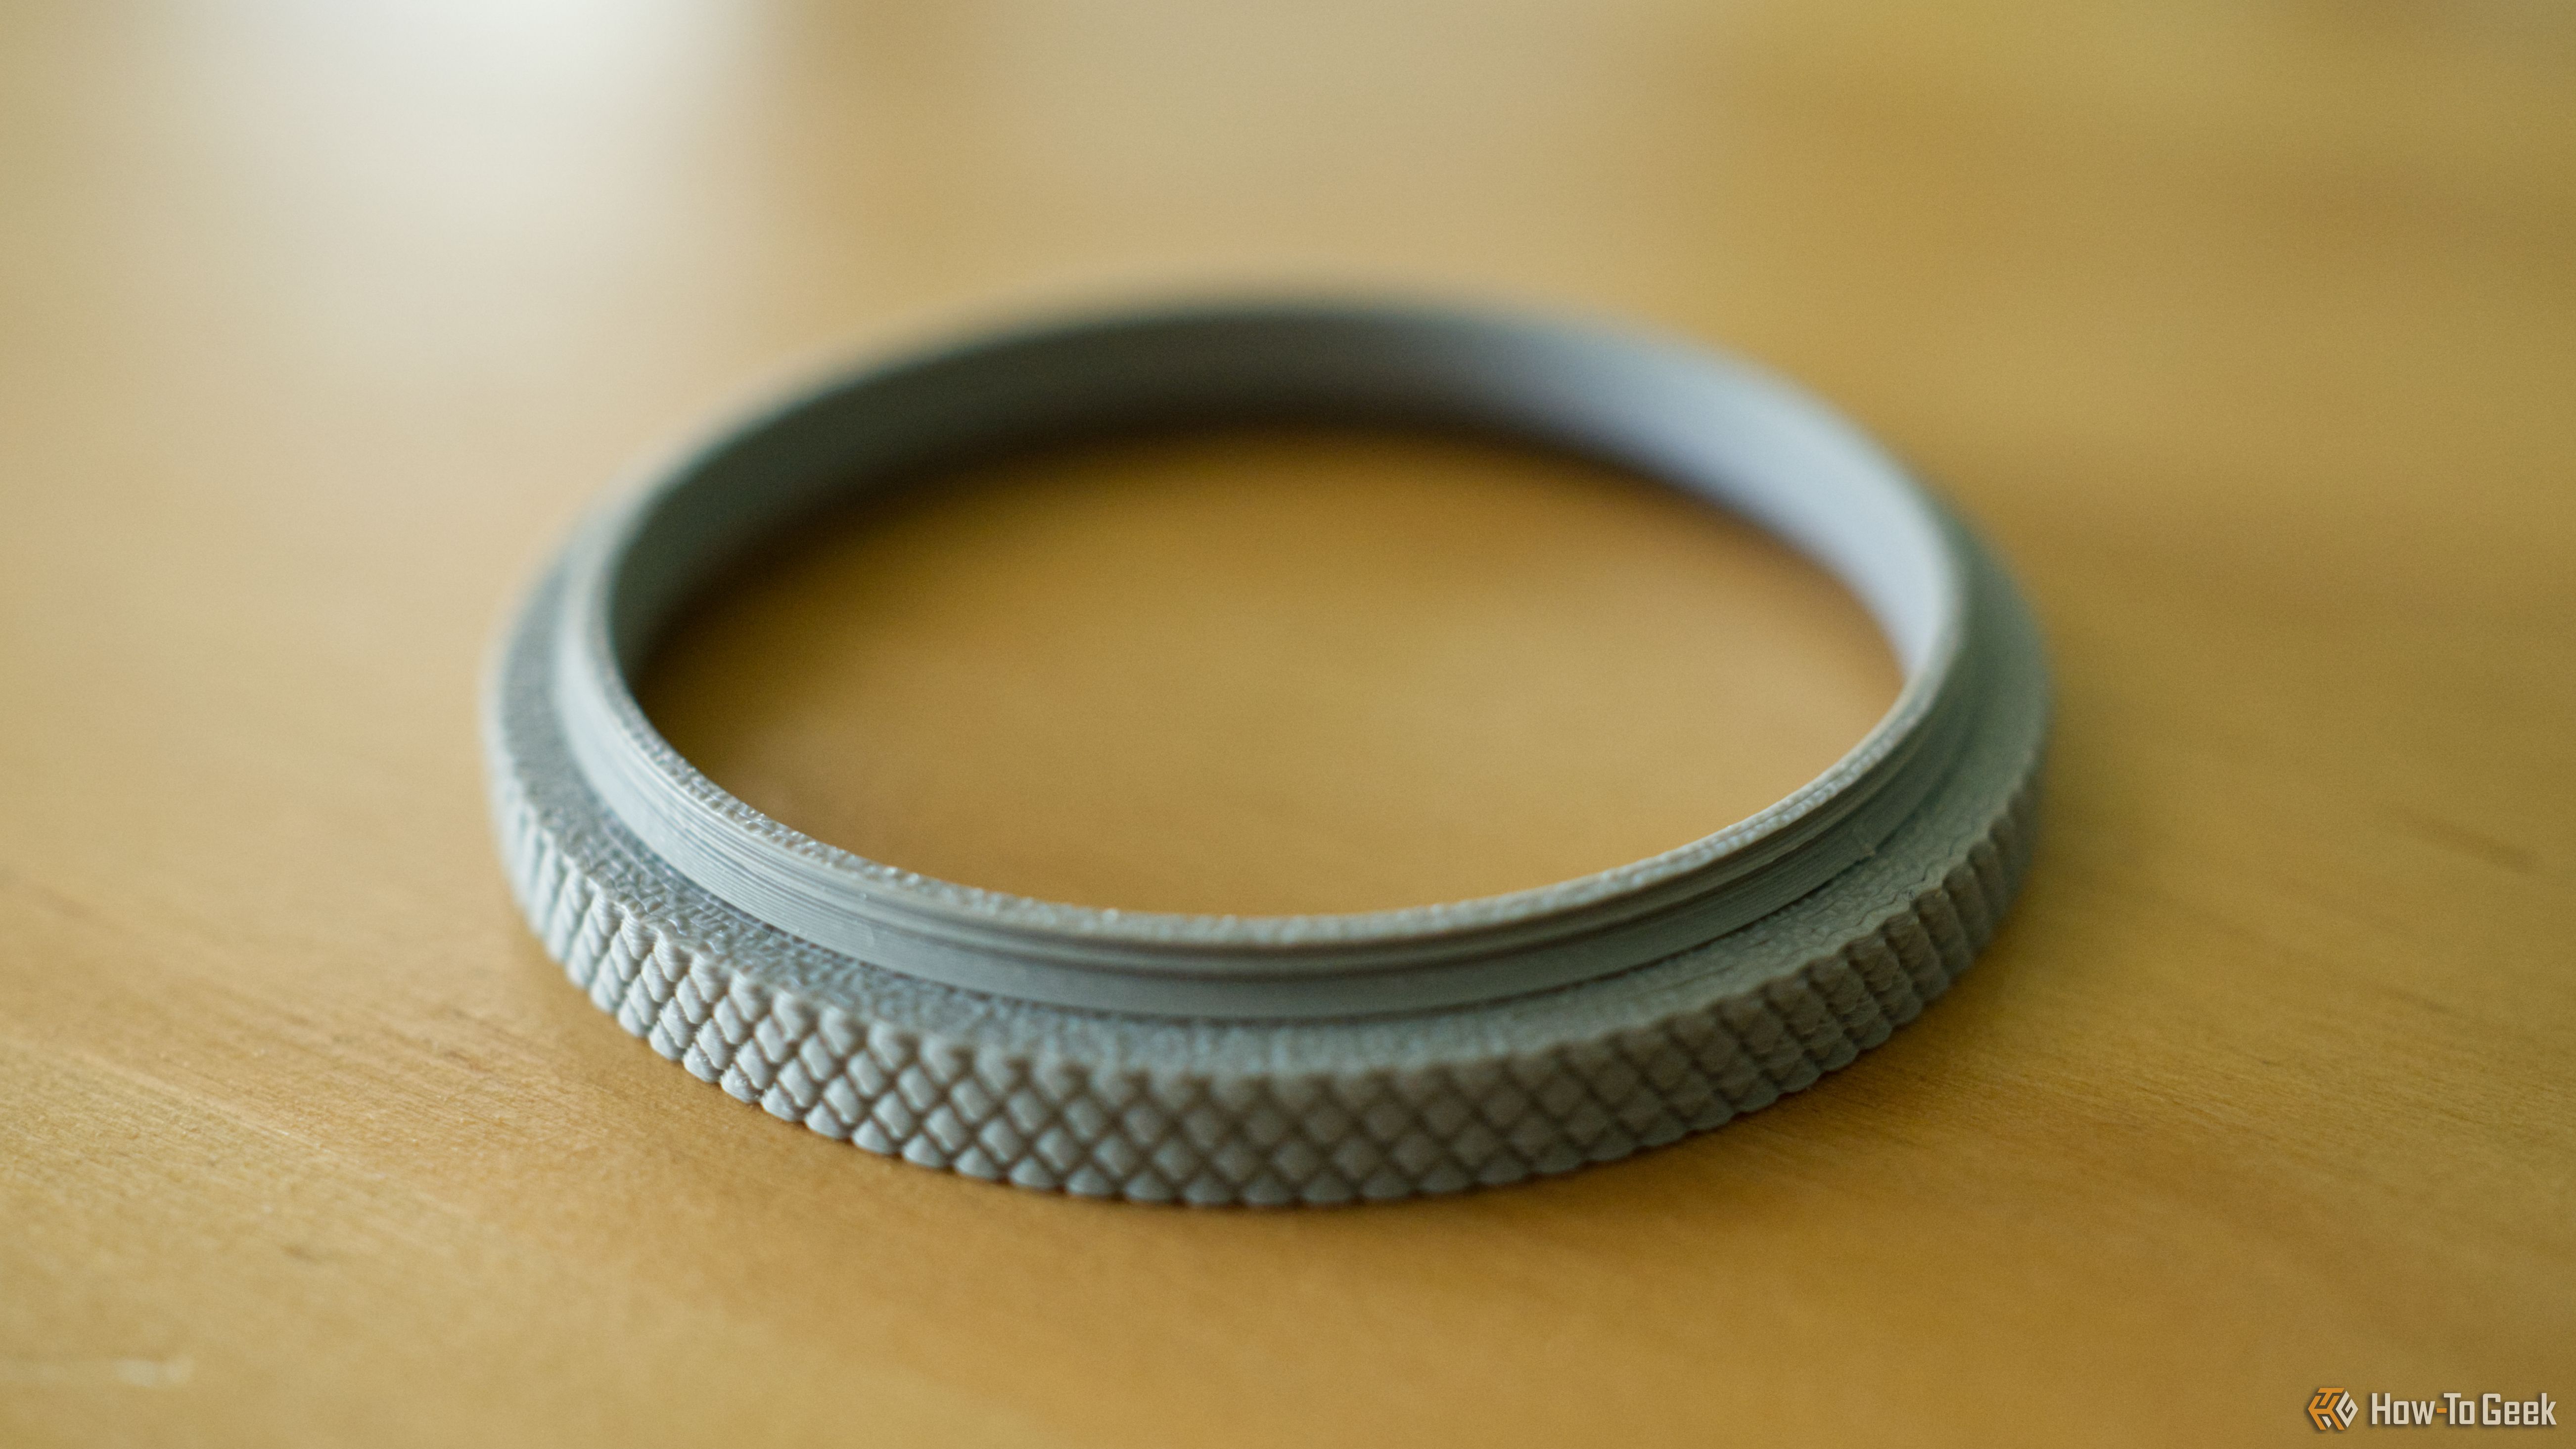
Unlock New Photographic Possibilities: 3D Print Your Own Lens Step-Up Ring
Imagine easily adapting your camera filters to different lenses without breaking the bank. This guide will walk you through the simple, incredibly cost-effective process of 3D printing a precision lens step-up ring. You'll learn how to produce a functional, high-quality adapter that costs mere pennies in filament and takes less than an hour to create. The result is a perfect fit, offering significant savings compared to commercially available alternatives, and opening up new creative avenues for your photography.
Originally designed to allow an infrared filter to fit a different camera lens, this project demonstrates the impressive precision and utility that modern 3D printers can achieve, even with intricate details like screw threads. Get ready to expand your photographic toolkit and take control of your gear customization!
What You'll Accomplish
By following this guide, you will successfully 3D print a two-part lens step-up ring, specifically a 49mm to 52mm adapter, using a consumer-grade FDM 3D printer. This adapter will allow you to mount a 52mm filter onto a lens with a 49mm thread, enabling cross-compatibility for your existing filters and lenses.
Prerequisites
Before you begin, ensure you have the following:
- A Fused Deposition Modeling (FDM) 3D Printer: The original print was done on a Bambu Lab P2S, but any well-calibrated FDM printer, such as a Bambu Lab A1 Mini or similar, should work. A 0.4mm nozzle is recommended, which is standard for most consumer printers.
- PLA Basic Filament: Approximately 3 grams of Polylactic Acid (PLA) basic filament. This material is easy to print with and provides sufficient strength for this application. The author used Bambu PLA basic.
- Slicer Software: Software compatible with your 3D printer (e.g., Bambu Studio, PrusaSlicer, Cura) to prepare the model for printing.
- Basic Understanding of Your 3D Printer: Familiarity with loading filament, starting prints, and general printer maintenance.
- Digital Model File: The specific "step-up ring filter adapter" model from MakerWorld user M3 Makes.
Step-by-Step Guide: Printing Your Lens Adapter
Follow these steps carefully to ensure a successful and precise print.
Step 1: Locate and Download the Model File
Navigate to MakerWorld and search for "step-up ring filter adapter" by user M3 Makes. This model is widely available in numerous variations, covering a vast range of filter and lens thread sizes. For this specific guide, look for the 49mm-52mm variant. Download the STL files for both parts of the adapter. The creator of the model is known to accept requests for new variations, so if your specific size isn't listed, you might be able to request it.
Step 2: Prepare the Model in Your Slicer Software
Open your preferred slicer software and import both downloaded STL files. This particular model is designed to print in two separate parts, which then screw together. This innovative design eliminates the need for support structures, resulting in a cleaner print and easier post-processing.
- Orientation: Ensure both parts are oriented flat on the build plate for optimal adhesion and print quality.
- Settings: While the original print used a Bambu Lab P2S in "stock" condition with a 0.4mm nozzle, general settings for detailed prints are advisable:
- Layer Height: Consider a layer height of 0.16mm or 0.2mm for a good balance of detail and speed. The threads require relative precision, so avoid very thick layers.
- Infill: A moderate infill (e.g., 15-20%) is usually sufficient for structural integrity, though for such a small, non-load-bearing part, even less might work.
- Perimeters/Walls: Increase perimeter count to 3 or 4 to ensure the thin walls and threads are robust.
- Material: Select PLA Basic. No special temperature settings are typically required beyond standard PLA profiles for your printer.
- Print Speed: While your printer might be capable of high speeds, a slightly reduced speed for intricate sections like threads can improve accuracy. The original print took around 50 minutes, indicating a considered approach to detail rather than maximum speed.
Step 3: Load Your PLA Filament
Ensure your 3D printer is loaded with PLA basic filament. If you need to change filament, follow your printer's specific instructions for the loading process. Make sure the filament is feeding smoothly and is free of kinks or tangles.
Step 4: Initiate the Print
Once the model is sliced and settings are configured, save the G-code file and transfer it to your 3D printer (via SD card, USB, or Wi-Fi, depending on your printer). Begin the print. Monitor the first few layers carefully to ensure proper bed adhesion, which is crucial for the success of fine details like threads.
The entire print, for both parts of the 49mm-52mm adapter, should take approximately 50 minutes. The total filament cost for this model is remarkably low, estimated at around 6 cents if you purchase filament at full price. This makes it an incredibly economical solution compared to retail adapters, which can cost $10 or more.
Step 5: Assemble the Adapter
Once both parts have finished printing and cooled, carefully remove them from the build plate. No supports should be present due to the model's clever design. Gently screw the two parts of the adapter together. The precision of the 3D print should allow them to mate smoothly and securely.
Step 6: Test Your New Lens Step-Up Ring
Attach the smaller end (49mm) of the assembled adapter to your camera lens. Then, screw your 52mm filter into the larger end of the adapter. Verify that both connections are snug and secure. You've now successfully adapted your filter! This functionality allows you to experiment with various photographic techniques, such as infrared photography, without needing to invest in multiple filter sizes.
Troubleshooting Tips
While the original print was flawless, achieving perfect threads on a 3D printer can sometimes be challenging. Here are a few tips if you encounter issues:
- Threads Don't Mesh: If the two adapter parts don't screw together easily, or the filter/lens doesn't attach, check your printer's calibration. Issues often stem from inconsistent extrusion, elephant's foot (first layer squishing too much), or slight over-extrusion. Recalibrating your printer's flow rate and Z-offset can help.
- Poor Adhesion: If parts detach from the build plate during printing, ensure your print bed is clean and level. Using a suitable adhesive (like a glue stick) can also improve first-layer adhesion.
- Rough Threads: Adjusting your print speed (slowing down for threads) and reducing layer height can improve the smoothness and accuracy of the printed threads.
- Check Model Integrity: Before printing, use the preview feature in your slicer to ensure there are no obvious gaps or errors in the model file.
Tips and Best Practices
- Printer Calibration: Regularly calibrate your 3D printer, especially for projects requiring high precision like threaded components. This includes checking E-steps, flow rate, and bed leveling.
- Filament Quality: Using good quality PLA filament can make a difference in print consistency and detail.
- Explore Variations: M3 Makes' model is highly versatile. Don't limit yourself to just step-up rings; explore step-down rings and other adapters for your photographic gear.
- Clean Threads: After printing, inspect the threads for any tiny wisps of filament or imperfections that might hinder smooth assembly. A small hobby knife can be used carefully to clean them up.
Next Steps and Related Projects
With your successful lens adapter print, a world of customization opens up:
- Other Filter Adapters: Consider printing step-down rings to attach smaller filters to larger lenses, further expanding your filter collection's versatility.
- Custom iPhone Adapters: The author suggests exploring or even designing adapters to mount traditional camera filters to an iPhone, eliminating the need for hand-holding during sessions like infrared photography. Many such models already exist online, or you could embark on a design project to fit your specific phone case.
- Enhance Other Hobbies: This project demonstrates how 3D printing can significantly benefit photography. Consider how a 3D printer can also elevate other hobbies, from creating custom tool organizers for DIY projects to specialized components for tabletop gaming.
FAQ
Q: How much does it cost to 3D print this lens step-up ring?
A: The filament cost for the 49mm-52mm step-up ring is estimated to be around 6 cents, using approximately 3 grams of PLA basic filament. This offers a significant saving compared to purchasing a retail adapter, which typically costs around $10.
Q: How long does it take to print the adapter?
A: The print time for this intricate model is approximately 50 minutes, making it a relatively quick project to undertake with a 3D printer.
Q: Can I print different sizes of lens adapters?
A: Yes, absolutely! The original model by MakerWorld user M3 Makes is available in a vast number of variations to adapt nearly any filter size. The author of the model also takes requests, continuously updating the listing with new dimensions, so you're likely to find or be able to request the specific size you need.
Related articles
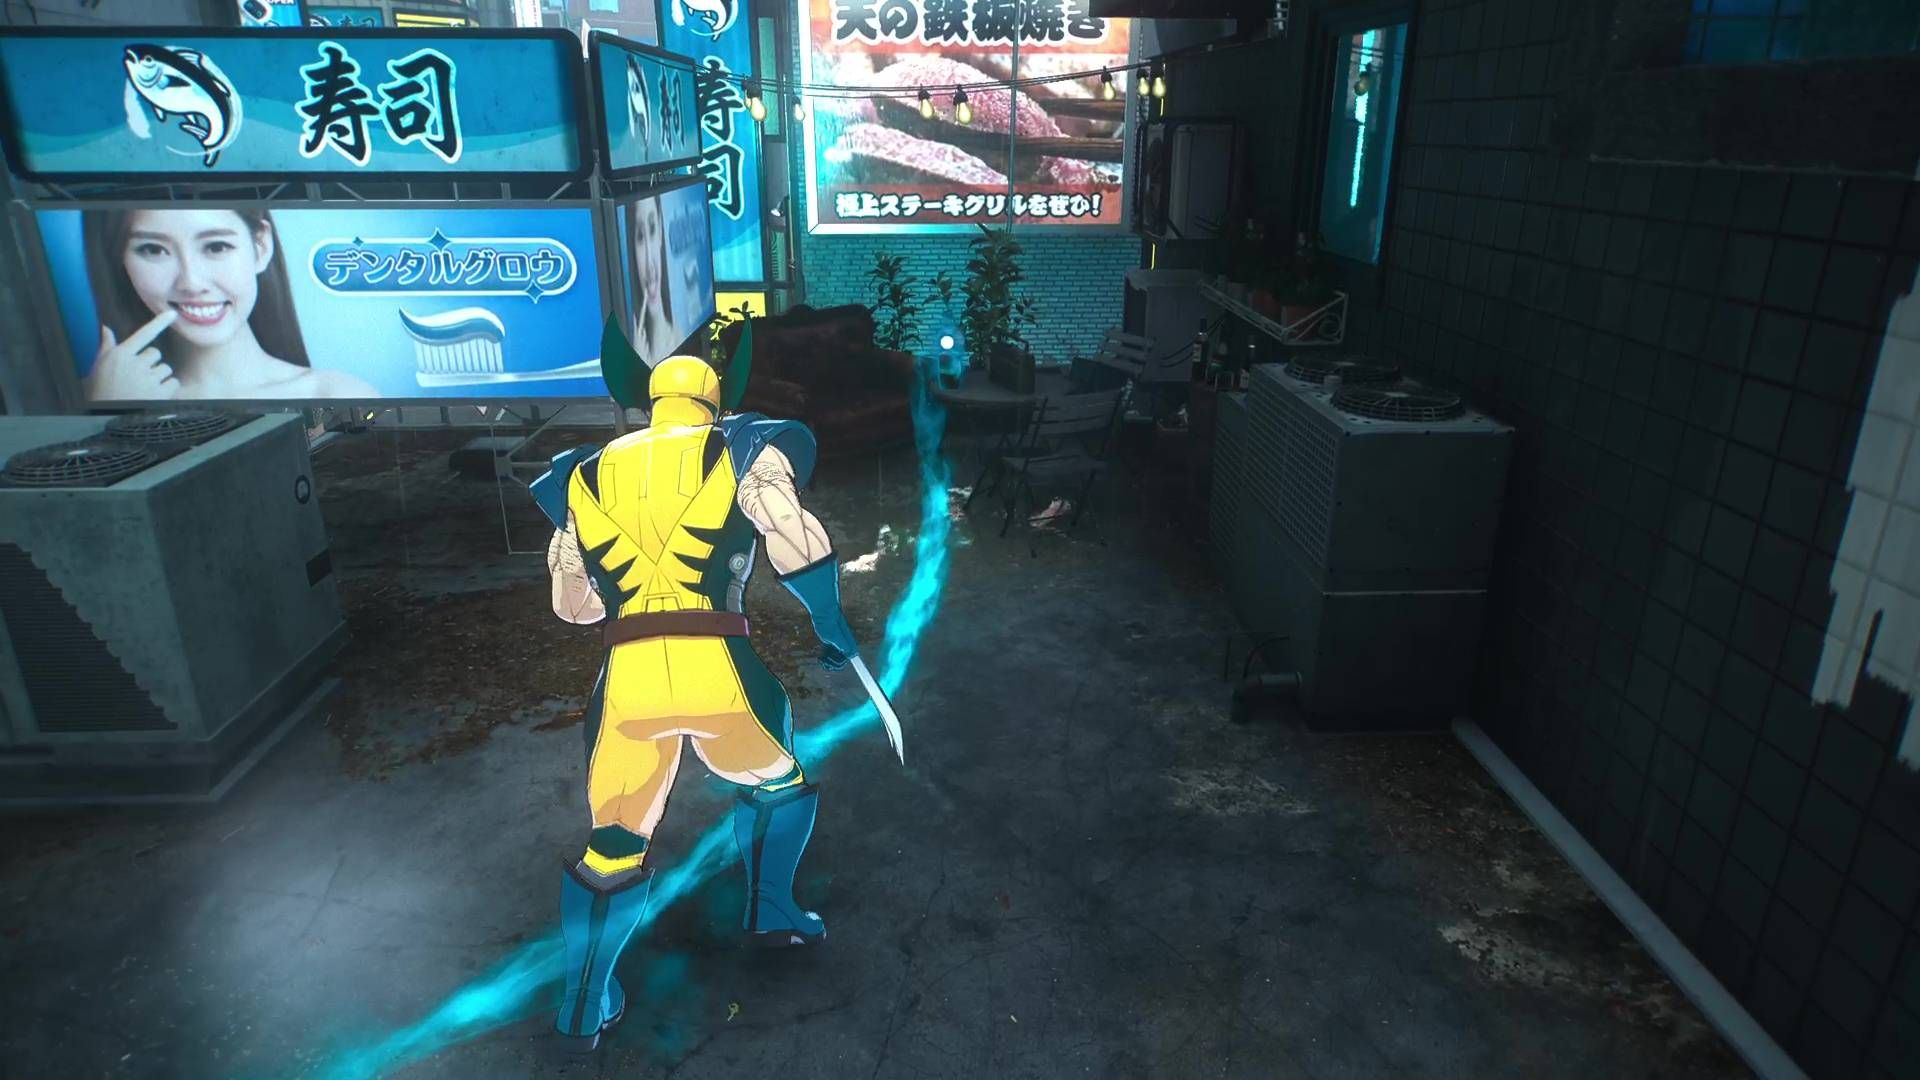
Wolverine's Controversial Scent Trails Just Got a Much-Needed Facelift
Marvel's Wolverine has received a significant post-launch update addressing player feedback on its controversial "scent trails." Insomniac Games reduced the opacity of these in-game navigation cues, making them less intrusive and blending better with the environments. The developer also teased future toggleable options for even greater player control.

Meta CTO Blames 'Bad Actors' for Glasses Privacy Woes Amidst
Meta's CTO, Andrew Bosworth, dismisses privacy concerns over smart glasses as a "bad actors" problem, just as the company prepares to launch a camera-free version, "Luna." This strategic product shift, coupled with mounting regulatory scrutiny in Europe and easily defeated privacy safeguards on existing models, casts doubt on Bosworth's defense.
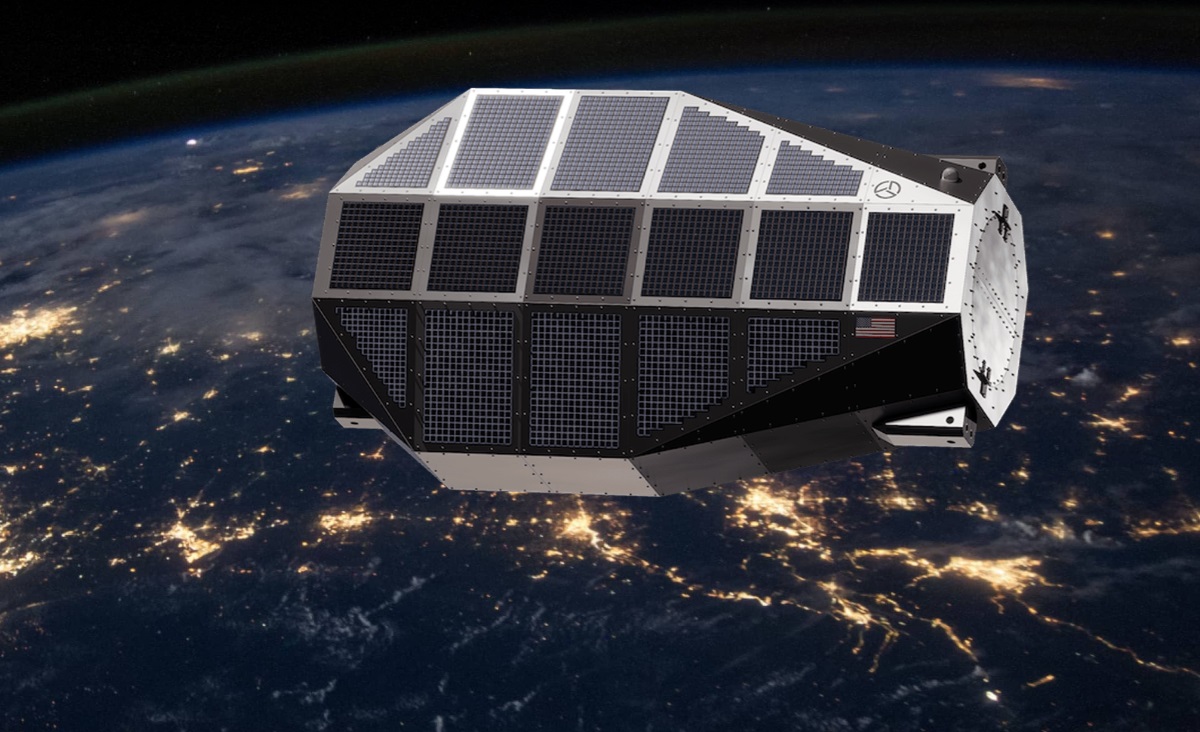
Space hardware startup plans $125M stock offering and Nasdaq listing
Space hardware startup Gravitics is pursuing a $125 million stock offering and Nasdaq listing through a reverse takeover of shell company Non-Invasive Monitoring Systems. This unorthodox move aims to accelerate its public market entry and fund the development of orbital carriers and space station modules, building on significant contracts with Axiom Space, NASA, and the U.S. Space Force.
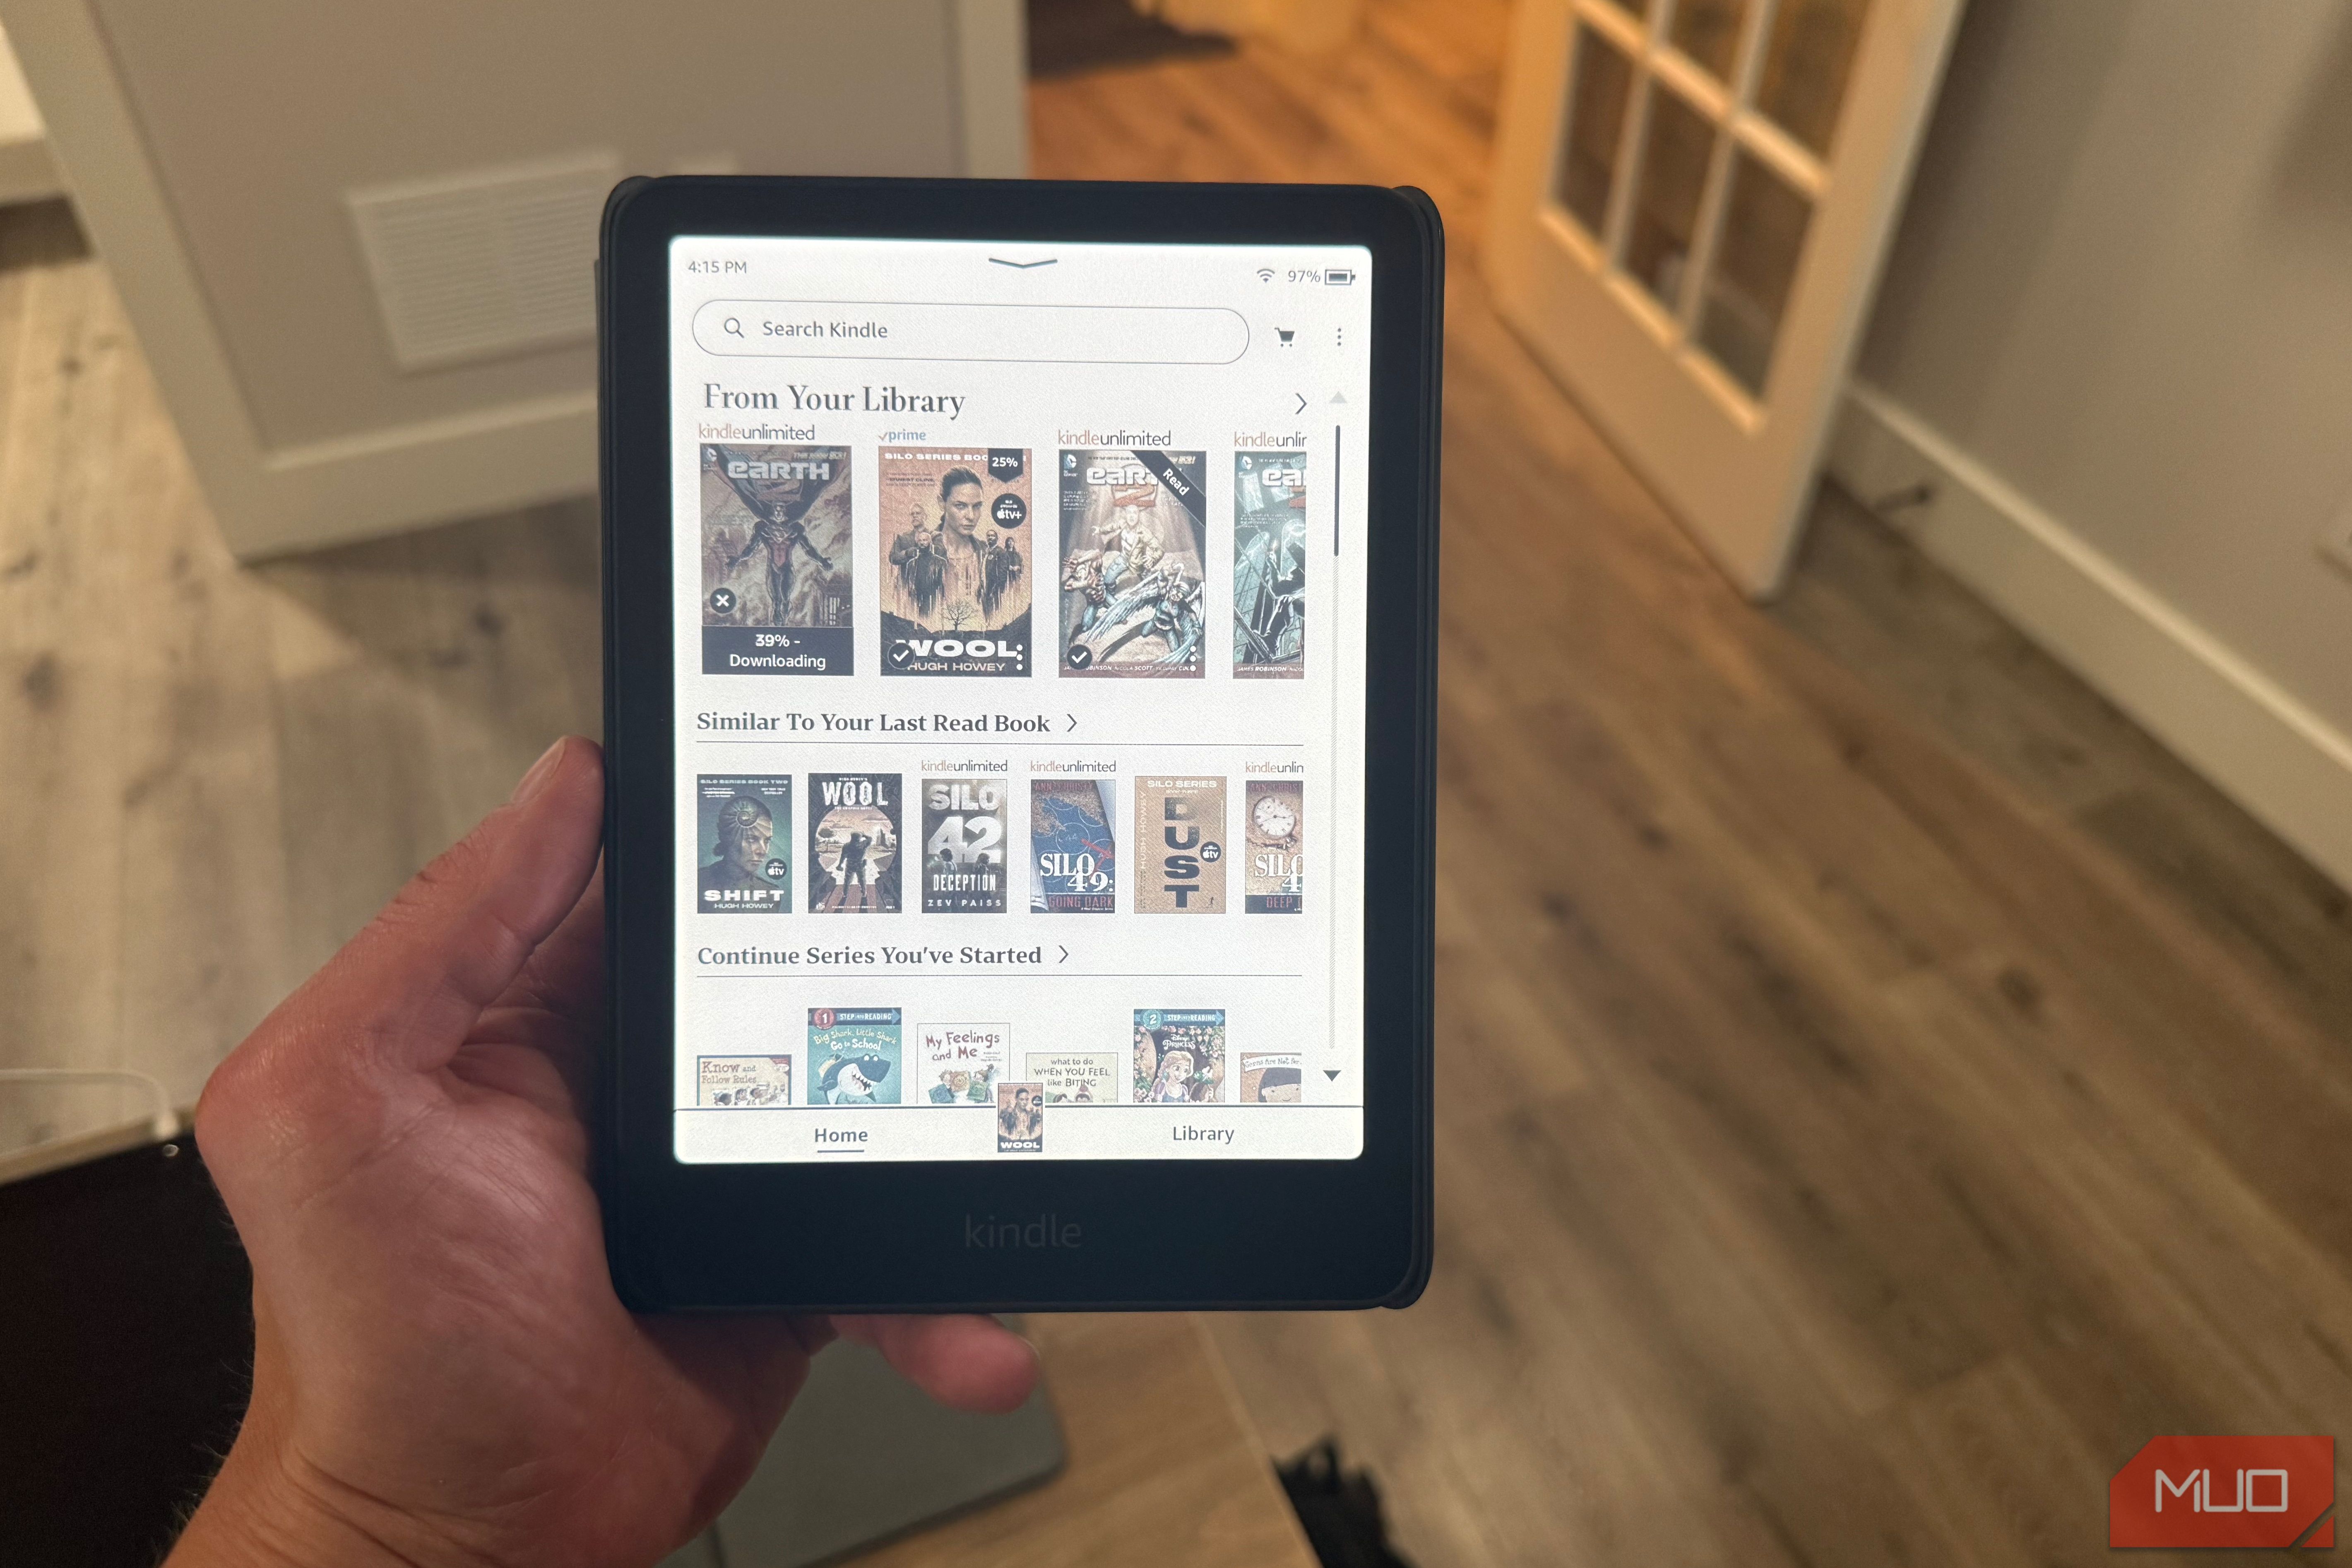
Claim Your 2 Free Kindle Books with Amazon Prime This September
Learn how to claim two free Kindle books as an Amazon Prime member this September through the First Reads program in just a few steps.
Intel Arc 140T DLSS 5 Port: A Glimpse into AI-Powered Potential
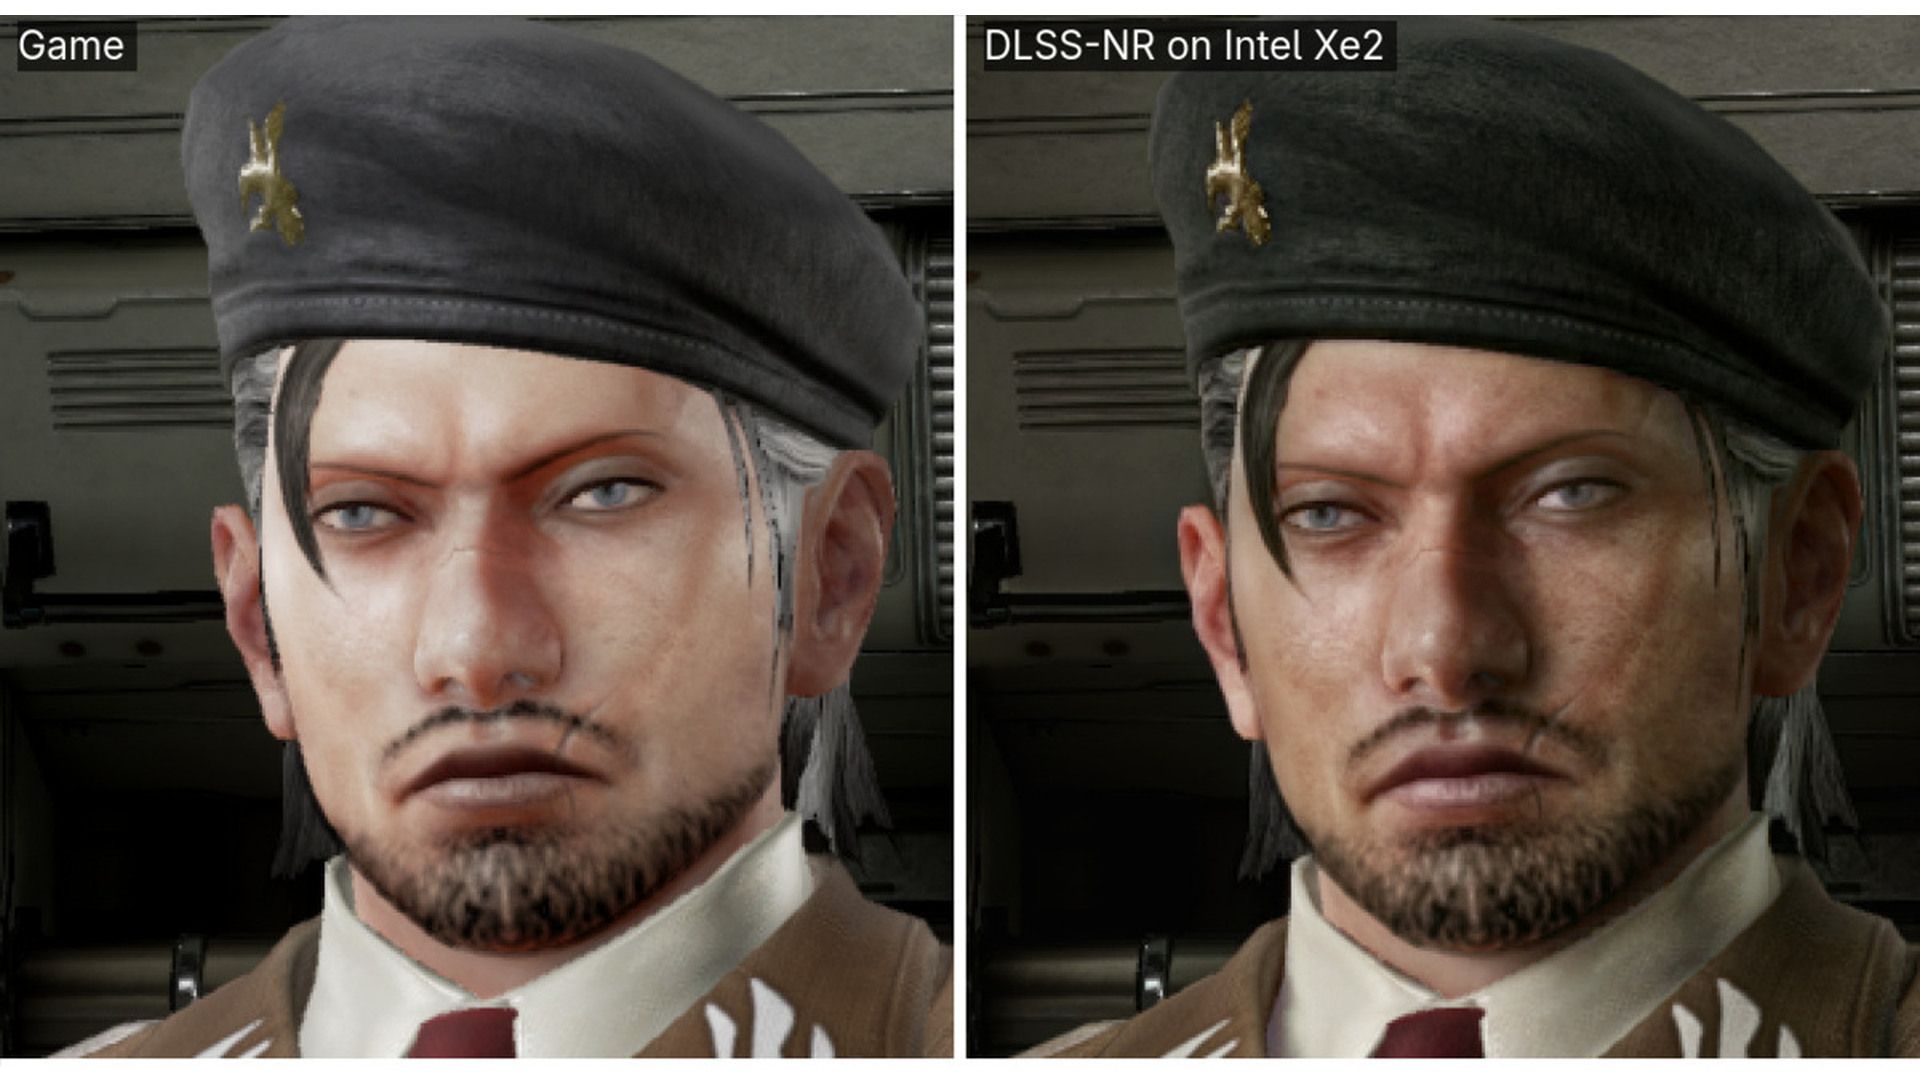
An AI developer successfully ported DLSS 5 Neural Rendering to Intel Arc 140T integrated graphics, achieving 360p at 10.5 FPS. This technical marvel, aided by AI coding, is a groundbreaking proof-of-concept, but currently impractical for real-time gaming due to severe performance limitations and varied visual results based on game art style.
Prusa CORE One L+ Review: More Precise, Minor but Meaningful Upgrade
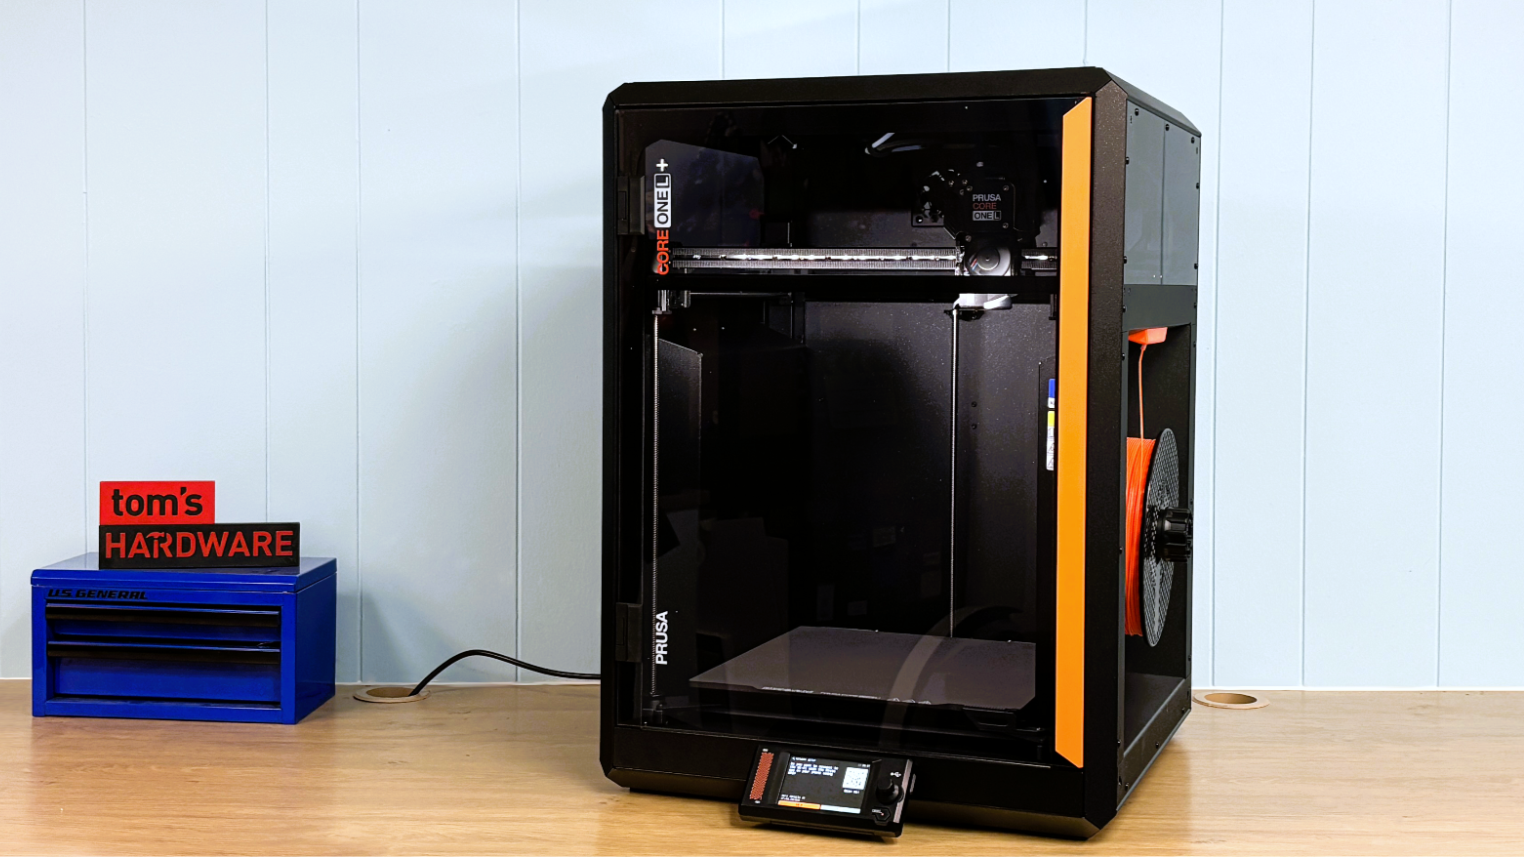
Tom's Hardware Verdict The Prusa CORE One L+ introduces small but impactful refinements to an already stellar 3D printer. The addition of a new nozzle wiper and enhanced GT1.5 belts boosts print quality and operational