
Turn Your Old PC into a Homelab: 6 Beginner Self-Hosting Projects
Breathe New Life into Your Old PC with Self-Hosting Don't let that dusty old laptop or desktop gather cobwebs! While it might not keep up with today's demanding software, an older PC often has more than enough power to
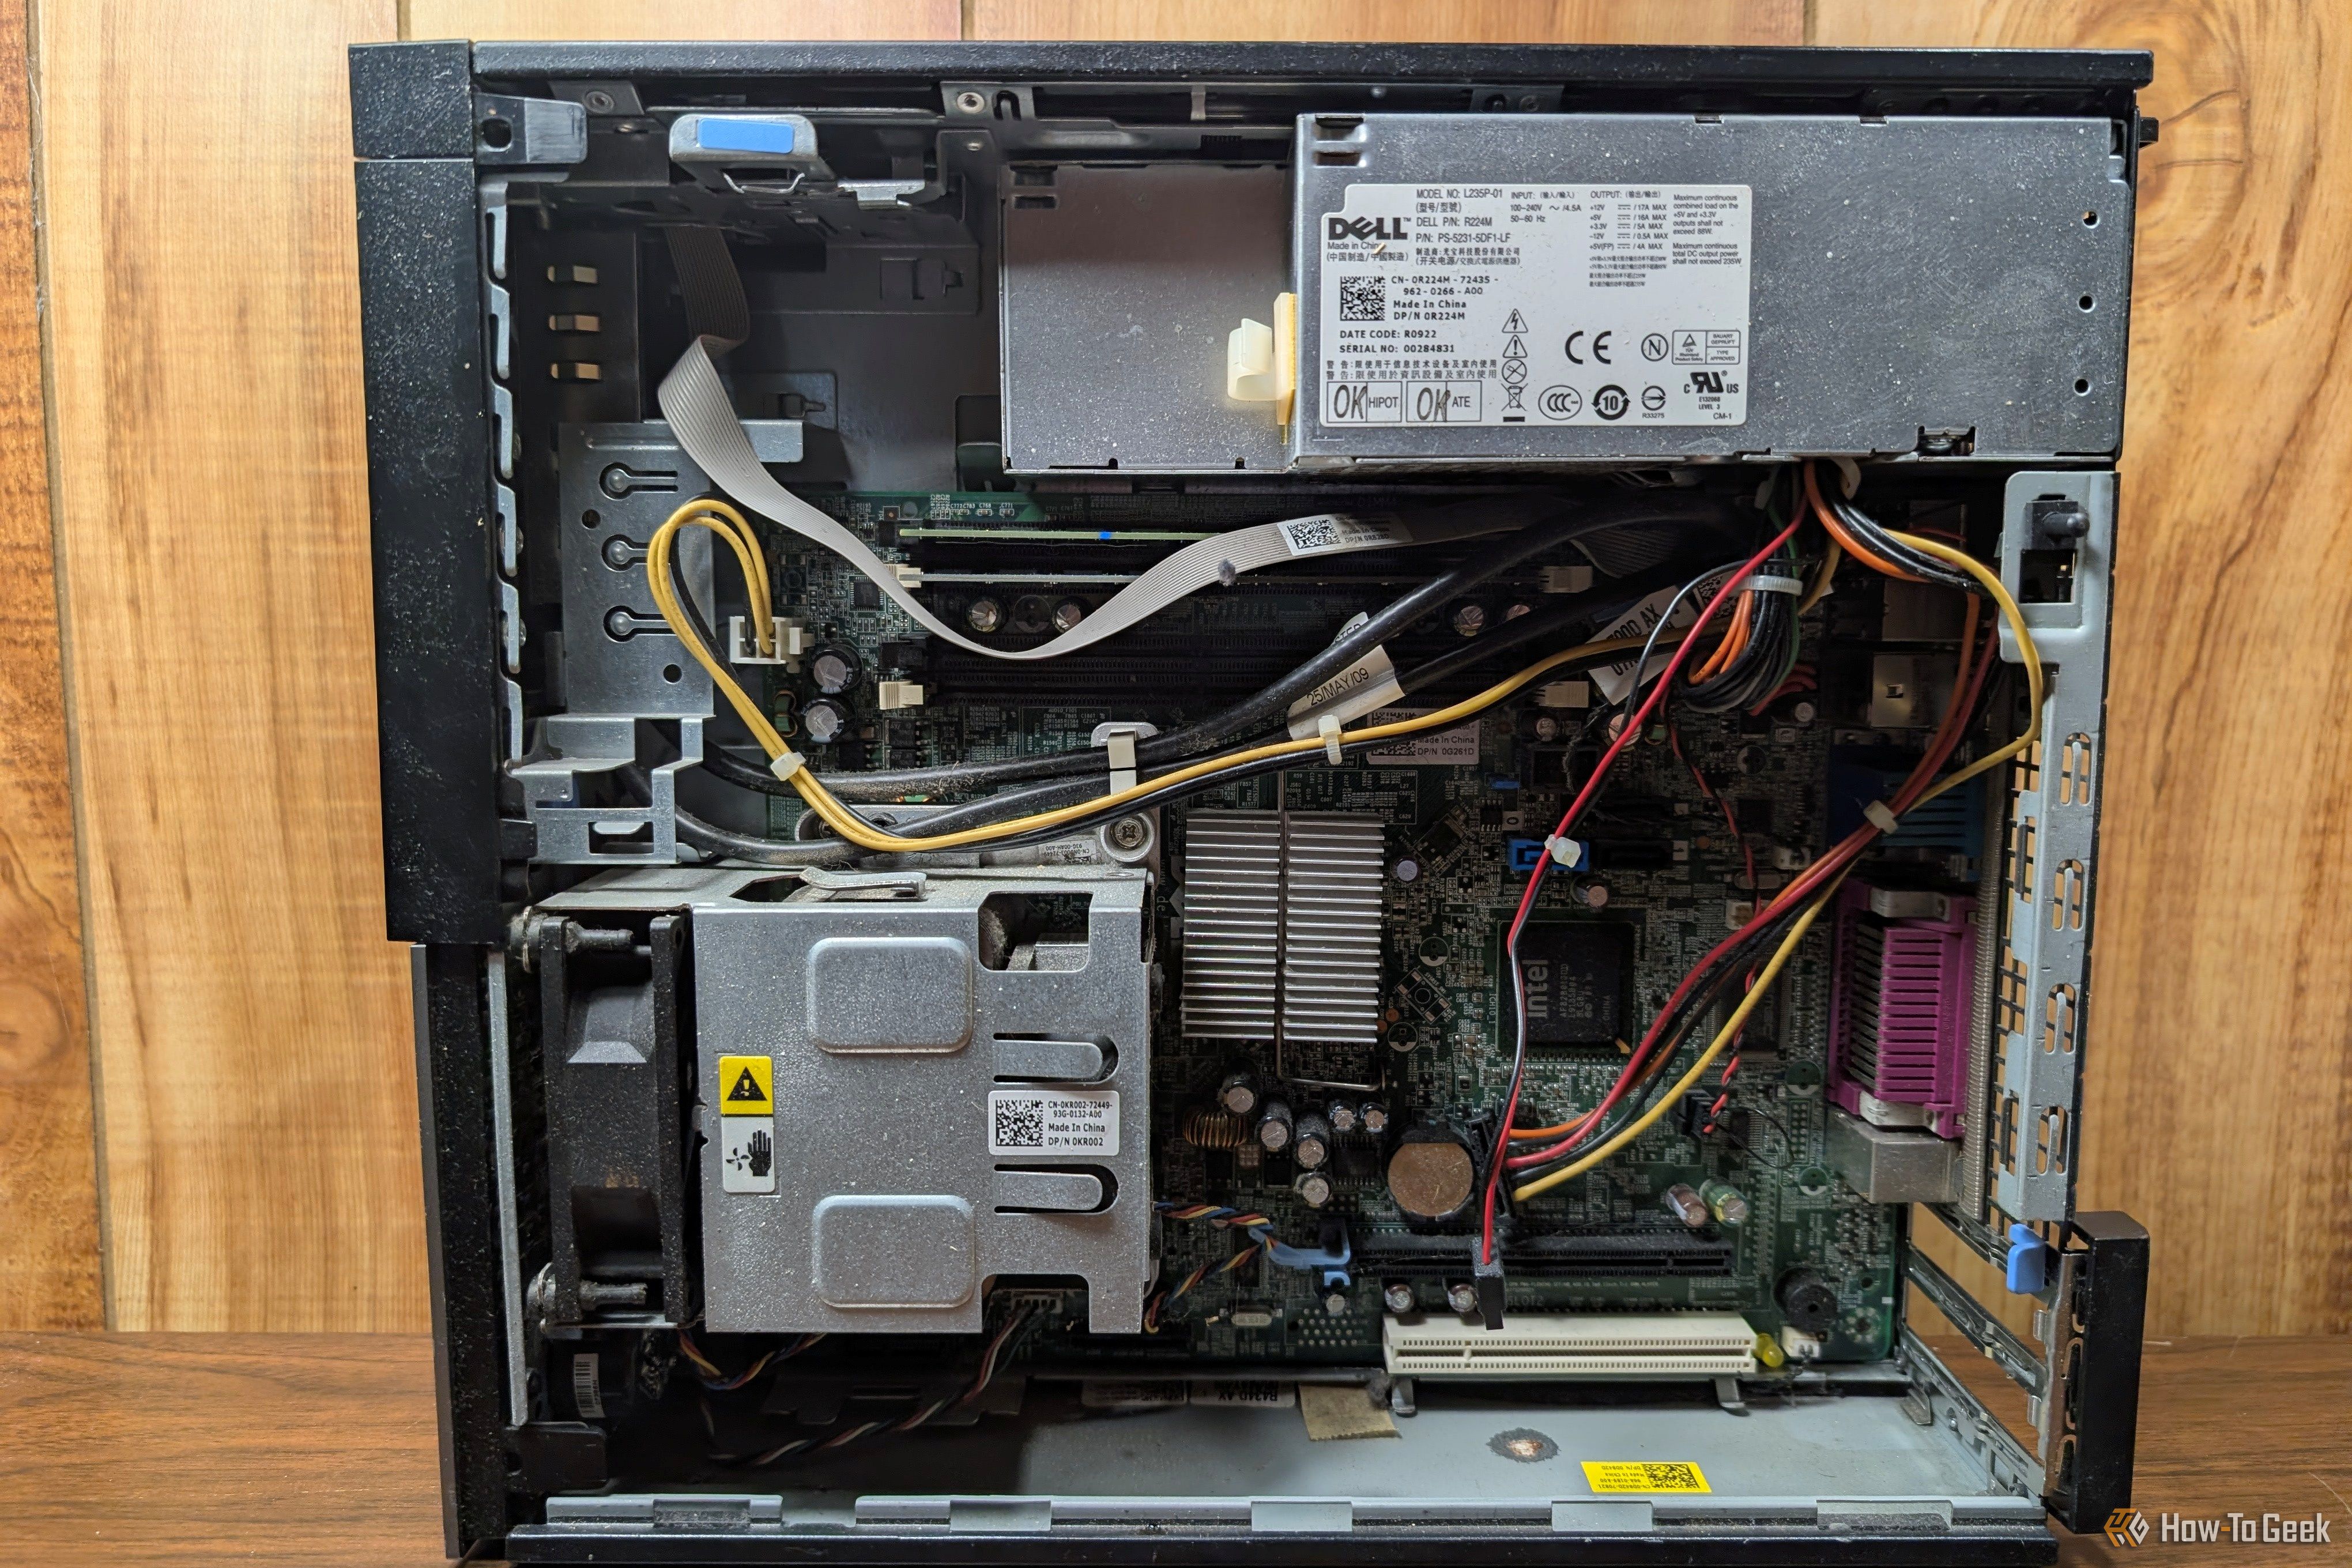
Breathe New Life into Your Old PC with Self-Hosting
Don't let that dusty old laptop or desktop gather cobwebs! While it might not keep up with today's demanding software, an older PC often has more than enough power to run useful services at home. Self-hosting means you run these services yourself, typically from your own hardware, giving you greater control, privacy, and often, more features than cloud-based alternatives.
You don't need a cutting-edge server farm to get started. This guide will walk you through six beginner-friendly projects that are lightweight, practical, and perfect for repurposing an aging computer. Get ready to transform your old machine into a powerful, always-on utility for your home network!
Before You Begin: Essential Prerequisites
To successfully embark on your self-hosting journey, here's what you'll need:
- An Old PC: This can be a laptop or desktop from as far back as 2019 or even older, as long as it still boots. The key is that it doesn't need to be powerful; these projects are designed to be light on resources. No expensive RAM upgrades are typically required.
- Sufficient RAM: For a few services, 8GB of RAM should be adequate. If you plan to host around a dozen lightweight services, 16GB of RAM will provide ample capacity.
- Operating System: While some projects can run using Docker on various operating systems, installing them on a Linux distribution (like Ubuntu or Raspberry Pi OS) is often recommended or directly supported by official scripts.
- Basic Networking Knowledge: You'll need to know how to access your router's administration panel (via its app or web portal) to adjust settings like DNS servers.
- Understanding of Responsibility: When self-hosting sensitive data like passwords, you become solely responsible for data security and implementing robust backup strategies. Ensure your network is secure against unauthorized access.
Your First Six Self-Hosting Projects
Let's dive into the projects that will make your old PC indispensable:
1. Pi-hole: Network-Wide Ad and Tracker Blocking
What it does: Pi-hole acts as a DNS sinkhole, sitting between your network devices and the internet's DNS servers. By referencing a blocklist, it prevents specified websites (like ad servers and trackers) from loading across all devices on your network.
Why it's great: It's a classic starter project because it's highly useful, straightforward to set up, and low-risk. It effectively blocks ads and trackers for all connected devices, including smart devices that typically lack conventional ad-blocking support. Its dashboard provides insights into which devices are trying to connect where and when, enhancing your privacy by preventing unwanted "phoning home" from smart gadgets.
Setup Overview:
- Install Pi-hole, typically using its official script on Linux or via Docker on major operating systems.
- Access your router's admin panel and configure its DNS server to point to your Pi-hole's local IP address.
- Select and apply a blocklist tailored to your preferences.
Important Note: Pi-hole only blocks DNS requests that are routed through it, so some tracking mechanisms might still bypass it if they don't rely on standard DNS.
2. Vaultwarden: Secure Your Own Passwords
What it does: Vaultwarden is a self-hosted implementation of the open-source Bitwarden Client API, written in Rust. It allows you to run your own password server, giving you full control over your encrypted password vault.
Why it's great: You can use official Bitwarden applications (desktop, mobile, browser extensions) to connect to your self-hosted Vaultwarden instance, just like you would with Bitwarden's cloud service. Crucially, it provides access to premium Bitwarden features, such as Time-based One-Time Passwords (TOTPs) and attachments, without any cost. It's incredibly light on resources, typically using only a few hundred megabytes of RAM.
Setup Overview: Installation is commonly done via Docker, offering a contained and easy-to-manage solution.
Important Note: Self-hosting Vaultwarden means you are entirely responsible for securing your network against intruders and maintaining diligent backups of your password data. This is critical for data integrity and security.
3. Syncthing: Private, Peer-to-Peer File Synchronization
What it does: Syncthing provides a continuous, encrypted peer-to-peer file synchronization system between your devices. Unlike cloud services, it doesn't rely on a central third-party server.
Why it's great: If you're tired of cloud storage services like Google Drive or OneDrive for syncing files, Syncthing offers a private alternative. By setting up your old PC as an always-on Syncthing node, it acts as your personal "cloud server." If Device A needs to sync with Device C, but they aren't online simultaneously, they can both send files to your always-on PC (Device B) in the interim. When the offline device comes online, Device B relays the synced files. Syncthing has a minimal footprint, usually consuming only a few hundred megabytes of RAM.
Setup Overview: Install Syncthing on all devices you wish to sync, including your old PC, and configure shared folders.
4. FreshRSS: Algorithm-Free News and Feeds
What it does: FreshRSS is a simple, lightweight RSS aggregator that you can self-host. It gathers content from various sources, presenting it in a clean, chronological feed.
Why it's great: For those frustrated by algorithm-driven content feeds on modern platforms, FreshRSS offers a refreshing alternative. It allows you to follow blogs, subreddits, YouTube channels, and more, based purely on your subscriptions, without any recommendation engines influencing what you see. It provides a web interface and API support for mobile applications, making it accessible from any modern device.
Setup Overview: Typically involves setting up a web server environment (e.g., Apache/Nginx with PHP) or using Docker.
5. Uptime Kuma: Monitor Your Self-Hosted Services
What it does: As your homelab grows, keeping track of multiple services manually becomes cumbersome. Uptime Kuma is a self-hosted monitoring tool that checks the status of your services.
Why it's great: It continuously monitors your hosted services. If something goes offline or encounters an issue, Uptime Kuma can send you instant notifications through various channels, including Discord, Telegram, Email, or ntfy. This saves you the headache of manually checking each service's operational status.
Important Note: Uptime Kuma focuses on service availability and status. It is not designed for detailed system metrics like CPU or RAM usage, or network performance. For those insights, you would need a separate tool.
6. Homepage: Your Personal Homelab Dashboard
What it does: Homepage is a customizable dashboard that provides a central overview and quick links to all your self-hosted services. It organizes your homelab, especially useful if you're not using domain names for your services.
Why it's great: If you have many services, remembering their individual IP addresses and ports can be challenging. Homepage solves this by providing a single, clean interface with links to everything you run. It integrates seamlessly with popular services like Pi-hole, Uptime Kuma, Proxmox, and Docker, offering widgets that display their status at a glance.
Setup Overview: Configuration is handled via YAML files. While these are text files, they are human-readable, so you don't need programming expertise (like C++ or Python) to customize your dashboard.
Tips for a Smooth Self-Hosting Experience
- Virtualization with Proxmox or Containerization with Docker: These tools are highly recommended for managing multiple services. Proxmox allows you to run multiple virtual machines, while Docker enables you to run applications in isolated containers, both making efficient use of your old PC's resources and simplifying deployment.
- Network Security: Always prioritize securing your home network. Use strong passwords for your router and any self-hosted services, and consider setting up a firewall.
- Regular Backups: Especially for critical services like Vaultwarden, implement a robust backup strategy. Your data's safety is your responsibility.
- Consistent Power: Ensure your old PC has a stable power supply and consider using an Uninterruptible Power Supply (UPS) for protection against power outages.
- Monitoring and Management: Combine Uptime Kuma with Homepage to get a comprehensive view and quick access to your services.
Next Steps in Your Self-Hosting Journey
Once you've mastered these beginner projects, you might consider:
- Exploring More Services: The self-hosting community offers countless other applications for media management, smart home control, and more.
- Reverse Proxies: Learn about services like Caddy to give your self-hosted applications easily memorable domain names instead of IP addresses and ports.
- System Metrics Tools: If you need deeper insights into your network's performance or detailed CPU and RAM usage, research dedicated system metrics tools to complement Uptime Kuma.
FAQ
Q: What kind of "old PC" is suitable for these projects?
A: Almost any PC that still boots is suitable! This includes laptops or desktops from 2019 or even older. The key is that these projects are lightweight and don't typically require expensive RAM upgrades. An 8GB RAM machine can handle several services, while 16GB can easily manage a dozen or more.
Q: Is self-hosting secure, especially for something like a password manager?
A: Self-hosting offers a high degree of control, which can lead to better security if managed correctly. For sensitive applications like Vaultwarden, you become solely responsible for securing your network and implementing robust backups. This means ensuring your router and services have strong passwords, your network is protected, and you consistently back up your data.
Q: Do I need to be a programmer to set these up?
A: No, you don't need to be a programmer. Many of these projects are designed for ease of installation, often with official scripts or via Docker, which simplifies deployment. For projects like Homepage, configuration is done through human-readable YAML files, not complex programming languages. Basic computer literacy and a willingness to follow instructions are generally sufficient.
Related articles

Turn Filament Packaging into Free 3D Printer Upgrades
Repurpose empty filament spools, boxes, and silica packets into free 3D printer upgrades and storage solutions in a few simple steps. Organize your workshop and protect your filament.

Anthropic Claude Merger: Unified AI for Enhanced Productivity
Anthropic Claude Merger: The Verdict Anthropic is making a bold move, consolidating its previously distinct AI tools — Claude chat and Claude Cowork — into a single, more intuitive “all-powerful Claude.” This strategic

Wardogs' Studio: Crunch Expected, Anti-Crunch Devs Need Not Apply
The studio behind Steam hit *Wardogs*, Bulkhead, openly embraces crunch, with CEO Joe Brammer admitting it's an expected part of their development process. The studio even screens job applicants' social media, turning away those who publicly criticize crunch, believing they wouldn't fit in. While some employees with shares can see significant financial benefits from successful titles, not all staff receive these rewards, and the company has had yearly layoffs.

US AI Data Centers: A Glimpse into Tomorrow's Power Demands
An in-depth analysis of US AI data centers' projected natural gas consumption, set to become the world's fifth-largest by 2035, highlighting environmental, economic, and infrastructure challenges.
Ordewell: Orchestrating AI Coding Agents for Structured Development
Ordewell is an orchestration tool for AI coding agents that transforms a single development goal into an ordered, dependency-aware plan of tasks. Each task specifies its runner, model, thinking effort, and mode, allowing for granular control. It verifies results based on evidence rather than opinion, and offers CLI, VS Code, and web interfaces, along with an extensible skill system.

Maximize Your Sharge Disk Pro 2: Setup, Storage & Hub Features
Learn how to set up, install an SSD, and utilize all features of your Sharge Disk Pro 2, including its HDMI output, card readers, and power delivery, in this comprehensive guide.