
Upgrade Your 2FA: Switch from Google Authenticator to Bitwarden
Are you using Google Authenticator for your two-factor authentication (2FA) codes? While it's a widely used and reliable app, there's a more secure and feature-rich alternative available that takes only minutes to
Are you using Google Authenticator for your two-factor authentication (2FA) codes? While it's a widely used and reliable app, there's a more secure and feature-rich alternative available that takes only minutes to switch to: Bitwarden Authenticator.
For years, many of us have relied on Google Authenticator out of habit. It works, it's familiar, and it gets the job done. But what if you could enhance your digital security with minimal effort? This guide will walk you through the simple, quick process of migrating your 2FA codes to Bitwarden Authenticator, offering you peace of mind with stronger encryption and an open-source approach.
Why Make the Switch to Bitwarden Authenticator?
The primary motivation for moving from Google Authenticator isn't that it's broken; rather, it's that a significantly better option exists. The difference lies in Bitwarden's approach to security and its additional features.
Enhanced Security at its Core Google Authenticator secures your data in transit and at rest, meaning your codes are generally safe. However, it doesn't offer end-to-end encryption for your 2FA codes. This means that, technically, a breach of your Google account could potentially expose your 2FA keys, as there's no additional layer of password or security protection within the app itself. Bitwarden Authenticator addresses this by providing robust end-to-end encryption.
Bitwarden Authenticator is also open source, allowing security experts and users alike to inspect its code for vulnerabilities, fostering a transparent and trustworthy environment. Crucially, it stores your 2FA codes locally on your device and encrypts them before they ever leave your phone. This means even if Bitwarden wanted to access your codes (which it doesn't), it couldn't because they are already encrypted and unreadable by anyone but you. This shift, while seemingly small, represents a significant upgrade in your overall security posture.
Streamlined Usability and Features Beyond security, Bitwarden Authenticator offers a smooth and intuitive user experience. The app is clean and easy to navigate, providing handy options to customize your experience. You can adjust how you unlock the app, for instance, using a PIN or biometrics, and even allow screen captures within the app. Furthermore, if you're already part of the Bitwarden ecosystem and use their excellent password manager, Bitwarden Authenticator integrates seamlessly, allowing you to sync and manage your secure data across all your Bitwarden applications.
Prerequisites for Migration
Before you begin the migration process, ensure you have the following:
- Your existing Google Authenticator app: Installed on your current device with all the 2FA codes you wish to transfer.
- Bitwarden Authenticator app: Downloaded and installed on your device (available for Android and iOS).
- A second device (optional but recommended): A tablet, another phone, or a computer screen to display the QR code for scanning. This simplifies the process if you're migrating from a single device.
- Internet connection: Required for downloading the Bitwarden Authenticator app and any initial setup.
Step-by-Step: Migrating Your 2FA Codes
The entire process of switching your 2FA codes from Google Authenticator to Bitwarden Authenticator typically takes less than five minutes. Here's how to do it:
-
Prepare to Export from Google Authenticator:
- Open the Google Authenticator app on your device.
- Tap the three-line burger menu icon (usually in the top-left corner).
- From the menu, select "Transfer codes."
-
Initiate Export and Verify Identity:
- On the next screen, tap "Export codes."
- You will then be prompted to verify your identity, usually with your device's screen lock (PIN, pattern, or biometric).
-
Select Accounts for Export:
- A list of your 2FA accounts will appear. Tick the boxes next to all the accounts you want to transfer to Bitwarden Authenticator.
-
Generate and Prepare Your QR Code:
- After selecting your accounts, Google Authenticator will generate one or more QR codes. These codes contain the encrypted data for your selected accounts.
- If you have a second device: Display this QR code on the second device's screen, making it ready to be scanned.
- If you are using only one device: Take a screenshot of the QR code. You will then need to open the screenshot on your device and scan it using the Bitwarden Authenticator app (this can sometimes be tricky, so a second device is highly recommended).
-
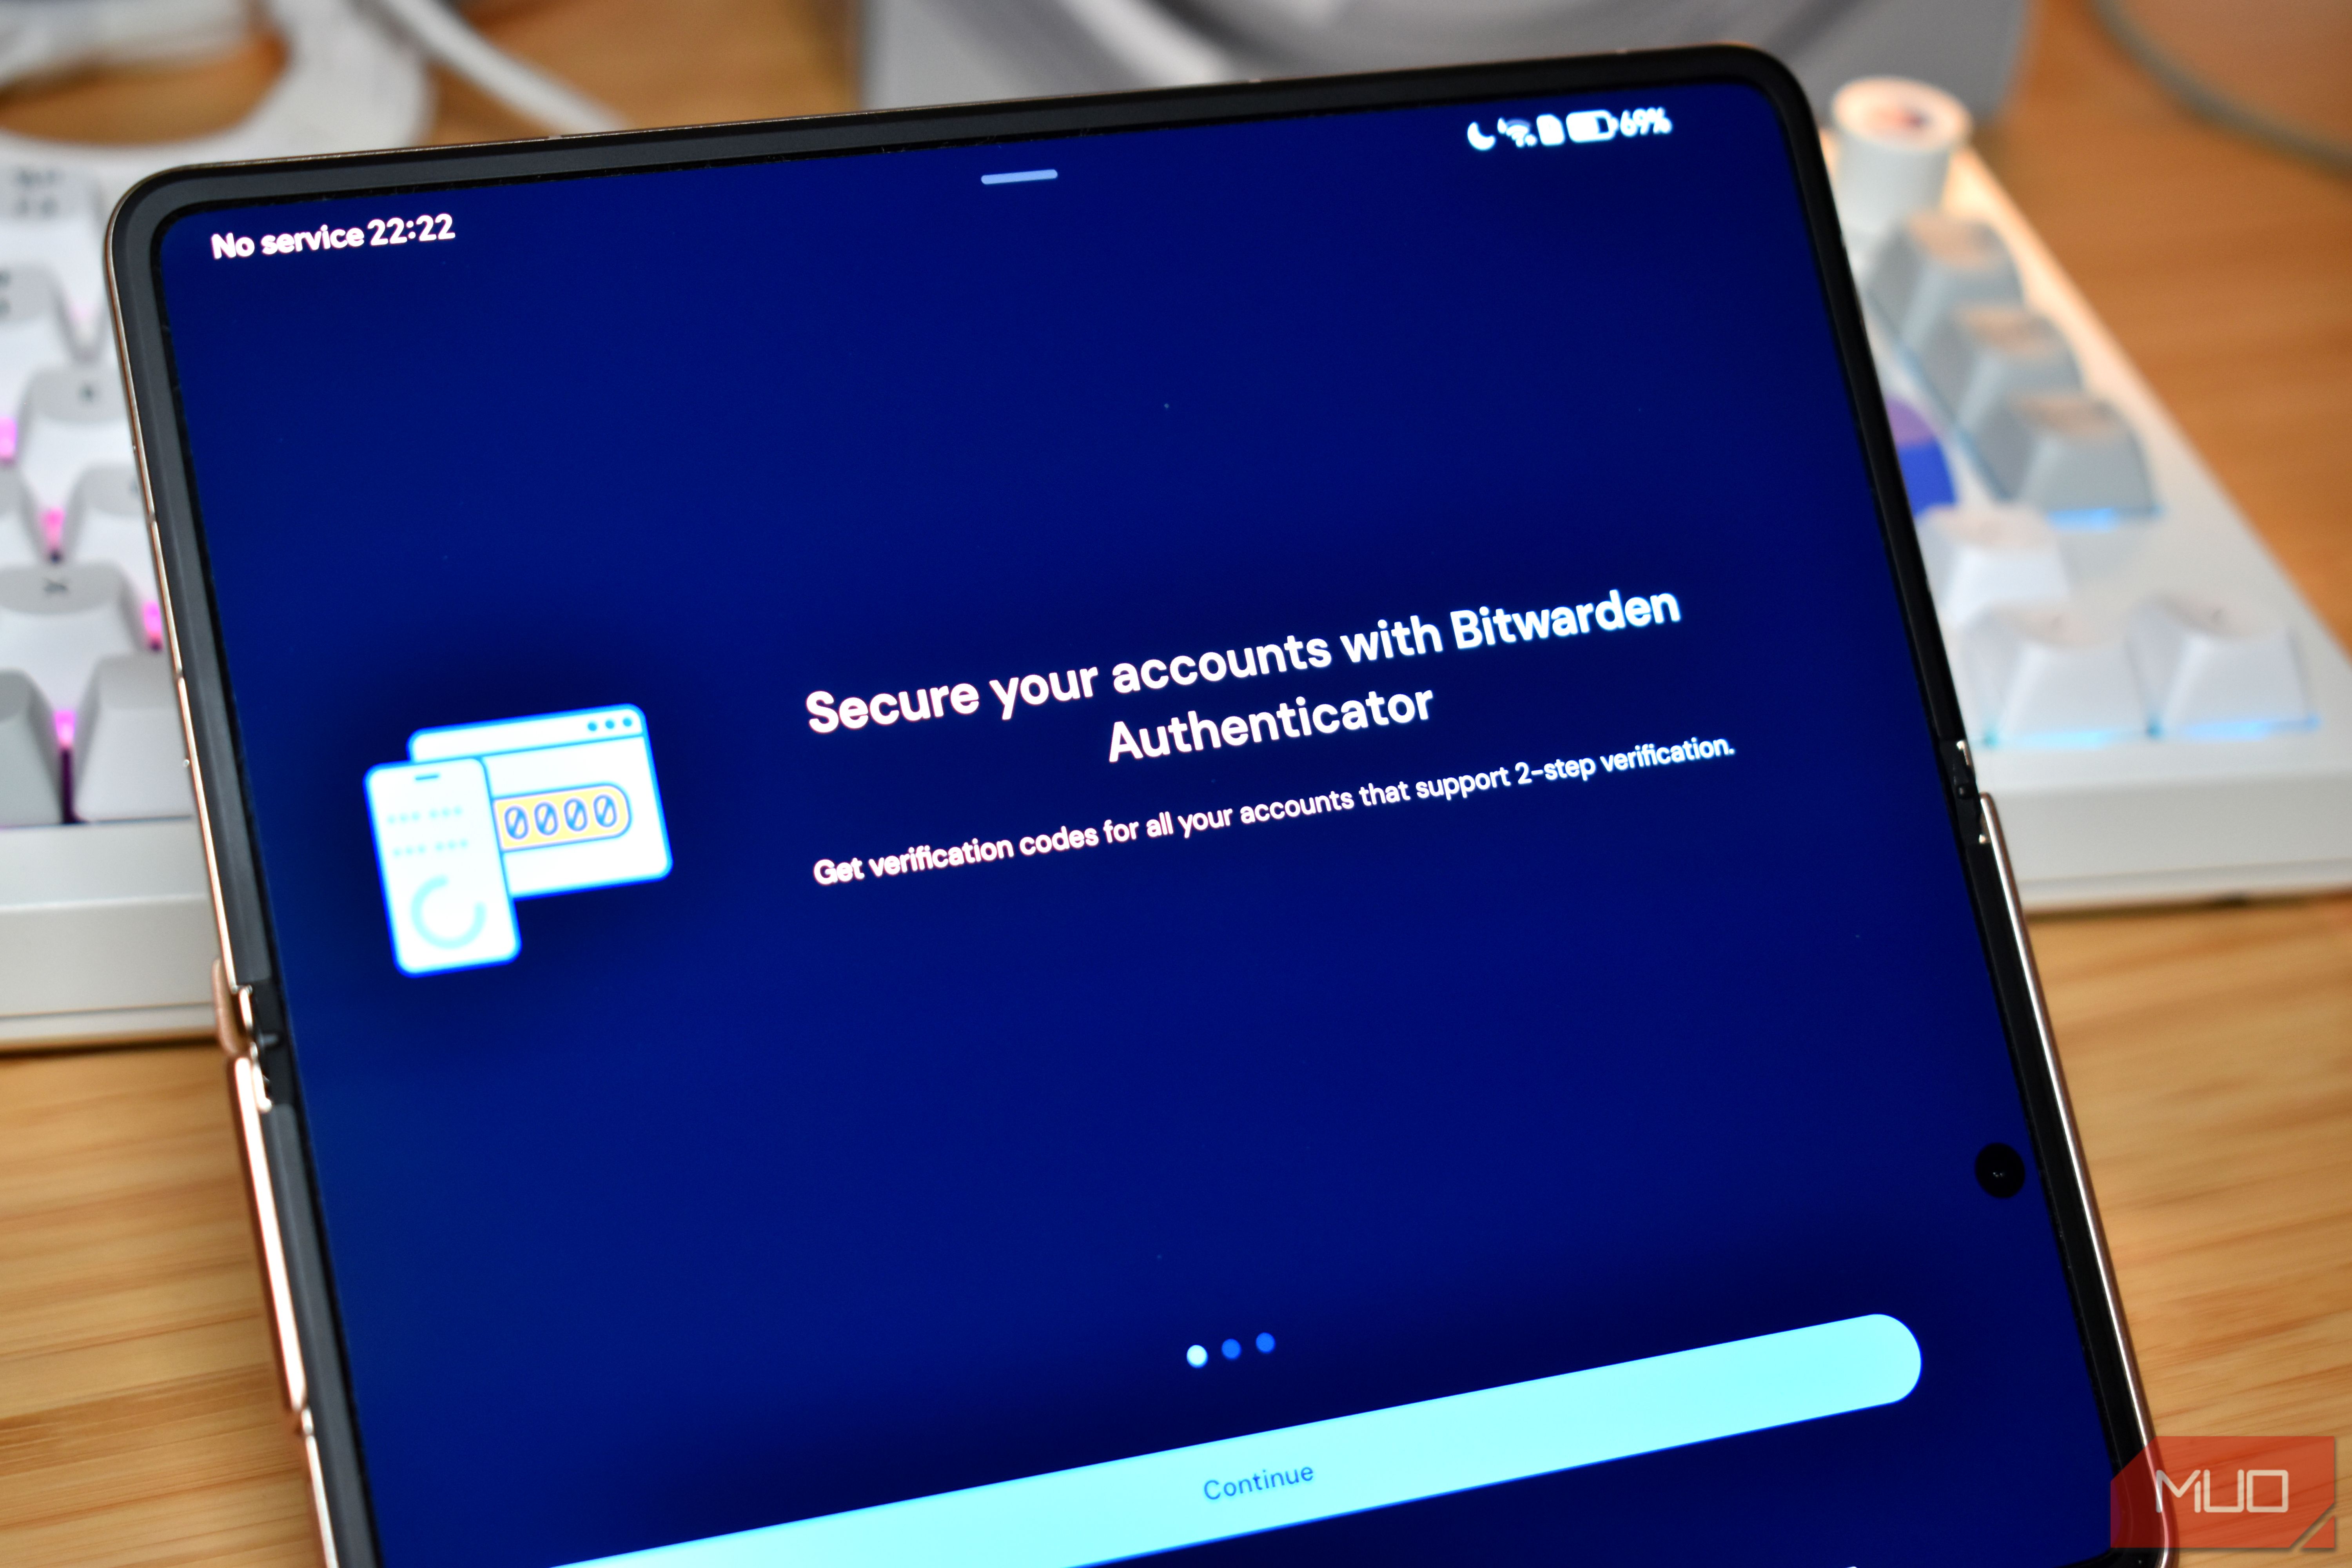
Import into Bitwarden Authenticator:
- Open the Bitwarden Authenticator app.
- Look for an option to "Add item" or "Scan QR code" (the exact wording may vary slightly depending on the app version).
- Use Bitwarden Authenticator's scanner to scan the QR code generated by Google Authenticator (either from your second device or the screenshot on your single device).
- Bitwarden will then import the selected 2FA codes. Review them to ensure all accounts have transferred successfully.
Once imported, it's a good practice to test a few of your new 2FA codes with their respective services to ensure they are working correctly before removing them from Google Authenticator.
Alternative: Manual Import for Maximum Security
While the QR code method is fast and convenient, you can also opt for a more time-consuming but arguably more secure method: manual import. This involves adding each account to Bitwarden Authenticator individually by entering the setup key provided by the service (usually found under "manual setup" or "can't scan QR code" options when setting up 2FA).
This method bypasses the generation and scanning of QR codes entirely, meaning your 2FA keys never appear on any screen in a scannable format. It allows you to check each account meticulously during the import process, ensuring accuracy and providing an additional layer of control.
Tips for Using Bitwarden Authenticator
After migrating, take some time to explore the Bitwarden Authenticator settings:
- Customize Unlock Methods: Set up biometric authentication (fingerprint, face ID) or a PIN for quick and secure access to your codes.
- Integrate with Bitwarden Password Manager: If you use Bitwarden Password Manager, ensure both apps are configured to work together for a unified security experience.
- Regular Backups: While Bitwarden Authenticator stores codes locally, consider utilizing its optional encrypted cloud sync for secure backups, especially when migrating to a new device in the future.
Conclusion
Switching from Google Authenticator to Bitwarden Authenticator is a simple, quick, and impactful step you can take to enhance your digital security. It's not about Google Authenticator being broken, but about embracing a superior, open-source solution that offers true end-to-end encryption and a smoother user experience. The migration is genuinely painless, typically taking just a few minutes, and leaves you with meaningfully stronger protection for your online accounts. Make the switch today and enjoy a more secure and streamlined 2FA experience.
FAQ
Q: Is Google Authenticator unsafe or insecure? A: Google Authenticator is not inherently unsafe; it encrypts data in transit and at rest. However, Bitwarden Authenticator offers an additional layer of security with end-to-end encryption of your 2FA codes before they leave your device, and it's open-source, offering greater transparency.
Q: Can I use Bitwarden Authenticator as a standalone app, or do I need the Bitwarden Password Manager? A: Yes, Bitwarden Authenticator can be used as a completely standalone two-factor authentication app. While it integrates seamlessly with the Bitwarden Password Manager, having the password manager is not a requirement to use the authenticator.
Q: What if I only have one device and can't scan a QR code from a second screen? A: If you only have one device, you can take a screenshot of the QR code generated by Google Authenticator. Then, open the Bitwarden Authenticator app and use its scan function to scan the QR code from the screenshot on your device. Alternatively, you can use the more secure, albeit slower, manual import option for each account.
Related articles

How to Evaluate the 2026 Hyundai Ioniq 5 N's New Price and Upgrades
Learn to evaluate the 2026 Hyundai Ioniq 5 N's significant price drop and enhanced features to decide if this enthusiast EV is right for you.

Build Your Own Local NMT App with React Native and QVAC
This article explores how Neural Machine Translation (NMT), powered by the Transformer architecture, revolutionized translation by understanding context. We then delve into QVAC, a local-first AI development platform, and its Bergamot engine, enabling private, on-device translation. Learn to set up a React Native app with QVAC and manage model lifecycles for efficient local translation.

iOS 27 Features Review: Subtle Upgrades, Big Impact
ZDNet reviews 5 underrated iOS 27 features, excluding Siri AI, that significantly enhance daily iPhone use. Discover Control Center optimizations, a dedicated photo folder, improved dictation, and more.

Gemini Voice Customization: Your AI, Your Tone
Gemini review: Google's upcoming voice customization offers granular control over Energy, Formality, Warmth, and Speed, marking a shift towards truly personal AI interaction. This beta-discovered feature promises more natural and consistent user experiences, putting Google in a strong position in the evolving AI landscape.

Google Vids Editing: AI-Powered Simplicity Reigns
Google Vids Editing: AI-Powered Simplicity Reigns Verdict: Google Vids' new Gemini Omni editing capabilities and personal avatars offer a compelling, user-friendly approach to video creation and editing, significantly
How to Reclaim 22GB on Your Samsung Phone Without Deleting Important
Learn to effectively free up significant storage space on your Samsung phone by emptying trash, removing duplicates, archiving apps, clearing caches, and managing offline files in just a few steps, without sacrificing your essential data.