
LosslessCut: Effortless Video Trimming Without Re-encoding
Learn to quickly trim and merge video segments without quality loss using LosslessCut, a free, open-source tool. This guide covers installation, step-by-step usage, key limitations, and troubleshooting tips for efficient video management.
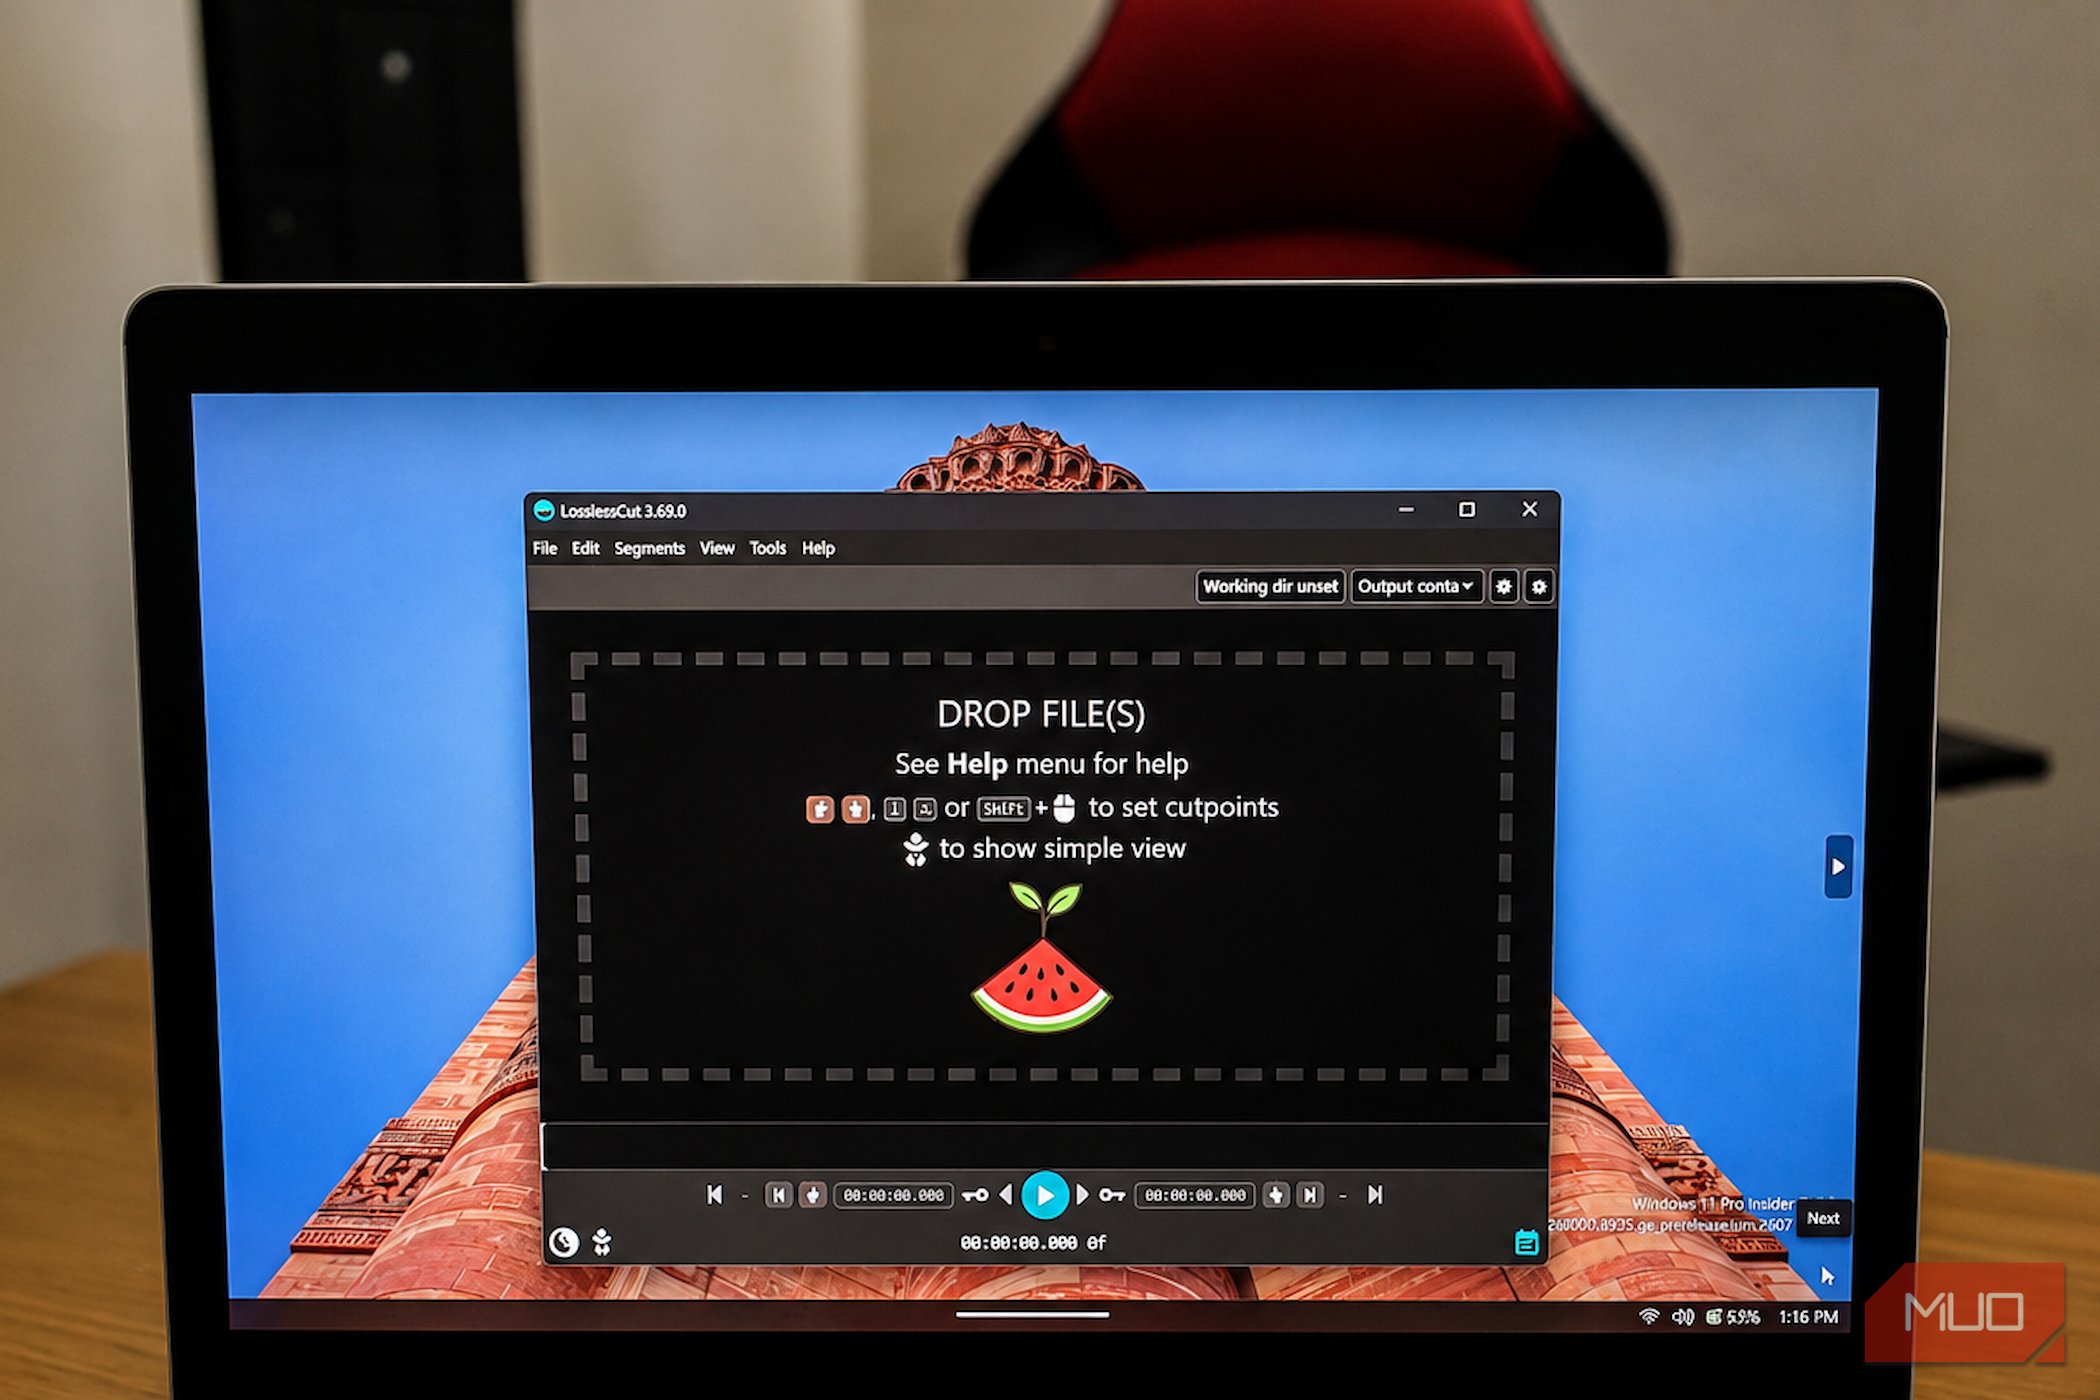
Video editing can be a time-consuming task, especially when all you need to do is snip out a small section. Imagine finishing a lengthy video project, only to find a brief, accidental blackout in the middle. Re-importing the entire file into a complex editor, making a tiny cut, and then waiting another 20 minutes for a full re-render is incredibly inefficient.
This is where LosslessCut comes in. It's a free, open-source tool designed for quick, lossless trimming and merging of video and audio files. Instead of re-encoding your entire video—which can degrade quality and take a long time—LosslessCut simply copies the relevant parts of your existing media streams into a new file. Think of it as a pair of precision scissors for your videos, letting you cut, merge, and extract segments in seconds, not minutes.
What You'll Accomplish
By following this guide, you will learn how to:
- Download and install LosslessCut on Windows, macOS, or Linux.
- Navigate the LosslessCut interface for basic operations.
- Efficiently trim unwanted sections from your video files without re-encoding.
- Merge multiple selected segments of a video into a single output file.
- Understand the limitations of lossless cutting, such as keyframe-dependent precision.
Prerequisites
Before you begin, ensure you have the following:
- A computer running Windows, macOS, or Linux.
- An internet connection to download the LosslessCut application.
- The video file(s) you wish to edit.
Get Started: Installing LosslessCut
LosslessCut is designed to be straightforward to get up and running, regardless of your operating system.
- Download LosslessCut: Visit the official LosslessCut website (
losslesscut.app) or its GitHub repository to find the latest free, open-source versions. Look for the appropriate download for your system:- Windows: Download the
.7zarchive. Once downloaded, extract its contents to a folder of your choice and launch the application directly from there. No traditional installer is needed. - macOS: Download the
.dmgfile. - Linux: Choose between the AppImage or
.tararchive.
- Windows: Download the
- Optional: Store Versions: The developer also offers paid versions through the Microsoft Store and Mac App Store. While these versions come at a cost, they provide conveniences like automatic stable updates and bypass some security warnings often associated with direct downloads. They also offer a way to support the developer. Functionally, the core features are largely the same, though store releases might be slightly behind the latest GitHub builds and may have platform-specific restrictions.
Once launched, you might find LosslessCut's interface a bit overwhelming at first glance. It displays a large media preview, playback controls, a timeline, a segment list, track panels, and an output format selector. This busy appearance is due to LosslessCut exposing many advanced stream, track, container, and metadata operations powered by FFmpeg beneath the surface. However, for basic trimming, you'll only need a few key controls.
Step-by-Step: Trimming Your Video with LosslessCut
LosslessCut excels when you need to quickly remove parts of a video or extract specific segments. Here’s how to do it:
-
Open Your Video:
- Drag and drop your video file directly into the LosslessCut window.
- Alternatively, go to the File menu and select Open to browse for your video. The video will load into the preview window, and its timeline will appear.
-
Define Your Segment(s) to Keep: The most common workflow is to mark the good parts you want to retain.
- Navigate: Use the playback controls or drag the playhead on the timeline to locate the start of the first segment you want to keep.
- Mark Start Point: Press the I key (for "In") to set the start point of your first segment.
- Mark End Point: Play the video or scrub the timeline to the exact point where the first desired segment should end. Press the O key (for "Out") to set its end point.
- Add More Segments (if needed): If you have multiple distinct sections you want to keep (e.g., removing a dead space in the middle, as in the bass cover example), press the + button in the segment list. This adds a new segment entry. Repeat the "Mark Start Point" and "Mark End Point" steps for each additional segment you wish to include.
-
Alternative: Mark Segment(s) to Remove: Sometimes, it’s quicker to mark what you don’t want.
- Follow the "Mark Start Point" and "Mark End Point" steps (using I and O) to define the unwanted section.
- Access the Advanced Controls (often hidden behind an expand/collapse button or a menu) and locate the yin-yang shaped Invert Selection control. Clicking this will reverse your selection, so LosslessCut will export everything except the marked segment.
-
Configure Output and Export:
- Output Folder: By default, LosslessCut saves the new file to the same folder as your original video. You can change the working directory if you prefer a different save location.
- Merge Multiple Segments: If you marked multiple segments you want to stitch together into one continuous file, open the Export Options (usually a gear icon or a menu) and select the Merge cuts mode. This instructs the software to combine your selected segments.
- Initiate Export: Click the Export or Export+merge button (depending on your selection). LosslessCut will process the video incredibly fast, often in a matter of seconds, as it avoids re-encoding.
-
Review Your Output: Play the resulting file in your preferred media player. You should find the unwanted sections gone, and your remaining segments cleanly joined, with all original video resolution, effects, transitions, color treatment, and audio intact.
Troubleshooting & Important Considerations
LosslessCut's speed and efficiency come from its "stream copying" method. This means it directly copies compressed video and audio packets without re-decoding or recompressing. However, this method introduces some limitations:
- The Keyframe Catch: Most compressed video formats don't store every frame as a complete image. Instead, they rely on "keyframes" (full images) and then record only the changes for subsequent frames. Because LosslessCut copies existing streams, the start of each retained segment typically needs to align with an existing keyframe. If your marked start point isn't exactly on a keyframe, LosslessCut may slightly shift the cut to the previous keyframe. This can result in a tiny bit of unwanted footage at the beginning of a segment. The severity depends on how far apart the keyframes were in the original encoding. LosslessCut's timeline often displays keyframe markers, and it offers jump controls to help you align your cuts more precisely with these.
- Smart Cut (Experimental): For truly frame-level accurate cuts, LosslessCut offers an experimental Smart Cut feature. This attempts to re-encode only the tiny region around the precise cut point while stream-copying the rest. Be aware that this is not entirely lossless at the cut boundary and can sometimes introduce glitches, synchronization issues, or minor visual differences, depending on the file format. Use Smart Cut as a last resort when absolute precision is critical and Keyframe Cut mode isn't sufficient.
- Codec and Container Compatibility: LosslessCut works best when merging clips with identical video codecs, containers (like MP4, MOV, MKV), resolutions, and frame rates. Merging clips with different encoding parameters might lead to unexpected results or fail to merge cleanly.
- Track Issues: Some video files contain complex audio, subtitle, or data tracks that LosslessCut might not trim perfectly, potentially causing incorrect output durations or blank sections. Disabling unnecessary tracks or trying another compatible container format might help.
Tips and Best Practices
- Know When to Use It: LosslessCut is your go-to tool when you need to remove dead air, extract a specific scene, or combine compatible clips without any creative editing (like effects or transitions). If your project requires extensive rearrangement, visual effects, complex transitions, or combining diverse clips, revert to a full-featured timeline editor like DaVinci Resolve or Adobe Premiere Pro.
- Save Space: Use LosslessCut to remove large, unnecessary sections of videos, as it creates a new, smaller file without quality loss (provided the cut aligns with keyframes reasonably well).
- Batch Processing: LosslessCut supports basic batch operations, which can be useful for processing multiple files with similar cutting needs.
FAQ
Q: Why is LosslessCut so much faster than other video editors? A: LosslessCut achieves its speed through "stream copying." Instead of fully decoding and re-encoding your video (a computationally intensive process), it directly copies the already-compressed video and audio data packets you want to keep and places them into a new file. This avoids the time-consuming rendering process.
Q: Can I add effects, transitions, or color grading with LosslessCut? A: No. LosslessCut is a specialized tool for lossless cutting and merging. It does not offer any creative editing features like visual effects, transitions, color correction, or audio mixing. For those tasks, you'll need a traditional video editor.
Q: My cut isn't exactly where I marked it. What went wrong? A: This is likely due to the "keyframe catch." Most video formats are not designed for frame-perfect cuts everywhere. LosslessCut must start a new segment at an existing keyframe. If your chosen start point isn't a keyframe, the software will automatically adjust it to the nearest preceding keyframe. You can try adjusting your cut point slightly to align with a visible keyframe on the timeline, or, in rare cases, use the experimental "Smart Cut" feature.
Next Steps
With LosslessCut, you're now equipped to handle quick video trims and merges efficiently. For more complex video projects requiring creative edits, explore powerful (and often free) alternatives like DaVinci Resolve or other professional-grade software. LosslessCut perfectly complements these tools by taking care of the simple, non-destructive tasks, saving you valuable time and computing resources.
Related articles

How to Quote Movies Accurately - Avoid Common Misquotes
Learn to identify and correct 10 frequently misquoted movie lines to impress your friends and become a true cinematic aficionado.

How to Choose and Maximize Your Bissell Pet Carpet Cleaner Deal
Dealing with unexpected pet messes or persistent carpet stains can be a real headache. Whether it’s muddy paw prints, accidental spills, or allergens from pet dander, keeping carpets clean and fresh is an ongoing
The One Zero Company Achievement That Got Away From Me
Star Wars Zero Company is a stellar turn-based tactics game, but the author is playfully irked by one missing achievement: a reward for completing the game without losing any squad members to its brutal permadeath system. Despite this minor gripe, the game is lauded as one of the year's best, showcasing deep strategic gameplay.

How to Pick and Play Top Roblox Games with Your Siblings This Weekend
Looking for the perfect way to connect and have fun with your siblings this weekend? Roblox offers a vast universe of experiences designed to entertain players across various age groups and preferences. Whether you have

How to Choose Your Next AirPods - Comparing 5, 4, and Pro 3
Navigating Apple's AirPods lineup can be tricky. With the new AirPods 5 potentially offering a better, cheaper option than the AirPods 4, and the AirPods Pro 3 still a premium contender, how do you decide which is right
Stop Random USB Disconnections: Disable Windows Power Saving
Learn to fix random USB device disconnections by disabling Windows' power-saving features in Settings, Control Panel, and Device Manager.