
howto: 3 Home Assistant projects to build multipurpose devices this
Build smarter, multipurpose Home Assistant devices this weekend (Sep 18-20)! Learn to combine presence sensing, smart buttons, and status lights into one unit, add displays to Bluetooth proxies, and integrate your standing desk with presence tracking for a cleaner, more efficient smart home.
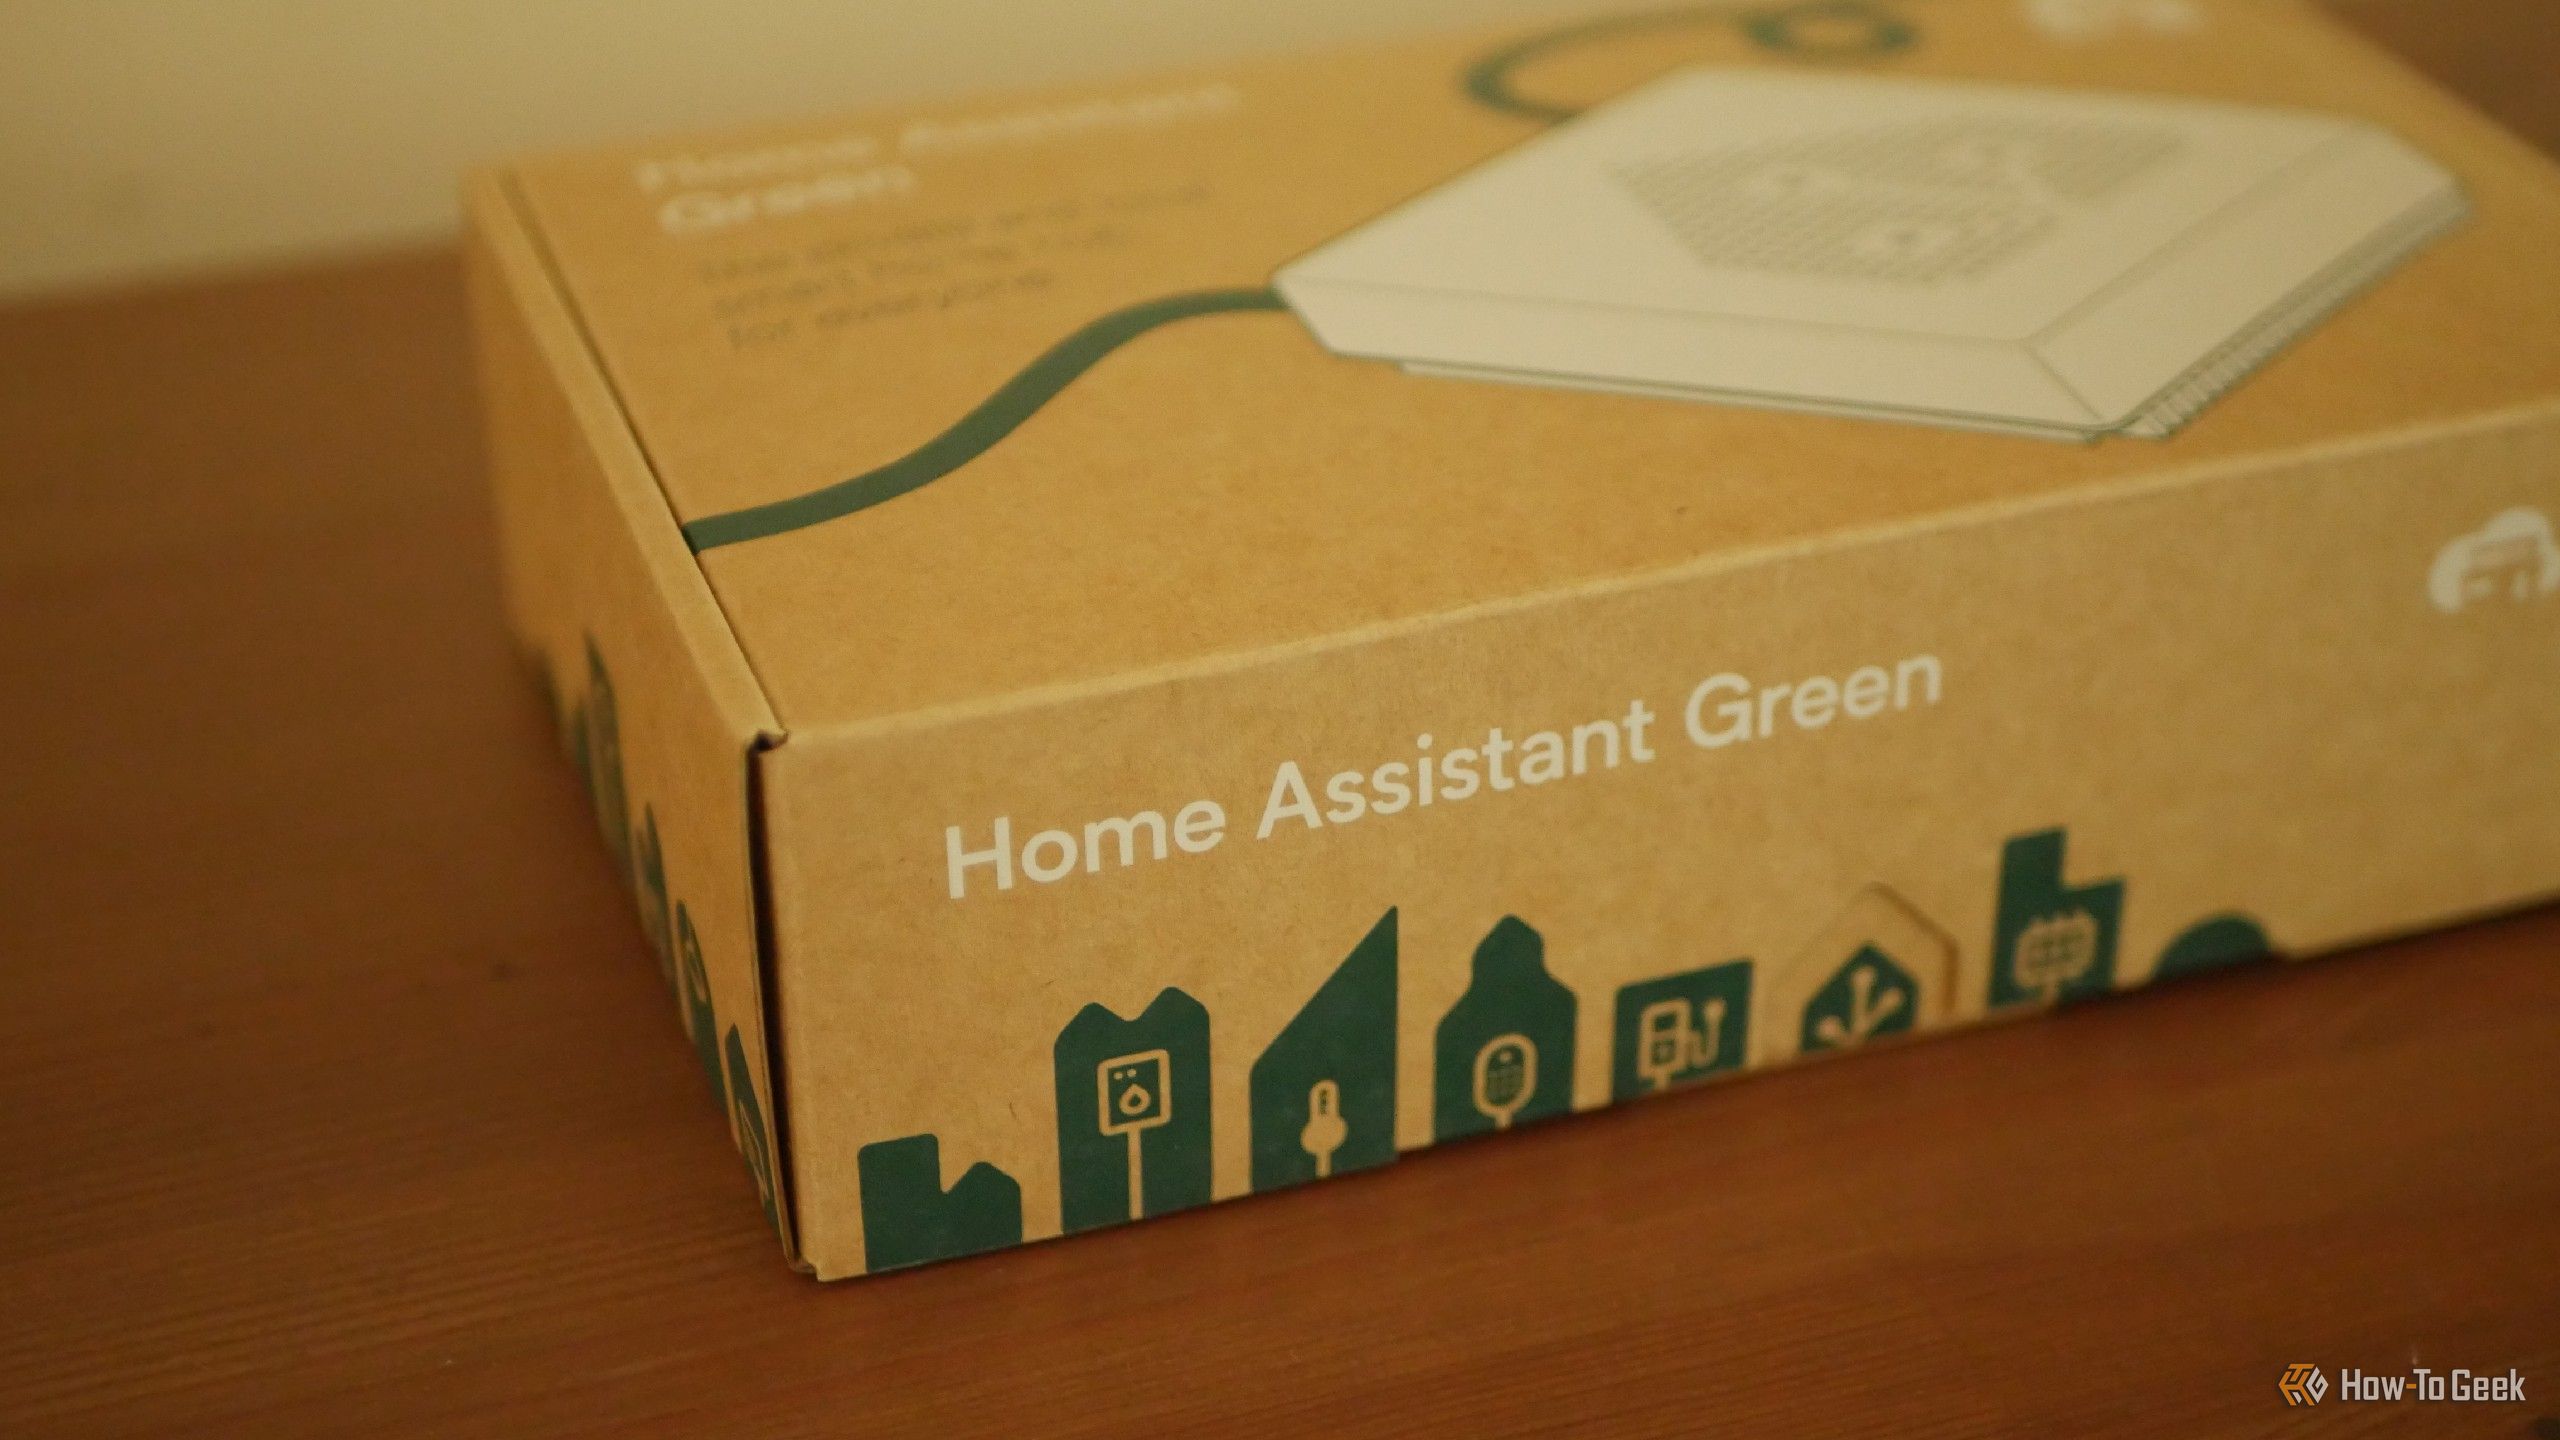
Are you tired of your smart home feeling cluttered with single-purpose gadgets? Imagine a single device that can monitor presence, act as a smart button, and display status information all at once. This weekend, from September 18th to 20th, you can transform your Home Assistant setup by building multipurpose devices that reduce clutter and enhance automation.
Smart homes should work seamlessly in the background, minimizing your interaction while maximizing efficiency. By combining several functionalities into one device, you can achieve a cleaner, more integrated smart home experience. These projects leverage the power of ESP32 microcontrollers and ESPHome to bring your ideas to life.
What you'll accomplish:
- Build a compact device that handles presence detection, multiple button actions, and visual status indicators.
- Upgrade your existing Home Assistant Bluetooth proxies with useful data displays.
- Integrate your standing desk with presence sensing to automatically track and manage your sitting and standing habits.
Prerequisites and General Requirements
Before diving into these projects, ensure you have the following:
- A running Home Assistant server: This is the central hub for all your smart devices and automations.
- Basic understanding of ESPHome: Many of these projects utilize ESPHome for firmware management and integration with Home Assistant. Familiarity with flashing firmware to an ESP32 is beneficial.
- Basic electronics knowledge: While detailed wiring diagrams are often provided, a fundamental grasp of electronics can help with assembly.
- ESP32 development boards: These versatile microcontrollers are at the heart of all three projects.
- Soldering iron and basic tools: Depending on whether you're building from scratch or using pre-assembled boards, a soldering iron, wires, and breadboards might be necessary.
- 3D printer (optional but recommended): Custom enclosures for your devices can greatly improve aesthetics and protection.
- USB-C cables: To power and flash your ESP32 boards.
Let's get started!
Project 1: Build a Multipurpose Scoopy Device
Why Combine Three Devices Into One?
Many smart home enthusiasts find themselves with multiple devices performing single tasks in one area—a presence sensor, a smart button, and a status light. The Scoopy device integrates all these functionalities into a single, compact unit, perfect for your desk or discreet placement.
What You'll Need:
- ESP32 microcontroller: The brain of your Scoopy.
- Presence-sensing module: For accurate motion detection.
- Two physical buttons: To trigger various actions.
- Three LEDs: For customizable status indications.
- Enclosure: You can 3D print the provided STL files or design your own.
How to Build It:
- Gather Components: Acquire an ESP32, a presence sensor module, two buttons, and three LEDs. Ensure they are compatible with each other and the ESP32.
- Assemble Hardware: Follow the provided hardware diagrams to connect the presence sensor, buttons, and LEDs to your ESP32 board. This typically involves wiring them to specific GPIO pins.
- Flash ESPHome Firmware: The creator has made the firmware and STL files publicly available on GitHub. Configure ESPHome for your specific Scoopy setup, including defining the presence sensor, button actions (single-press, double-press, and hold for each button), and LED controls (brightness, effects).
- Integrate with Home Assistant: Once flashed, your Scoopy device will automatically appear in Home Assistant, exposing its various sensors, buttons, and lights as entities.
- Design and Print Enclosure: If you have a 3D printer, download the STL files from the GitHub repository to print a custom enclosure for your Scoopy. This keeps the components tidy and provides a professional finish.
Tips and Best Practices:
- Bluetooth Proxy: The Scoopy can also function as a Bluetooth proxy for Home Assistant, extending your Bluetooth device range.
- Customization: Experiment with different LED colors and effects to indicate various states in your home (e.g., green for 'all clear,' red for 'alert,' pulsing for 'notification').
- Pre-built Options: If you prefer not to build from scratch, you can purchase a fully assembled Scoopy or the PCBA boards directly from the creator's website.
Project 2: Add a Display to a Bluetooth Proxy
Give Your ESP32 a Second Job
An ESP32 configured as a Bluetooth proxy is incredibly useful for extending your Home Assistant's reach to Bluetooth devices. But why limit it to just one job? This project adds a display, allowing your proxy to provide useful information at a glance while still serving its primary function.
What You'll Need:
- ESP32 microcontroller: Already acting as your Bluetooth proxy.
- ZJY130I0400WG41 1.29-inch 128x64 CH1115 OLED display: This specific display is recommended, but other compatible OLED displays might work.
- 3D-printed enclosure: To house the ESP32 and display cleanly.
How to Build It:
- Connect the Display: Carefully wire the OLED display to your ESP32 according to the provided wiring diagrams. Ensure correct connections for power, ground, and data pins.
- Configure ESPHome: Access the user's GitHub repository for detailed instructions, including the ESPHome configuration. This configuration will enable the display and specify what information to show.
- Flash Firmware: Upload the updated ESPHome firmware to your ESP32. This will activate the display and allow it to pull data from Home Assistant entities.
- Assemble Enclosure: Use the 3D-printed enclosure to protect your device and present it neatly. The enclosure is designed to accommodate both the ESP32 and the OLED screen.
Tips and Best Practices:
- Information Display: The default firmware can show temperature, humidity, Wi-Fi signal strength, and proxy connection status. You can customize the ESPHome configuration to display any Home Assistant entity data you find useful, such as calendar events, weather, or sensor readings from other devices.
- Multiple Proxies: For comprehensive Bluetooth coverage and room-based presence detection (e.g., using software like Bermuda), deploy multiple Bluetooth proxies with displays around your home.
- Hardware Flexibility: Don't feel restricted to the exact hardware. If you're comfortable, adapt the design to a different display or create your own custom housing.
Project 3: Make Your Standing Desk Track How Long You're Sitting
Control Your Desk and Monitor Your Presence
For those who spend long hours at a desk, a standing desk is a valuable tool. This project takes it a step further by integrating your standing desk with Home Assistant, allowing you to track sitting and standing times and even automate desk adjustments.
What You'll Need (Primary Method):
- Compatible standing desk with an RJ45 port: This port is crucial for remote control functionality.
- ESP32 microcontroller: To interface with the desk controller.
- LD2410 presence sensor: A highly sensitive mmWave sensor for accurate presence detection.
How to Build It:
- Connect ESP32 to Desk: If your desk has an RJ45 port for control, connect your ESP32 to it. The ESP32 will send signals to the desk's controller to adjust its height.
- Integrate Presence Sensor: Connect the LD2410 presence sensor to your ESP32. This sensor will detect when you are in your chair or standing at your desk.
- Configure ESPHome and Home Assistant: Use ESPHome to create firmware that interprets signals from the presence sensor and sends commands to the desk. In Home Assistant, you can then create automations to track sitting/standing time, trigger reminders, or even automatically adjust the desk height based on your habits.
- Monitor and Automate: With the system in place, Home Assistant can track how long you've been sitting, standing, or away from your desk. You can set up notifications (e.g., via smart speakers or phone notifications) to remind you to change positions.
Alternative for Incompatible Desks:
If your standing desk lacks an RJ45 port, you can implement a simpler, yet effective, presence tracking solution:
- Door Contact Sensor: Attach one half of a door contact sensor to the back of your desk and the other half to the wall at a specific height that aligns when the desk is fully down.
- Track Desk Position: When the desk is down, the sensor shows 'closed'. When the desk is up, the two halves separate, and the sensor shows 'open'.
- Home Assistant Integration: Use this contact sensor state within Home Assistant automations to infer whether you are sitting or standing, and track your time accordingly.
Tips and Best Practices:
- Define Zones: In Home Assistant, create a 'zone' around your office chair to refine presence detection for more accurate sitting/standing tracking.
- Automated Reminders: Set up actionable notifications. For example, a smart speaker could remind you to stand up after 45 minutes of sitting.
- Live Activities: For iPhone users, integrate Live Activities notifications to constantly display your current sitting or standing duration on your lock screen.
Troubleshooting Common Issues
- ESPHome Flashing Issues: Ensure your ESP32 is in flashing mode. Double-check the selected board type in ESPHome. Try different USB cables or ports. Verify your Wi-Fi credentials in the ESPHome configuration.
- Device Not Appearing in Home Assistant: After flashing, ensure your ESP32 is connected to your Wi-Fi network. Check your Home Assistant logs for discovery messages. Sometimes a restart of Home Assistant or the ESP32 can help.
- Sensor Readings Incorrect/Missing: Verify all wiring connections are secure. Check the ESPHome logs for error messages related to the sensor. Ensure the sensor library is correctly included in your ESPHome configuration.
- 3D Print Failures: If printing enclosures, ensure your printer settings (temperature, layer height, supports) are optimized for the material you are using.
Next Steps
These projects are just the beginning of what's possible with Home Assistant and ESP32s. Consider expanding your devices by:
- Adding environmental sensors (temperature, humidity, air quality) to your Scoopy or Bluetooth proxy.
- Integrating soil moisture sensors into existing ESP32 boards to automate plant watering.
- Exploring other ESPHome features and components to create even more unique multipurpose devices for your smart home.
Making your smart home devices do more with less hardware is a rewarding way to improve your environment. Happy building this weekend!
FAQ
Q: Do I need advanced coding skills to complete these projects?
A: Not necessarily. Many Home Assistant and ESPHome projects provide ready-to-use firmware configurations. While a basic understanding of YAML (for ESPHome configuration) is helpful, you'll mostly be following instructions and adapting existing code snippets rather than writing complex code from scratch. The provided GitHub repositories contain most of what you need.
Q: Can I use different ESP32 boards or other microcontrollers?
A: While the guides often specify ESP32 boards, many ESPHome projects are compatible with various ESP-based microcontrollers (like ESP8266 for simpler tasks). However, for specific projects like the Scoopy or the standing desk interface, sticking to the recommended ESP32 is advisable due to its processing power and peripheral support. Always check the project's documentation for compatibility.
Q: How do I ensure my custom devices remain secure on my network?
A: When configuring your ESPHome devices, ensure you use strong Wi-Fi passwords and ideally set up a separate VLAN or guest network for your IoT devices. Regularly update your Home Assistant and ESPHome components to benefit from the latest security patches. Since these devices typically communicate locally within your network, the risk is generally lower than with cloud-dependent devices, but network segmentation adds an extra layer of protection.
Related articles
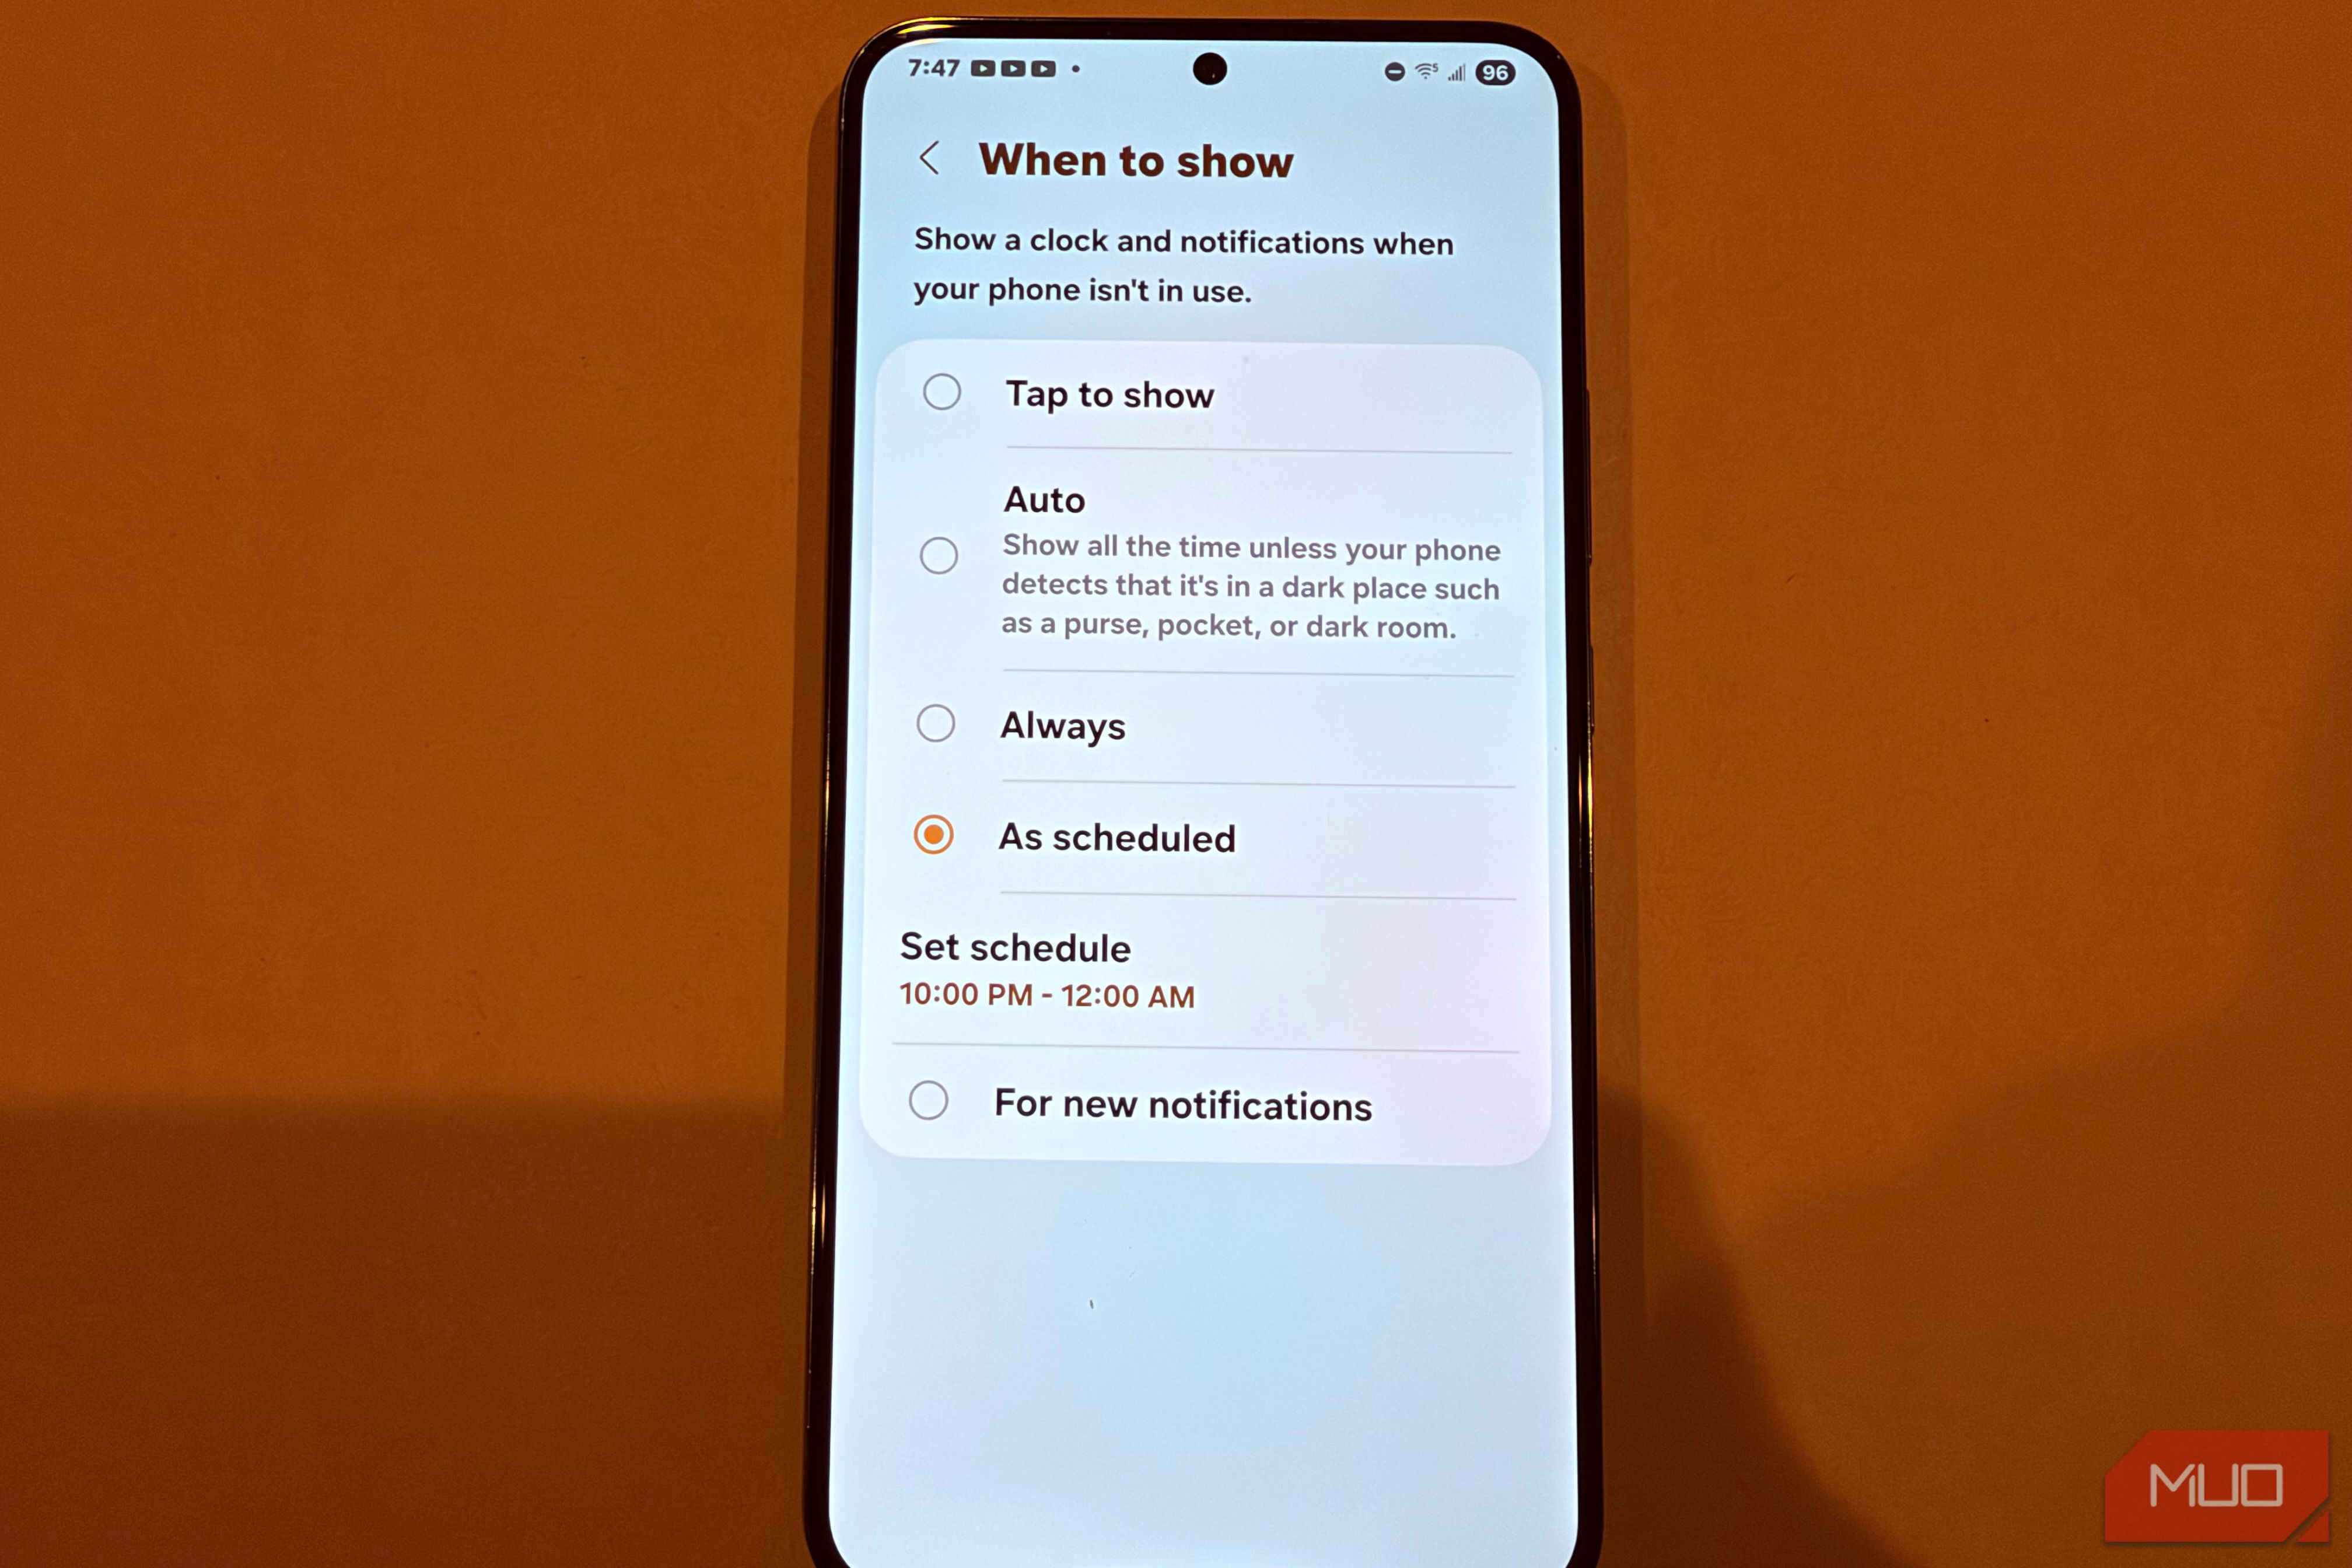
Your Galaxy's Always-On Display Draining Battery? Schedule a Hidden
Reclaim Your Battery: Schedule Your Galaxy's Always-On Display Your Samsung Galaxy's Always-On Display (AOD) is a handy feature, showing you the time and notifications at a glance. However, keeping it active all day can
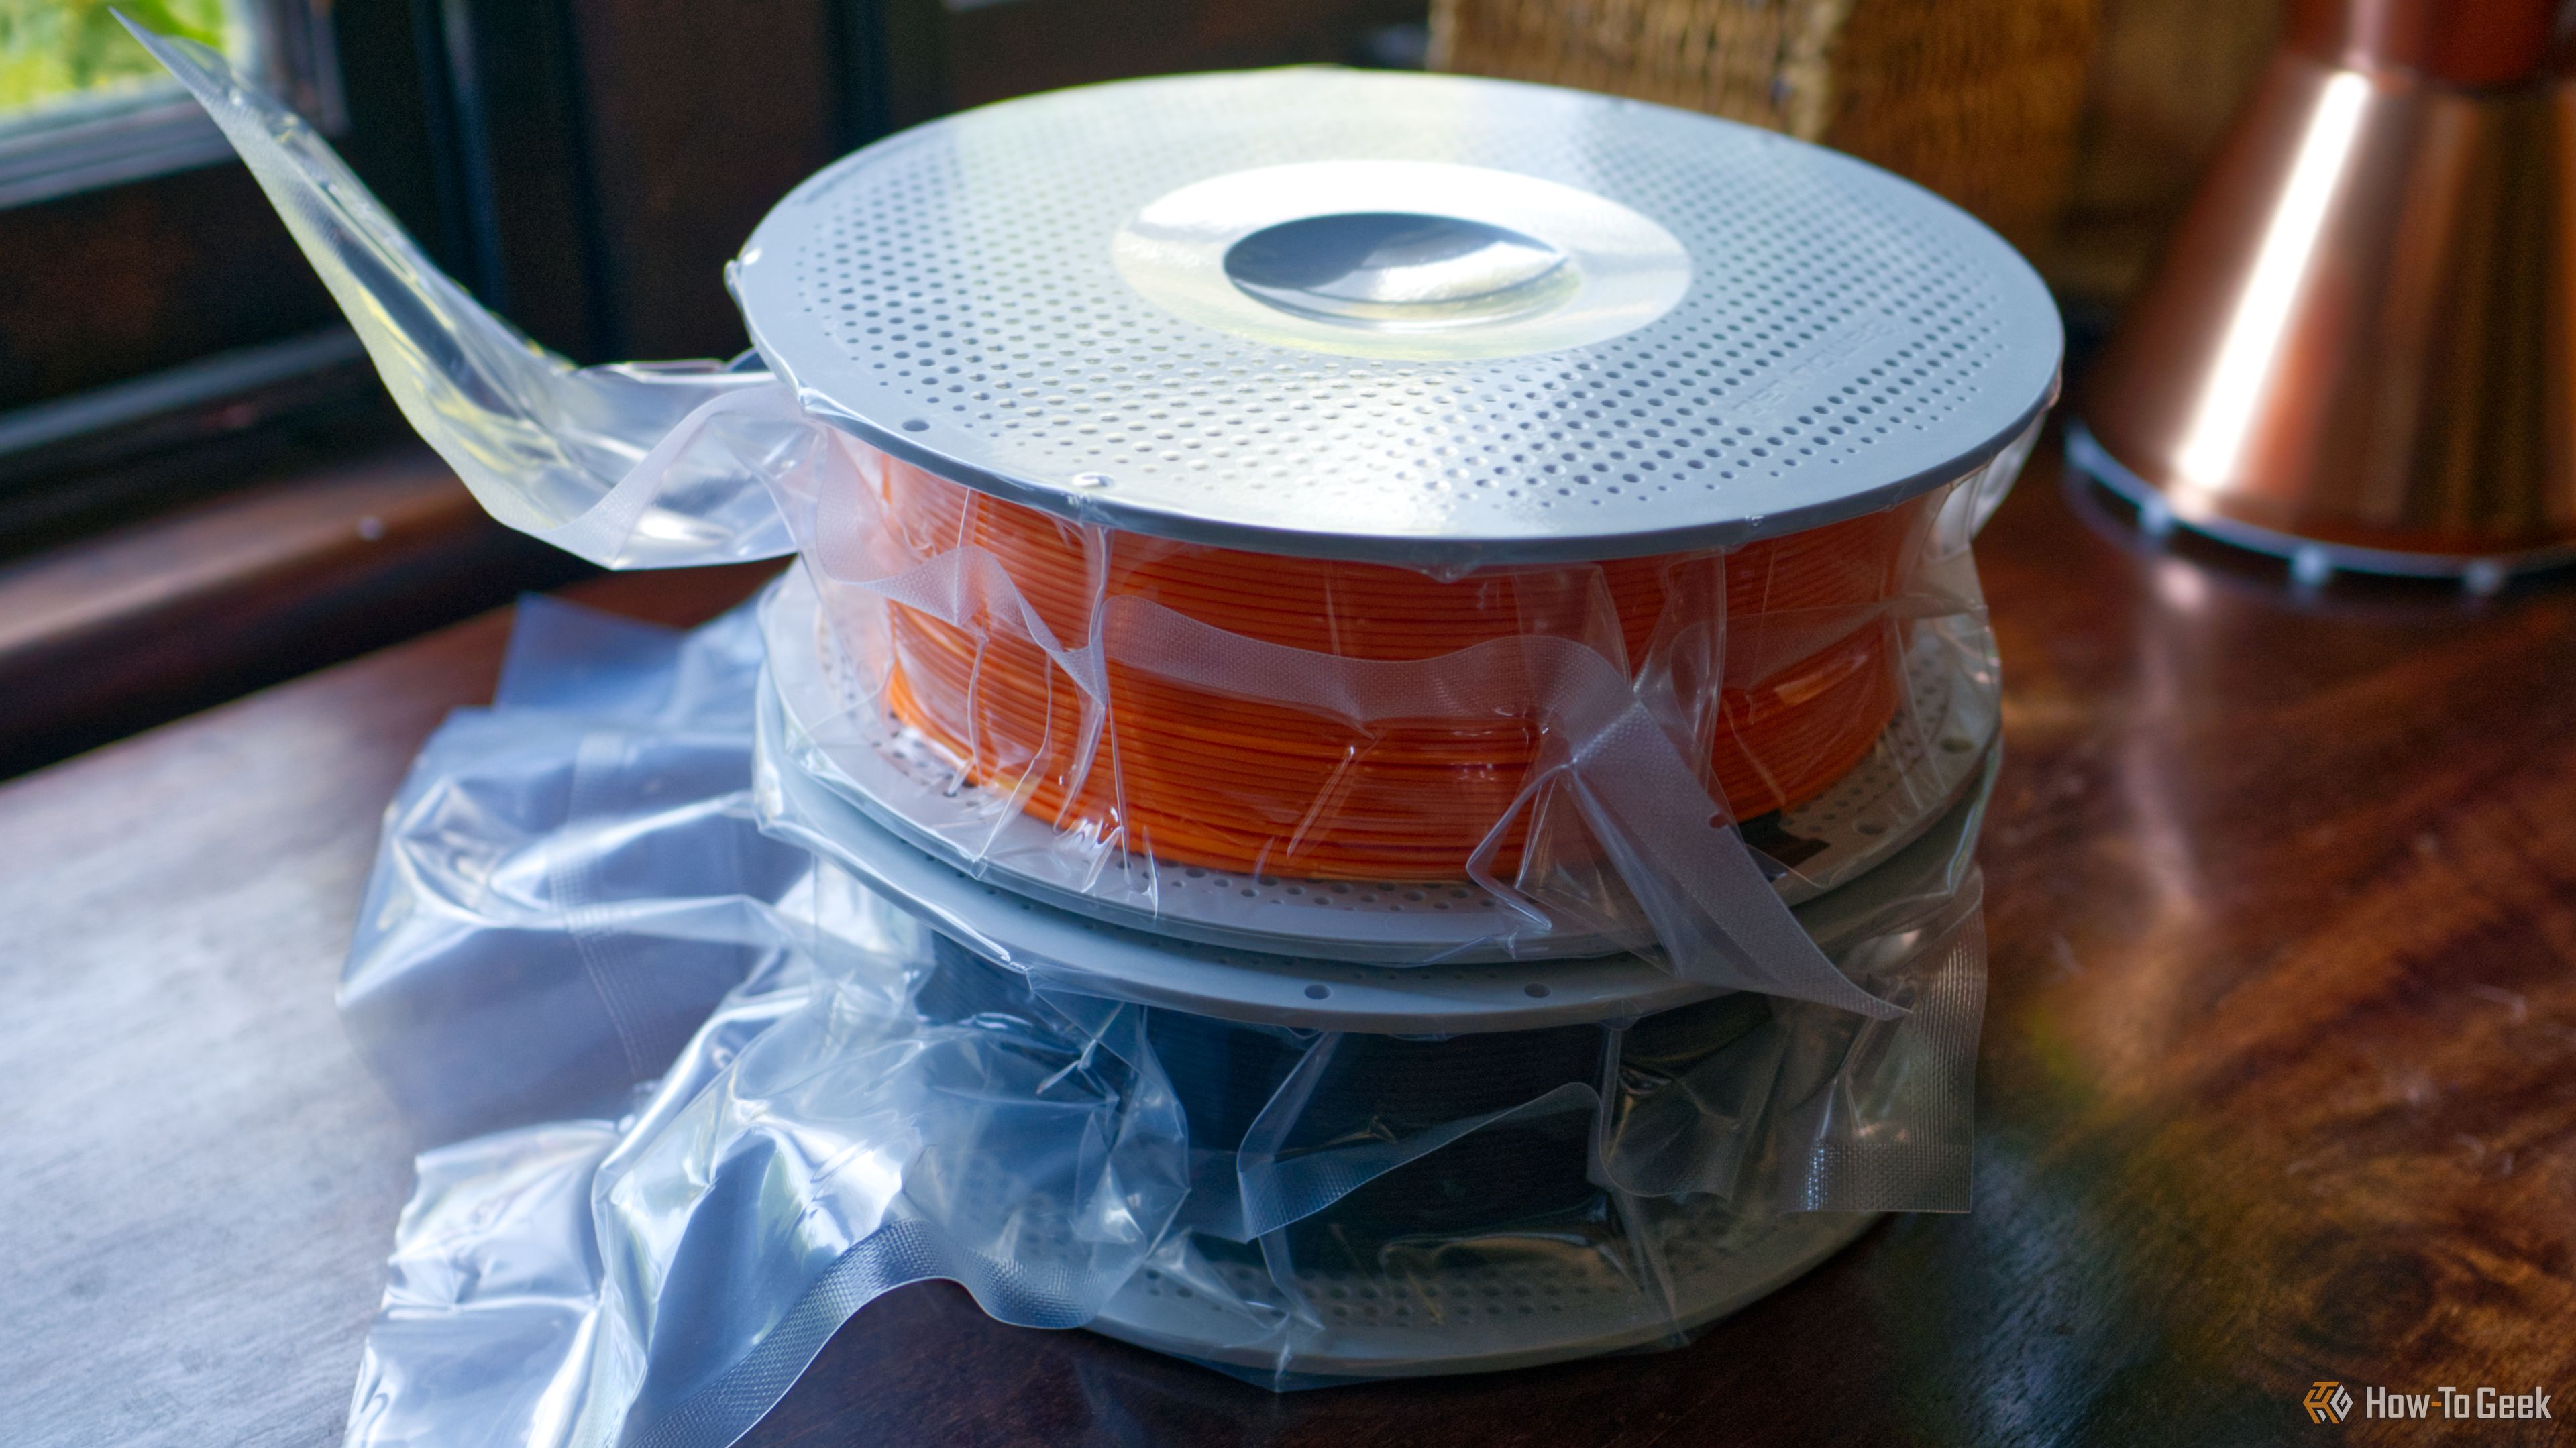
Turn Filament Packaging into Free 3D Printer Upgrades
Repurpose empty filament spools, boxes, and silica packets into free 3D printer upgrades and storage solutions in a few simple steps. Organize your workshop and protect your filament.
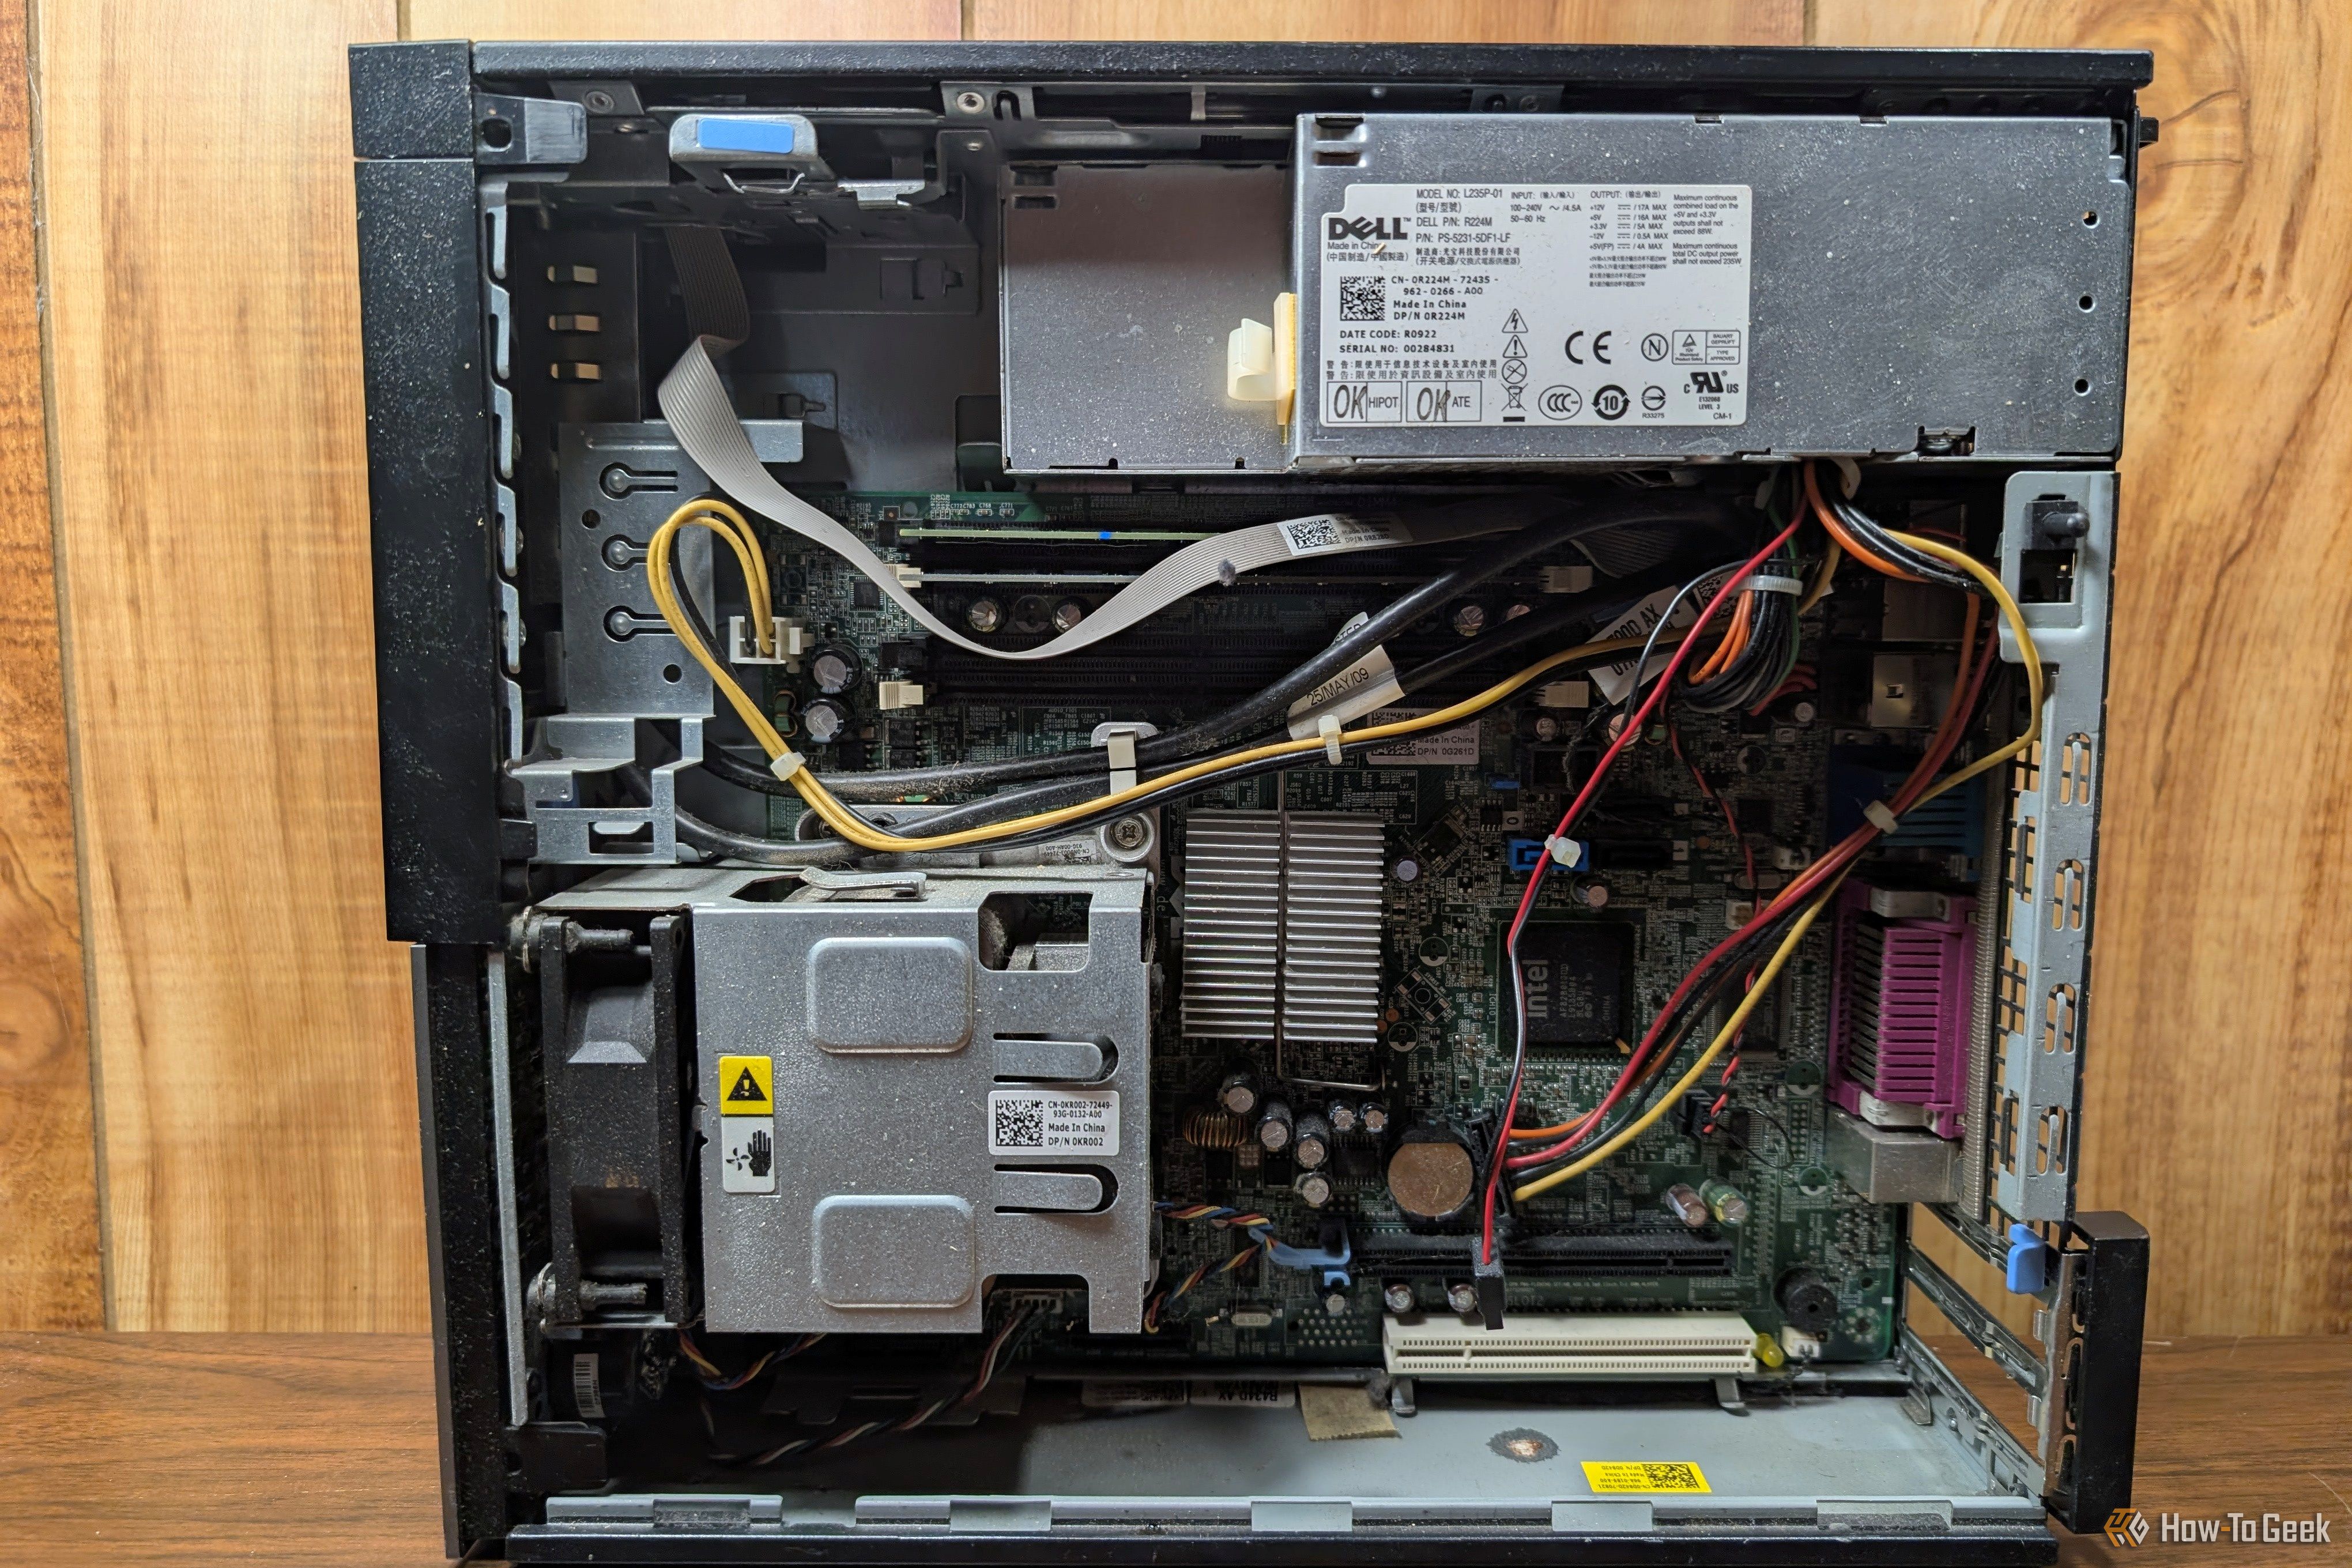
Turn Your Old PC into a Homelab: 6 Beginner Self-Hosting Projects
Breathe New Life into Your Old PC with Self-Hosting Don't let that dusty old laptop or desktop gather cobwebs! While it might not keep up with today's demanding software, an older PC often has more than enough power to

How to Choose the Best Smart Speaker in 2026 - Find Your Perfect Match
This guide helps you choose the best smart speaker in 2026 by evaluating your ecosystem, prioritizing features, and reviewing top Amazon, Google, Apple, and portable options. Learn to pick a device that integrates seamlessly and enhances your smart home.
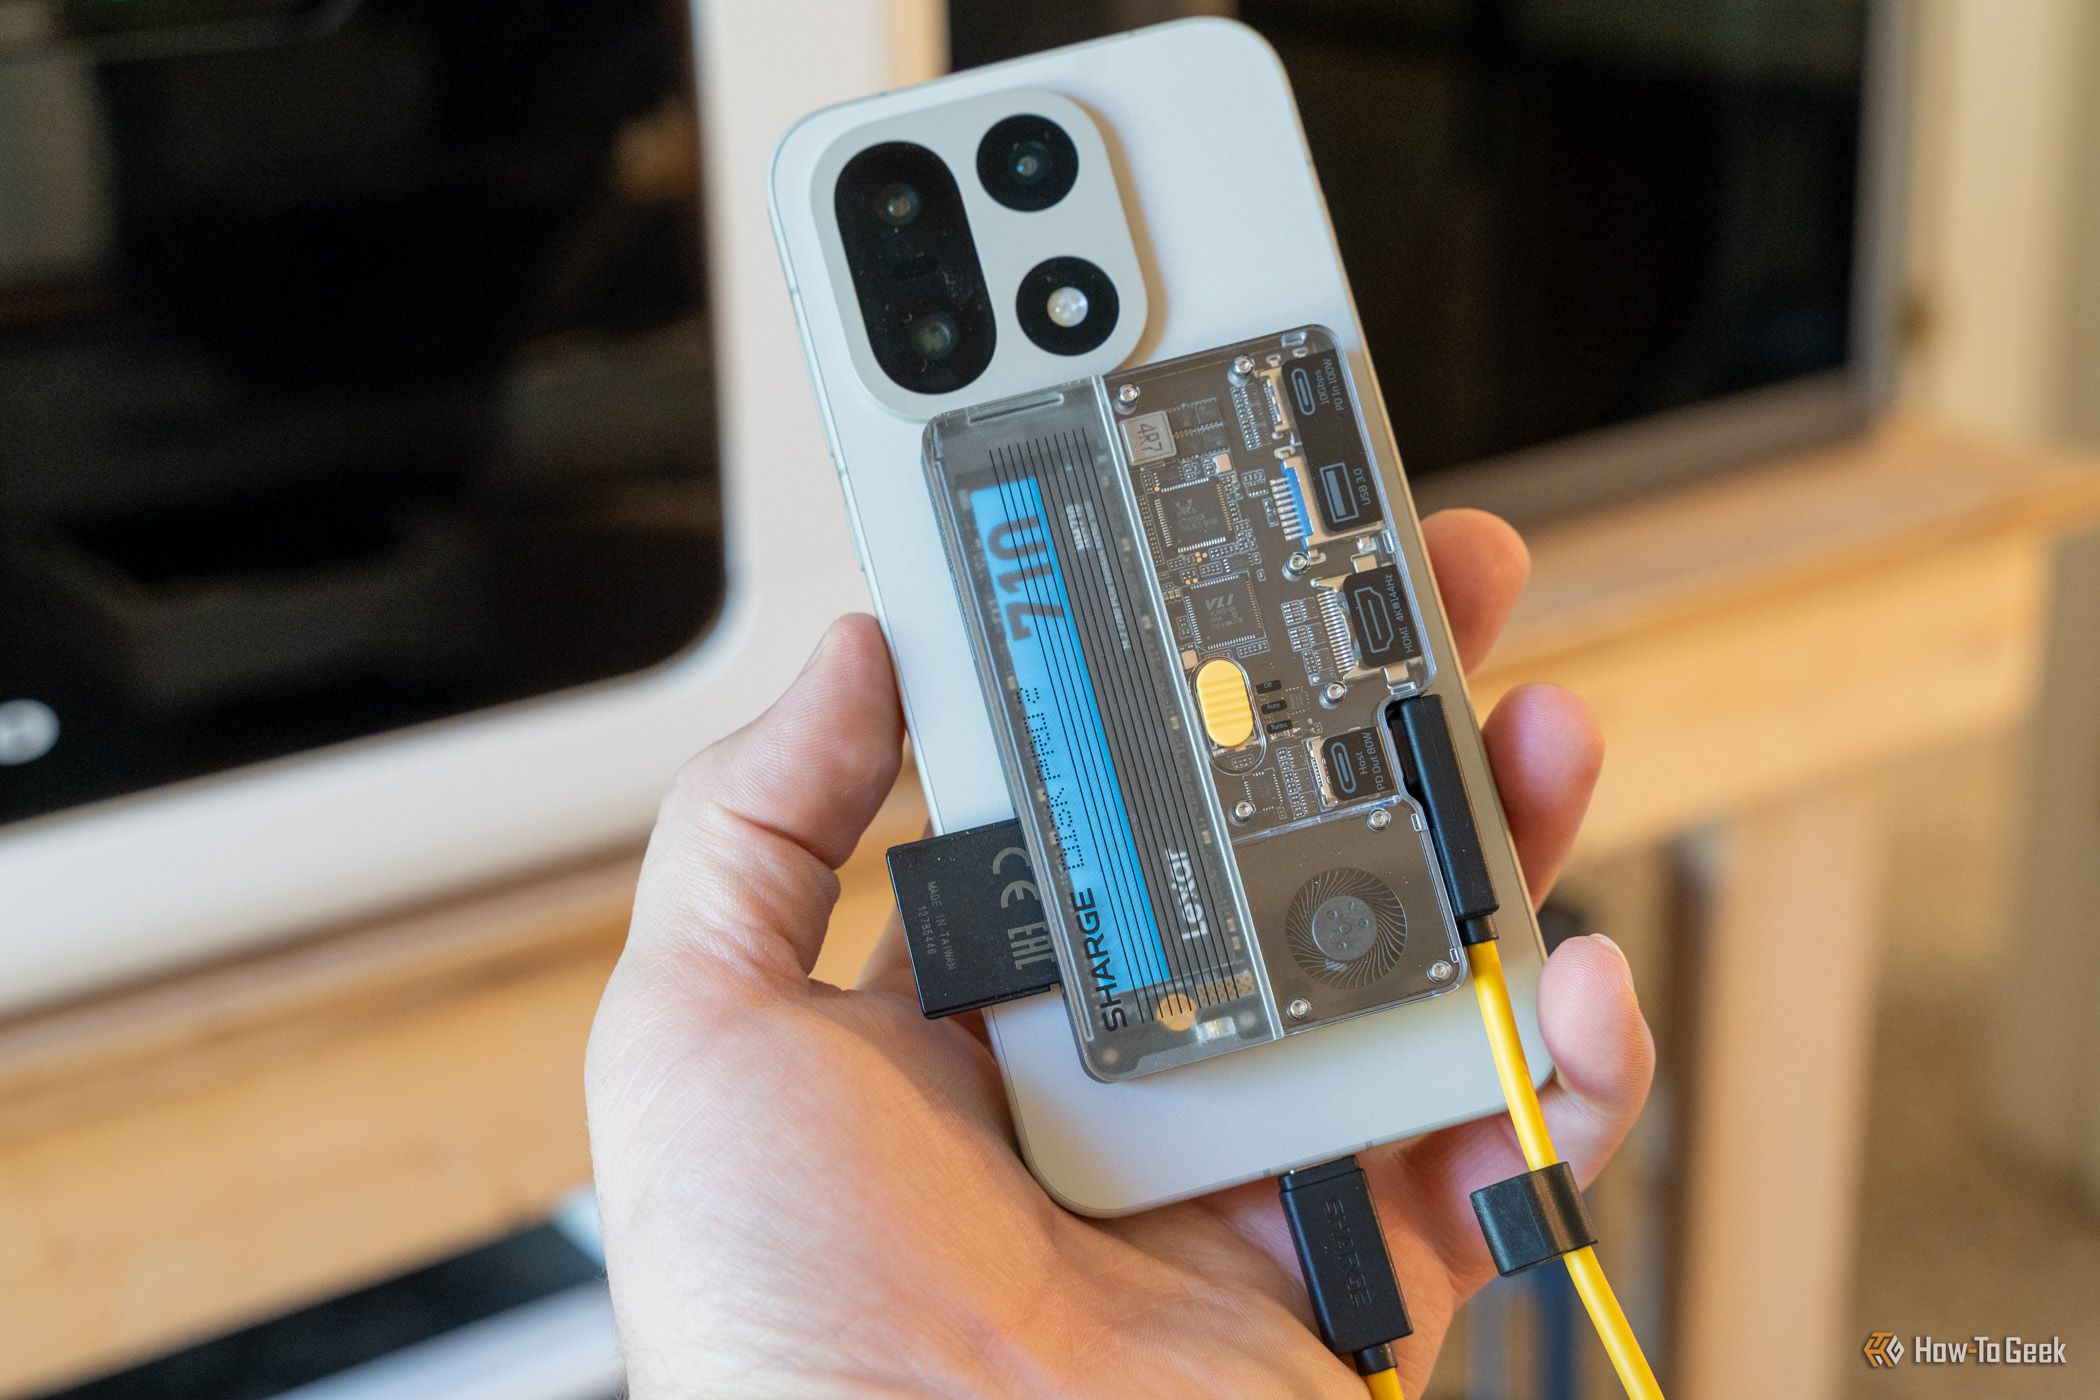
Maximize Your Sharge Disk Pro 2: Setup, Storage & Hub Features
Learn how to set up, install an SSD, and utilize all features of your Sharge Disk Pro 2, including its HDMI output, card readers, and power delivery, in this comprehensive guide.

Apple Home’s new security camera features cost as much as $60 a
Apple's new AI-powered security camera features for HomeKit Secure Video come with a hefty price tag, reaching up to $60 a month. These Apple Intelligence enhancements offer video summaries and advanced search but require higher-tier iCloud Plus subscriptions, a significant increase from the previous $1 monthly entry cost.