
How to Monitor Appliances with ESP32 - Smart Home, No Smart Plugs
Are you looking to make your home smarter without relying on expensive, restrictive smart plugs? The versatile ESP32 microcontroller offers a powerful, low-cost solution for monitoring your appliances in various ways.
Are you looking to make your home smarter without relying on expensive, restrictive smart plugs? The versatile ESP32 microcontroller offers a powerful, low-cost solution for monitoring your appliances in various ways. This guide will walk you through three distinct methods to gain insights into your home devices, from precise energy consumption to simple activity status, all without needing a single smart plug.
Traditional smart plugs, while convenient, often come with limitations. They typically max out at 15 to 20 amps, making them unsuitable for high-power or hardwired appliances like a water heater or clothes dryer. Furthermore, their individual cost can quickly add up if you intend to equip every appliance in your household. Fortunately, just as an affordable ESP32 can enhance your home network, it can also transform your smart home setup. By pairing it with the right sensor, you can monitor your appliances effectively and economically.
What You Will Accomplish
By following this guide, you will learn to:
- Measure exact power consumption of appliances using a Current Transformer (CT) clamp.
- Detect when machines are running or idle using vibration sensors.
- Monitor appliance status by reading their LED indicators with light sensors.
All these methods can be integrated into a unified system, typically leveraging Home Assistant and ESPHome, for a comprehensive smart home experience.
Prerequisites
Before diving into these monitoring techniques, ensure you have the following:
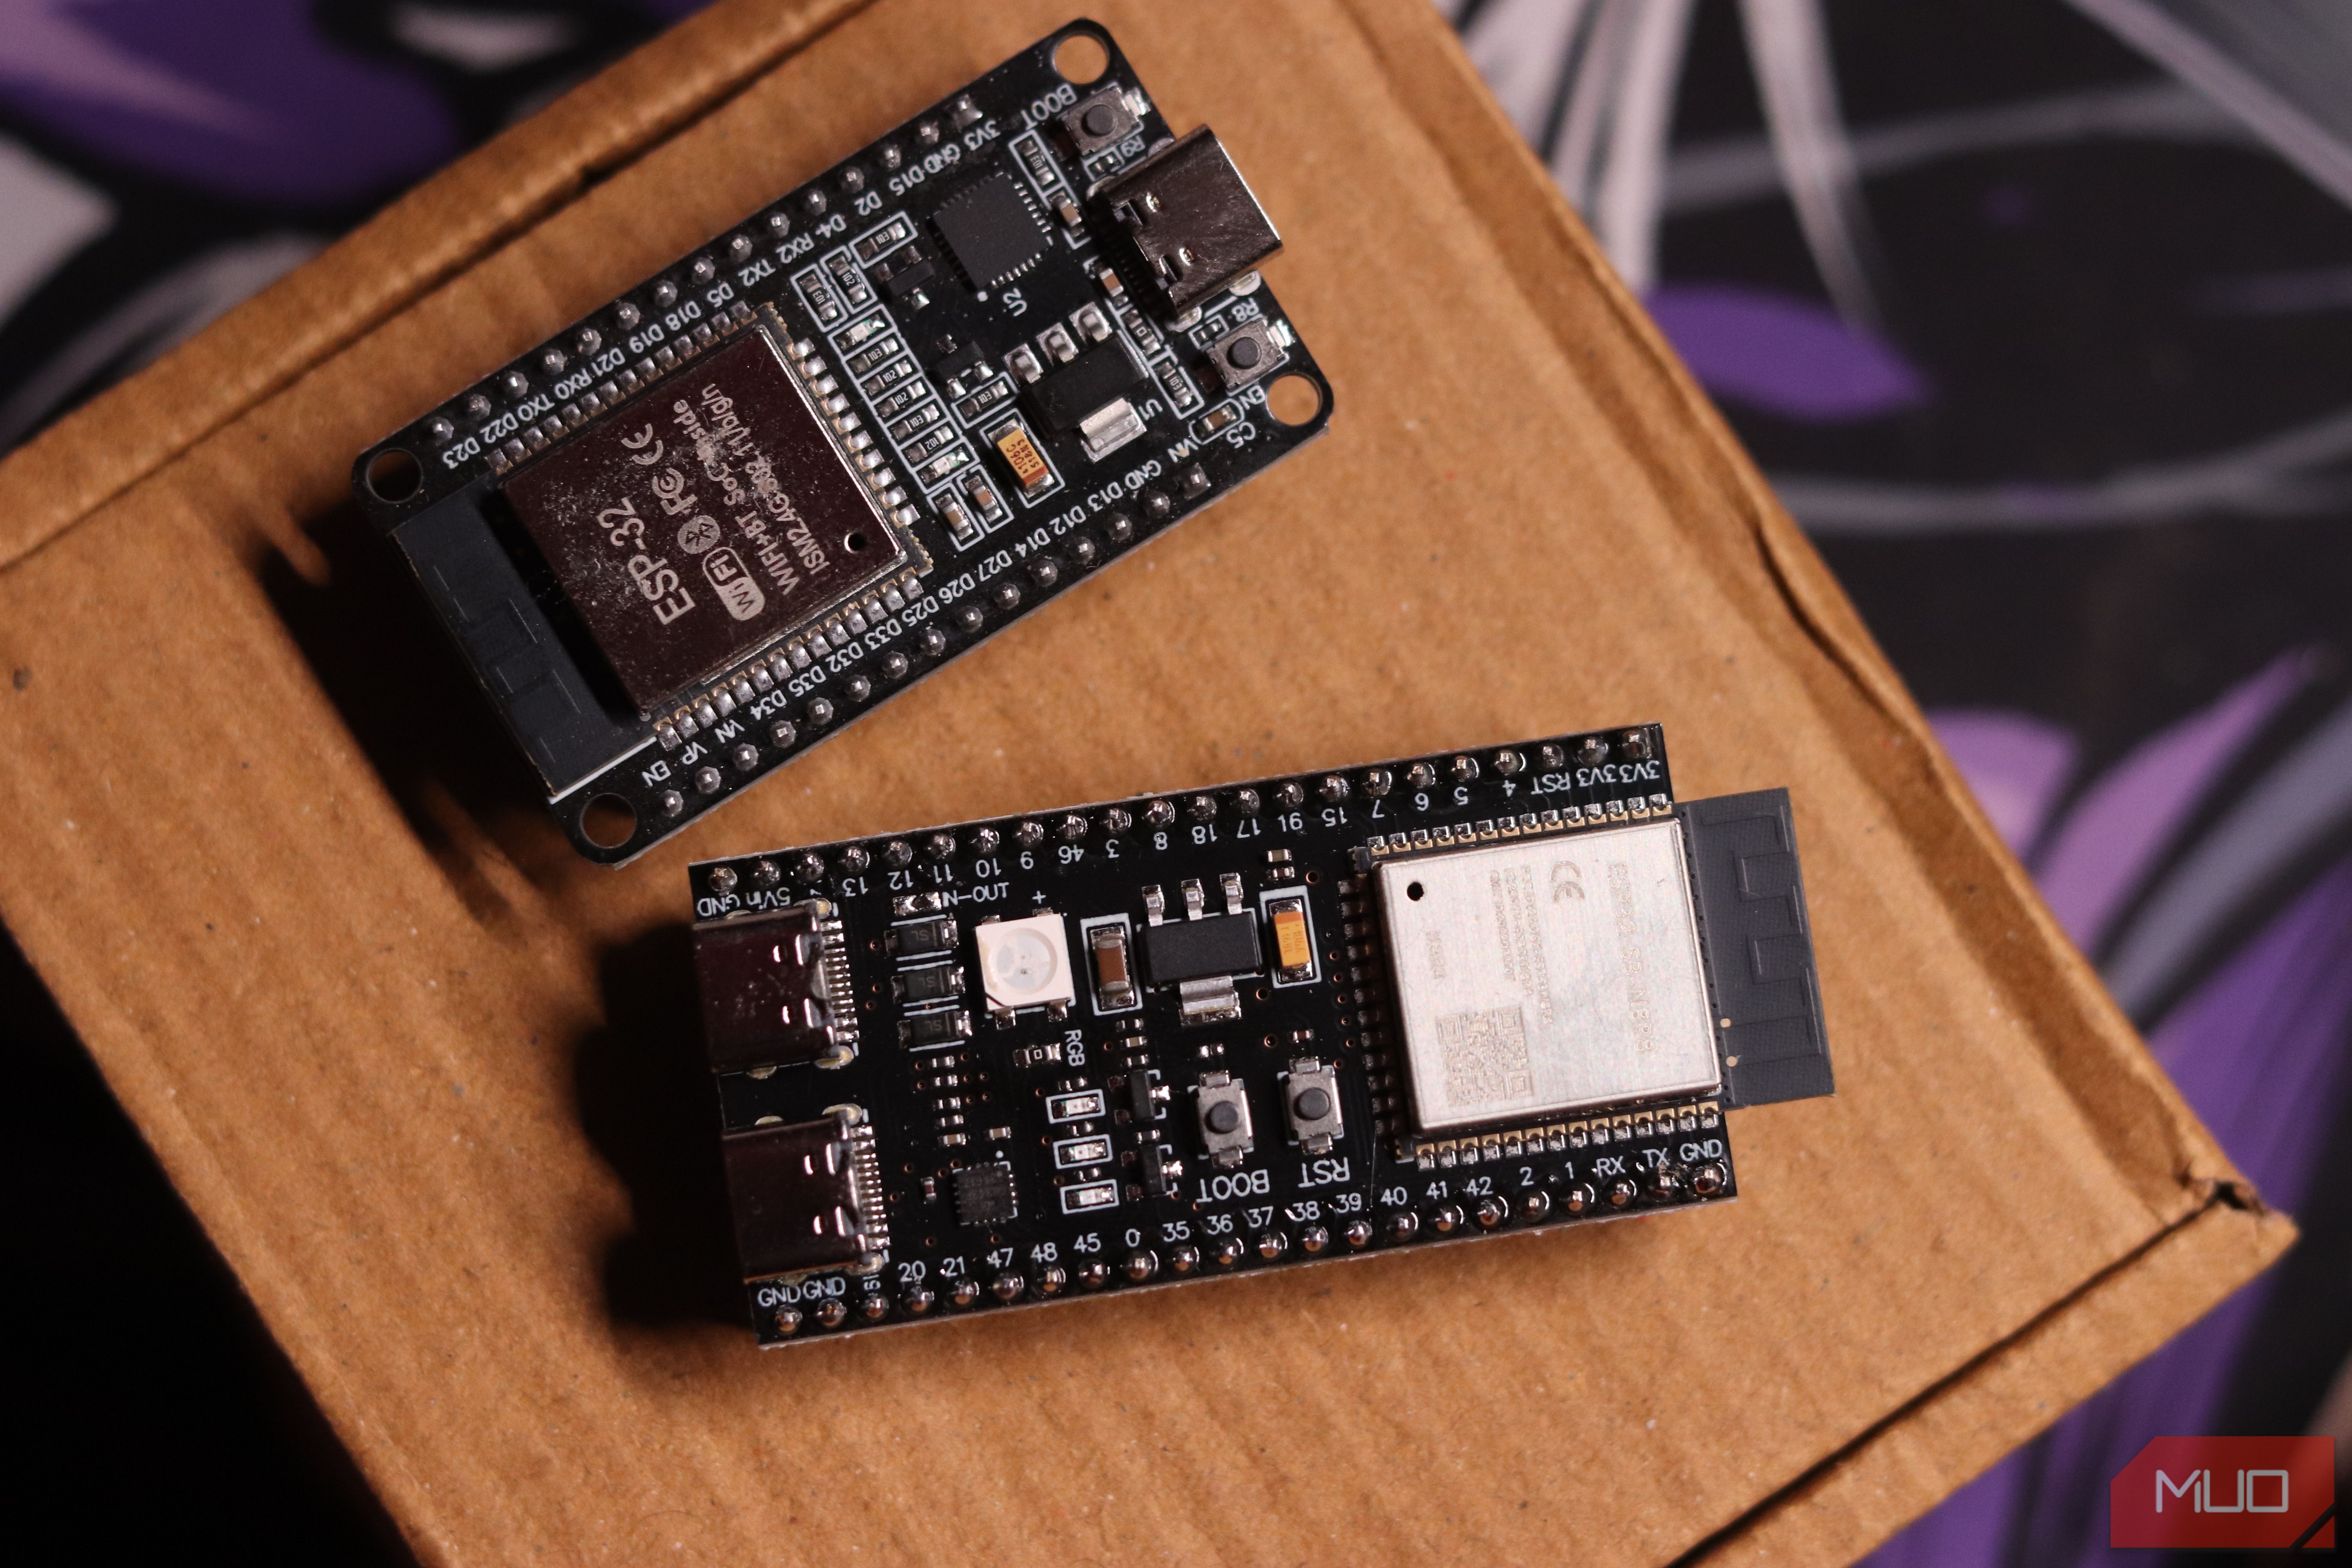
- ESP32 Microcontroller: This low-cost device with built-in Wi-Fi and Bluetooth is the brain of your monitoring system.
- Basic Electronics Understanding: Familiarity with wiring simple circuits, even if minimal, will be beneficial.
- Home Assistant (Recommended): An open-source home automation platform to integrate and manage your sensor data.
- ESPHome (Recommended): A firmware for ESP devices that simplifies configuration and integration with Home Assistant using YAML.
- Specific Sensors: Depending on the method(s) you choose, you'll need:
- SCT-013 CT clamp (for power monitoring)
- ADXL345 accelerometer or an old Android phone (for vibration detection)
- Light-Dependent Resistor (LDR) or BH1750 ambient light sensor (for LED status)
- Wiring Components: Jumper wires, breadboard for prototyping, and potentially resistors for specific circuits.
Method 1: Precise Power Monitoring with a CT Clamp
If your goal is to acquire accurate, real-time watt-hour data—detailing exactly how much electricity an appliance like your refrigerator or washing machine is consuming—a current transformer (CT) clamp is the ideal solution.
Sensor Type: A popular choice is the SCT-013 split-core sensor. This non-invasive device clips directly around a single live or neutral wire without requiring you to cut into the circuit.
How it Works: The CT clamp operates on the principle of magnetic induction. As AC current flows through the appliance's wire, it induces a proportional AC voltage in the sensor's secondary winding. Your ESP32 can then read this induced voltage.
Wiring and Hardware: The SCT-013-000 variant can measure up to 100 amps and outputs a small AC voltage via a 3.5mm jack. Because the ESP32's Analog-to-Digital Converter (ADC) can only read 0 to 3.3V DC, you'll need a small bias circuit. This typically consists of a pair of equal resistors used to center the sensor's AC signal around 1.65V, making it readable by the ESP32.
Software Setup: ESPHome greatly simplifies the process with its built-in ct_clamp sensor component. Simply connect the sensor's output to any ADC-capable GPIO pin on your ESP32. With just a few lines of YAML code in ESPHome, your ESP32 will begin reporting real-time current draw directly to Home Assistant. From there, you can configure automations to notify you if an appliance runs excessively long or consumes unusual amounts of power.
Tip: Pay close attention to the bias circuit wiring. Incorrect resistor values or connections can lead to inaccurate readings or damage to your ESP32's ADC input.
Method 2: Detecting Appliance Activity with Vibration Sensors
Sometimes, all you need to know is whether an appliance is currently running or not. For this, a vibration sensor proves to be a surprisingly capable and cost-effective solution.
How it Works: Many appliances, such as washing machines, dishwashers, and HVAC units, produce distinct, subtle vibrations when they are active and remain stable when off. This difference in vibration signature can be used to determine their operational status.
Option A: Dedicated Vibration Sensor (ADXL345)
- Sensor Type: An ADXL345 three-axis MEMS accelerometer is an excellent choice. These sensors are sensitive enough to detect the subtle motor vibrations within an appliance and are very affordable, typically costing only $2 to $3 on breakout boards, which simplify prototyping.
- Wiring and Software: Connect the ADXL345 to your ESP32 via I2C. Coding is straightforward thanks to readily available libraries like Adafruit's ADXL345 library and native support within ESPHome. This allows for quick integration and configuration.
Option B: Repurposing an Old Android Phone
- Sensor Type: If you have an unused Android phone, you already possess a powerful sensor platform. Its built-in accelerometer can detect vibrations, providing a completely hardware-free solution for vibration monitoring.
- How it Works: While perhaps not as sensitive as a dedicated ADXL345, an Android phone avoids the need for any building or coding on your part. The Home Assistant Companion app can read the phone's sensor state and relay this data back to your Home Assistant installation, triggering automations as needed.
Tip: For dedicated sensors like the ADXL345, ensure it's securely mounted directly onto the appliance's casing to effectively capture vibrations. For an Android phone, keep it powered and connected to your network for continuous reporting.
Method 3: Reading Appliance Status LEDs with Light Sensors
A simpler, yet effective, method involves observing an appliance's indicator lights. By connecting a light-dependent resistor (LDR) or a more advanced light sensor to your ESP32, you can tell whether an appliance's status LED is on or off.
How it Works: This method relies on the appliance having clear LED status indicators. A light sensor detects the presence or absence of light from the LED, translating that into an on/off state for the ESP32.
Option A: Simple Light-Dependent Resistor (LDR/Photoresistor)
- Sensor Type: An off-the-shelf LDR is a very inexpensive component, often costing less than a dollar. It works perfectly for a binary on/off state check.
- Wiring: An LDR is typically connected in a voltage divider circuit to an analog input pin on the ESP32, allowing the microcontroller to measure changes in resistance caused by varying light levels.
Option B: Calibrated Ambient Light Sensor (BH1750)
- Sensor Type: For cleaner, more consistently calibrated readings, you can use an ambient light sensor like the BH1750. This sensor provides digital light intensity readings.
- Wiring: The BH1750 communicates with the ESP32 over the I2C protocol, offering more precise data than a basic LDR.
Key Practice: Regardless of the light sensor chosen, positioning is critical. Mount the sensor as close to the target LED as possible. Crucially, shield it from any ambient light using a small piece of black electrical tape or heat shrink tubing. This prevents false readings from room lighting and ensures only the appliance's LED is detected.
Integrating Your Monitoring System
These three monitoring methods are not mutually exclusive; in fact, they complement each other to create a robust appliance monitoring system. A well-designed ESP32 setup might incorporate:
- A CT clamp on your main electrical panel or specific high-power appliance circuits for detailed energy consumption data.
- An ADXL345 on your washing machine or dishwasher for accurate cycle detection.
- A couple of LDRs strategically placed over status LEDs on various other appliances for basic on/off indications.
All of this data can seamlessly feed into Home Assistant via ESPHome, providing you with a unified, comprehensive dashboard of your home's appliance activity, all without needing a single smart plug. The total component cost for such a setup is surprisingly low, often no more than $10-$15. While you will need to invest some time in tinkering and configuration, the extensive software support from ESPHome and numerous sensor libraries with code templates mean you can often get your smart monitoring devices operational in an afternoon.
Troubleshooting Tips
- Sensor Not Responding: Double-check all wiring connections for firmness and correctness. Verify the power supply to both the ESP32 and the sensor. If using I2C, ensure the correct I2C address is configured.
- Inaccurate Readings: For CT clamps, ensure the bias circuit is correctly assembled. For light sensors, verify proper shielding from ambient light. Calibrate sensors if the software library supports it.
- ESPHome Issues: Review your YAML configuration for any syntax errors. Check the ESPHome logs for diagnostic messages. Confirm that your ESP32 has a stable Wi-Fi connection to your network.
- Home Assistant Integration Problems: Ensure your ESPHome device is discoverable by Home Assistant. Verify that the entity IDs generated by ESPHome match what you expect in Home Assistant.
Next Steps and Related Topics
Once you have your appliance monitoring system up and running, consider exploring these advancements:
- Advanced Automations: Leverage Home Assistant to create more complex routines, such as notifying you when the laundry cycle is complete, pausing energy-intensive tasks during peak hours, or alerting you if a device is left on for too long.
- Environmental Monitoring: Expand your system by adding other sensors like temperature, humidity, or air quality sensors to your ESP32 projects.
- Power Optimization: Use the energy consumption data from CT clamps to identify power-hungry appliances and find opportunities for energy savings.
FAQ
Q: Do I need to be an electronics expert to implement these solutions?
A: While a basic understanding of electronics is helpful, it's not strictly necessary. ESPHome significantly simplifies the software side, and many online guides and tutorials provide clear wiring diagrams for common sensors. The hands-on nature encourages learning as you go.
Q: Can I use these monitoring methods for appliances located outdoors or in harsh environments?
A: Yes, but you must ensure that your ESP32 and all sensors are housed within appropriate weather-resistant or waterproof enclosures to protect them from moisture, dust, and extreme temperatures.
Q: Is ESPHome the only software solution, or can I use the Arduino IDE for programming the ESP32?
A: While you can certainly program the ESP32 using the Arduino IDE, ESPHome is highly recommended for its user-friendliness, YAML-based configuration, and seamless integration with Home Assistant. It significantly reduces the amount of manual coding required, allowing you to focus more on the monitoring goals rather than low-level programming.
Related articles

How to Choose the Right Hard Drives for Your NAS - Ensure Reliability
Learn to select appropriate hard drives for your Network Attached Storage (NAS) system in a few key steps to prevent premature drive failure, maintain warranty coverage, and ensure reliable 24/7 operation.

One UI 8.5: 5 Settings to Personalize Your Galaxy Right Away
Learn to personalize your Samsung Galaxy after updating to One UI 8.5 by changing 5 key settings for improved control, privacy, and user experience.

The impossible dream of the universal remote: Logitech Harmony — Key
Tech veterans David Pierce, Nilay Patel, John Higgins, and Nest co-founder Matt Rogers revisit the legacy of the Logitech Harmony universal remote on The Verge’s “Version History” podcast. Despite being the market leader for years, the Harmony ultimately faded, highlighting the persistent challenge of unifying home entertainment control. Its story reveals how even a compelling product can struggle in an evolving tech landscape.

Meta Quest 3 Battery Goes BOOM! Maine Homeowners Get a VR Reality
A Meta Quest 3 external battery explosion in a Maine home caused a small fire, with security footage capturing the aftermath including panicked dogs and flaming debris. Thankfully, no one was directly injured, but the incident highlights the inherent dangers of rechargeable batteries in consumer electronics. The Frankfort fire department is investigating and warns VR owners.

Power Station Strategy: Your Home's Unsung Hero or Overkill
Verdict: A Proactive Approach to Uninterrupted Power For anyone heavily reliant on an internet connection, committed to smart home functionality, or simply determined to safeguard perishables, the strategy of
Why Disabling Windows Prefetch Makes Your PC Slower and How to
Discover why turning off Windows Prefetch can degrade performance, understand how Windows manages memory efficiently, and learn to correctly interpret your PC's RAM usage in Task Manager.