
How to Explore Plan 9: Uncover Its Legacy in Modern Tech
Learn to install and interact with 9front, the Bell Labs OS that influenced everything from UTF-8 to network protocols, in this step-by-step guide.
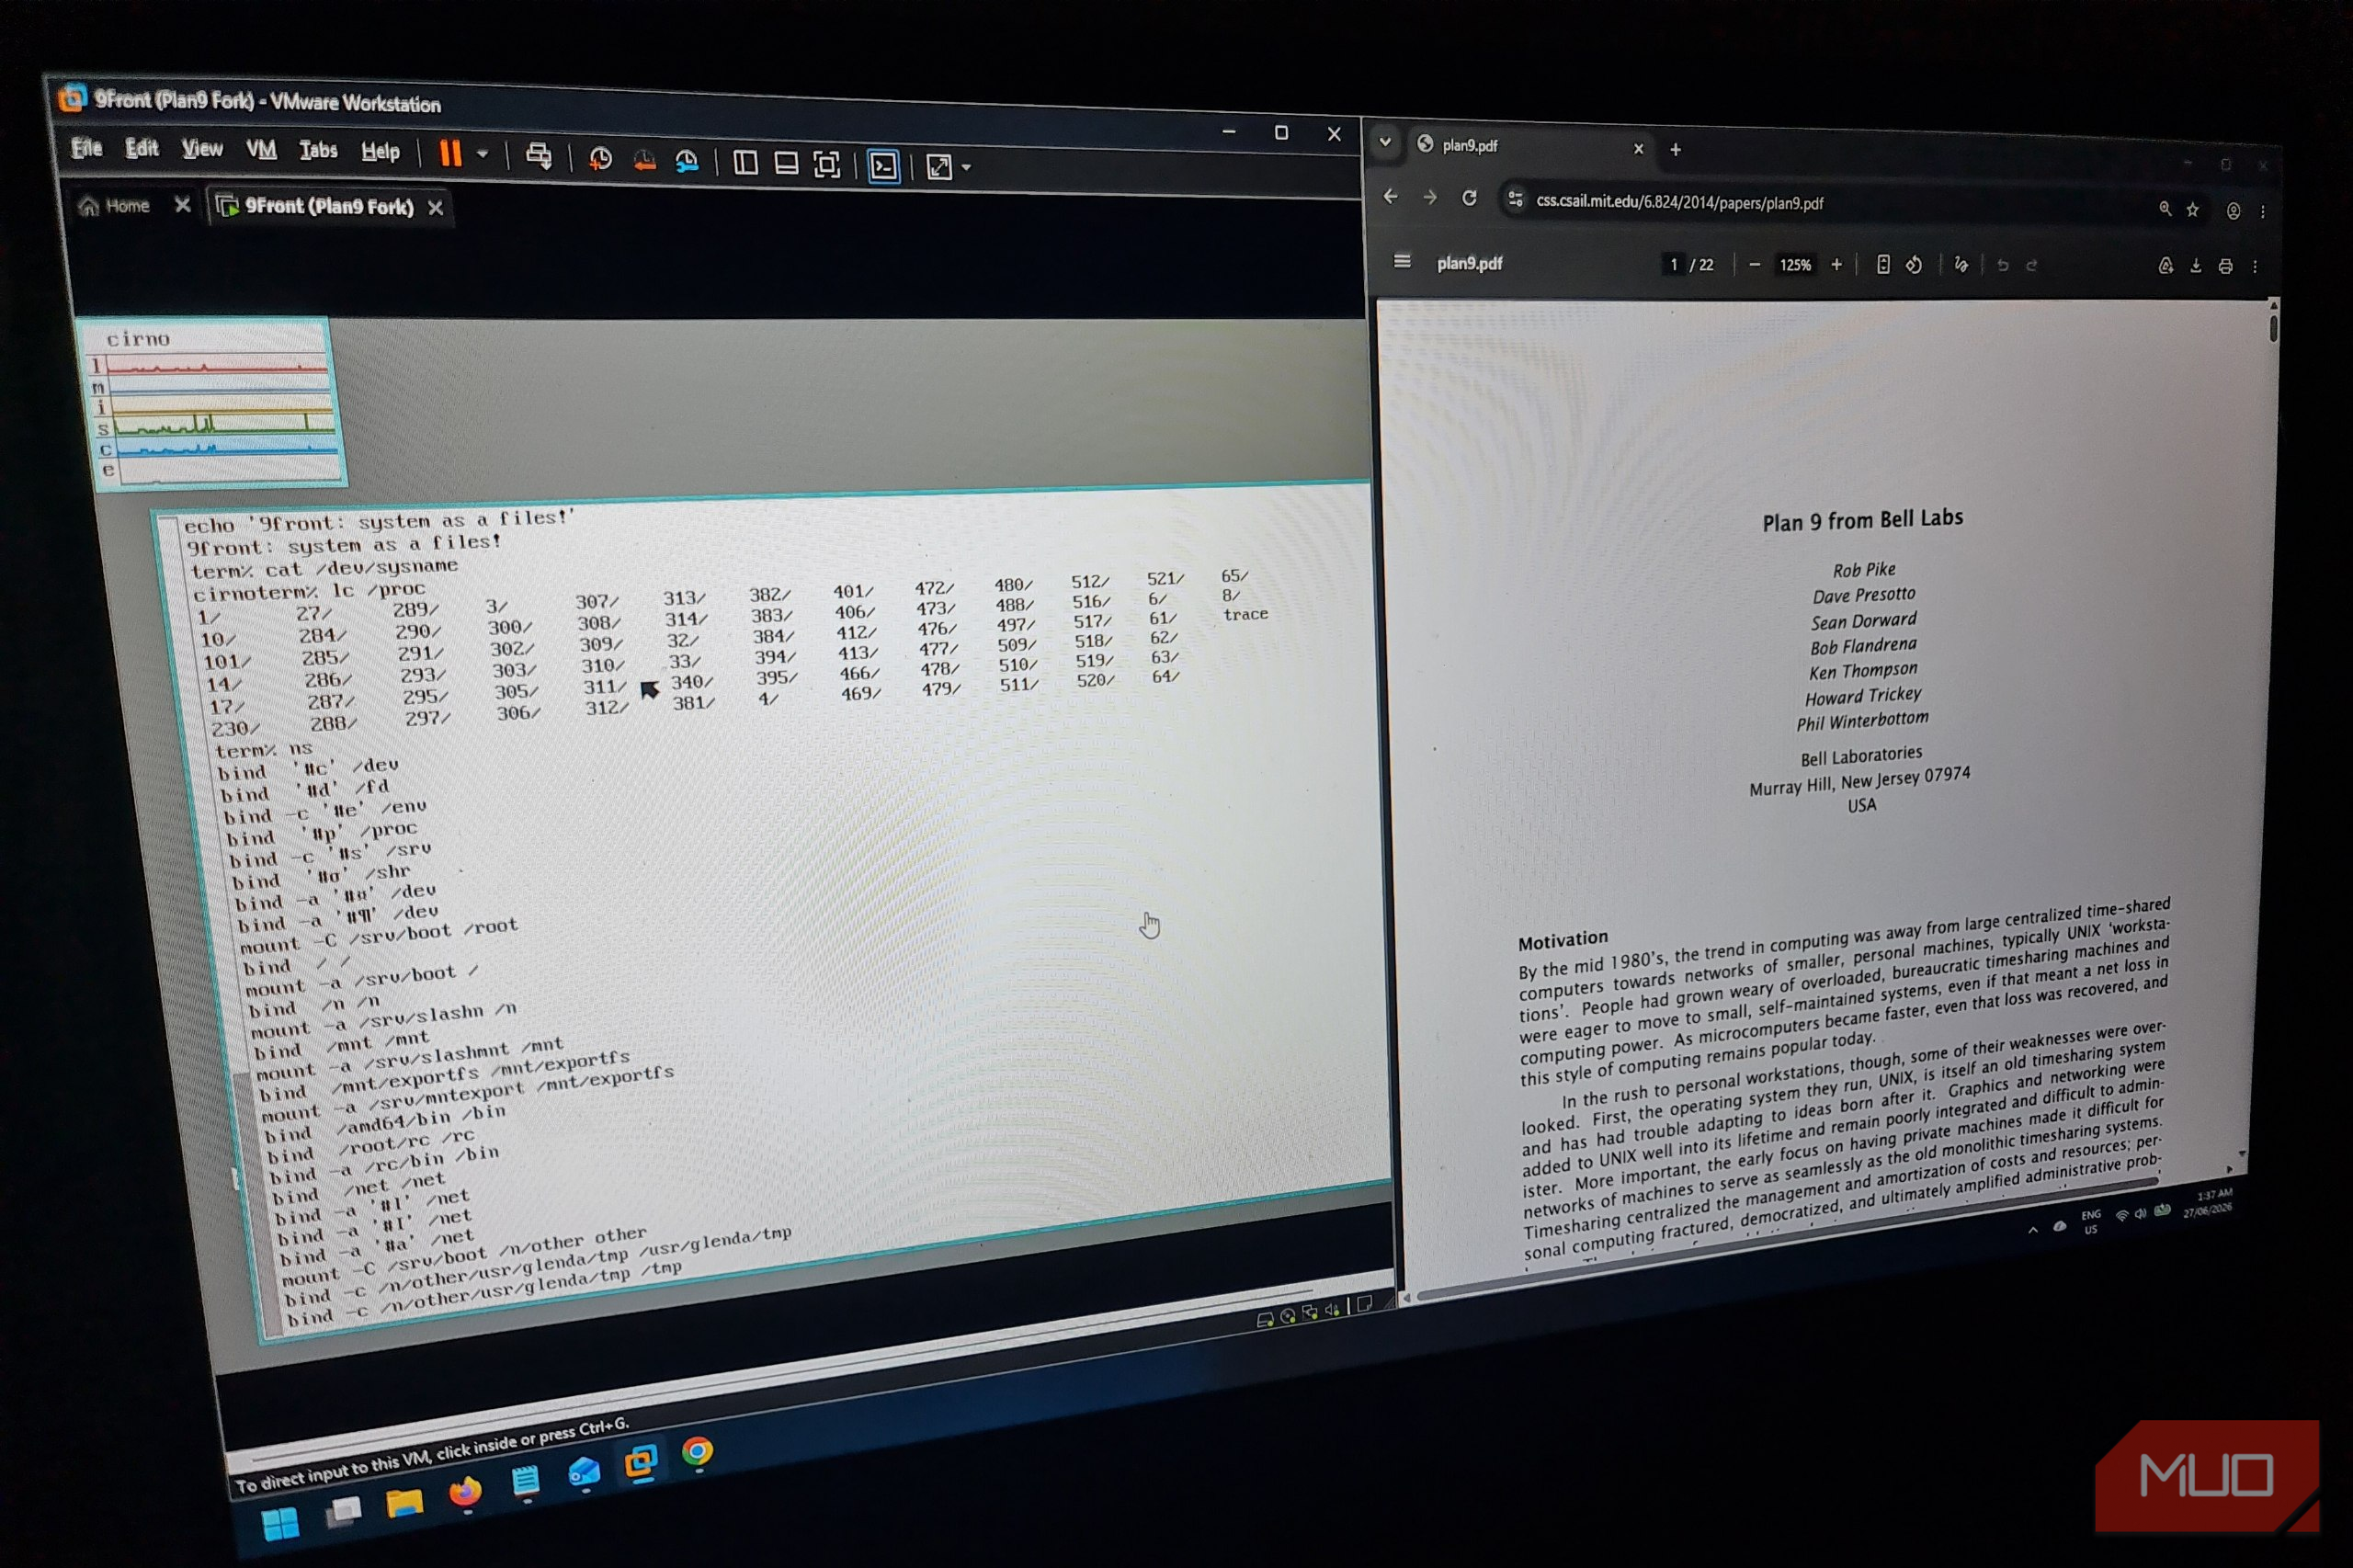
Have you ever wondered about the foundational ideas that shape the operating systems you use daily? Bell Labs, the birthplace of Unix and C, developed an ambitious successor called Plan 9. While it never achieved mainstream success, its innovative concepts became embedded into modern computing, influencing technologies like UTF-8 and critical network protocols.
This guide will walk you through installing and exploring 9front, a community-maintained fork of Plan 9, in a virtual machine. By delving into its distinctive desktop, the powerful Acme editor, and its 'everything is a file' philosophy, you'll gain a deeper appreciation for how this 'failed' OS continues to influence technology today.
What You'll Accomplish
By following this guide, you will:
- Successfully Install 9front: Get the 9front operating system up and running in a virtual machine.
- Navigate the Rio Desktop: Familiarize yourself with Plan 9's unique graphical interface.
- Master the Acme Editor: Understand and utilize Acme's groundbreaking text-as-interface paradigm.
- Grasp Plan 9's Core Philosophy: Explore how the system treats everything, including processes and devices, as files.
- Identify Modern Legacies: Recognize the enduring impact of Plan 9's ideas, such as UTF-8 and the 9P protocol, in contemporary software.
Prerequisites
Before you begin, ensure you have the following:
- Virtual Machine Software: A virtualization platform like VMware Workstation, VirtualBox, or similar, installed on your computer.
- 9front ISO: Download the AMD64 ISO image from the official 9front website (9front.org).
- Three-Button Mouse: A physical USB three-button mouse is highly recommended for proper interaction within the 9front environment. While some virtual machine software can emulate this, a dedicated mouse will provide the best experience. Avoid relying solely on a laptop trackpad.
Step-by-Step Guide to Installing and Exploring 9front
Let's get started with bringing a piece of computing history to life!
Step 1: Prepare Your Virtual Machine
First, create a new virtual machine. Configure it with sufficient RAM (e.g., 2GB) and a virtual hard disk (e.g., 20GB). Attach the downloaded 9front ISO as the bootable media.
Power on the VM. A command-line prompt will appear, marking the start of the installation.
Step 2: Identify Disks and Start the Installation
In the 9front boot environment, you'll need to manually identify your virtual disk drives. The system assigns device names like /dev/sdD0 and /dev/sdD1. Typically, the ISO will appear as /dev/sdD0 and your virtual hard disk as /dev/sdD1. You will boot from the ISO and install onto the virtual disk.
To begin the installation, type the following command and press Enter:
bash inst/start
Step 3: Configure Mouse and Keyboard (Troubleshooting)
Upon starting the installer or after the initial boot, you might find your mouse and keyboard unresponsive. This is a common hurdle due to 9front's specific hardware expectations.
-
If you're stuck, restart the VM.
-
When the boot prompt appears, you'll need to edit the
plan9.inifile located at/n/9fat/plan9.inito explicitly define your mouse type. Add or modify the line to include:bash mouse=ps2intellimouse
-
Save the changes and reboot the VM. Your mouse should now function correctly.
Tip: Ensure your VM's USB controller settings are correctly configured, and that you've enabled a USB mouse to be passed through to the guest OS.
Step 4: Follow the Installation Prompts
The 9front installer is command-line driven but features clear prompts. You'll progress through several stages, often by accepting sensible defaults:
partdisk: This stage involves partitioning your virtual hard disk. When prompted, choose the Master Boot Record (MBR) option.prepdisk: Prepare the newly partitioned space for the Plan 9 operating system files.mountdisk: The installer will mount the necessary installation files from your ISO (typically/dev/sdD0/data).bootsetup: This crucial step writes the bootloader information to your hard drive's 9fat partition, usually located at/dev/sdD1/9fat.
Review each prompt carefully, but for a basic installation, accepting the default choices will generally work well.
Step 5: Explore the Rio Desktop
Once the installation completes, reboot your virtual machine, ensuring it now boots from the virtual hard disk. You will be greeted by the Plan 9 rio desktop environment, which is unique and different from modern graphical interfaces.
- Window Management: Instead of pre-drawn windows or a start menu, you'll 'draw' new windows using your three-button mouse. Experiment by middle-clicking on the desktop background to open a new window.
- No Traditional Menus: You won't find a conventional application menu; interaction is largely command-line driven or through 'executable text'.
Step 6: Interact with the Acme Editor
One of Plan 9's most iconic applications is the Acme text editor, which embodies its revolutionary interface philosophy.
- Open Acme: Find Acme as an option in a
riowindow or typeacmein a shell. - Executable Text: Notice words along the top of an Acme window, such as
New,Cut,Paste,Put,Del. These are 'executable text'. - Execute Commands: Middle-click one of these words. For example, middle-clicking
Newcreates a new window.Putsaves a file, andDeldeletes a window or selected text. - Beyond Commands: This concept extends to any text. A file path can be middle-clicked to open it. A word can be middle-clicked for a search. Text isn't just content; it's an interactive element.
Step 7: Understand 'Everything is a File' with /proc
Plan 9 took the Unix philosophy of 'everything is a file' to an unprecedented level. To see this, open a terminal and execute:
bash bash lc /proc
You'll see directories, each representing a live process. Navigate into one (e.g., lc /proc/1234). Inside, you'll find files that represent the live state of that process. Some are read-only views; others can be written to, allowing interaction and control via simple file operations.
This approach simplifies system interaction, replacing complex APIs with standard read/write operations on file-like interfaces, locally or across a network.
Troubleshooting Tips
- Unresponsive Mouse/Keyboard: Refer to Step 3 for instructions on editing
plan9.inito enableps2intellimouse. - Disk Identification: Double-check your disk assignments (
/dev/sdD0for ISO,/dev/sdD1for virtual disk) during theinst/startphase. Mistakes here can lead to installation failures. - Three-Button Mouse Requirement: If you're struggling with interactions, ensure you have a properly configured three-button mouse. Many actions in Rio and Acme rely on middle-clicking.
Next Steps and Enduring Legacies
While Plan 9 didn't replace Unix, its innovative ideas live on in many systems you use every day:
- UTF-8: The ubiquitous text encoding standard, crucial for diverse languages and emojis, was developed for Plan 9. This webpage likely uses it.
- 9P Protocol: Plan 9's native file protocol, 9P, enables file sharing between Windows Subsystem for Linux (WSL) and Windows, facilitates shared folders in virtualization platforms like QEMU, and is implemented in Linux's v9fs filesystem. This shows how Plan 9's network-centric design solved real-world problems.
- Namespaces and Remote Resources: Plan 9's ideas about dynamic file systems and mounting remote resources influenced how modern OSes handle network drives, containerization, and virtualized environments.
Exploring 9front offers a fascinating glimpse into an alternative OS design path, clarifying why some modern concepts felt natural decades ago. Though not a daily driver, its lessons are invaluable for anyone interested in computing innovation.
FAQ
Q: What is 9front and why should I use it instead of the original Plan 9?
A: 9front is a community-maintained fork of Plan 9 from Bell Labs. It's recommended because the original Plan 9 doesn't run on modern hardware, making 9front the accessible option for experiencing Plan 9's unique philosophy and features on contemporary systems, especially within a virtual machine environment.
Q: Do I absolutely need a three-button mouse to use 9front effectively?
A: Yes, a three-button mouse is crucial for interacting with 9front's Rio desktop and the Acme editor. Many core functionalities, such as drawing windows, executing commands in Acme, and navigating text as an interface, rely on the middle-click action. While some virtualization software attempts to emulate this, a physical USB three-button mouse provides the most seamless and intended experience.
Q: Besides UTF-8 and the 9P protocol, what other fundamental ideas from Plan 9 are still relevant?
A: Plan 9's radical commitment to the 'everything is a file' paradigm, treating processes, devices, and network resources as simple files that can be read from and written to, profoundly influenced modern system design. This concept underpins how various components communicate efficiently, whether locally or across a network, leading to clearer, more consistent system interactions and inspiring ideas found in namespaces, virtualization, and distributed computing models today.
Related articles
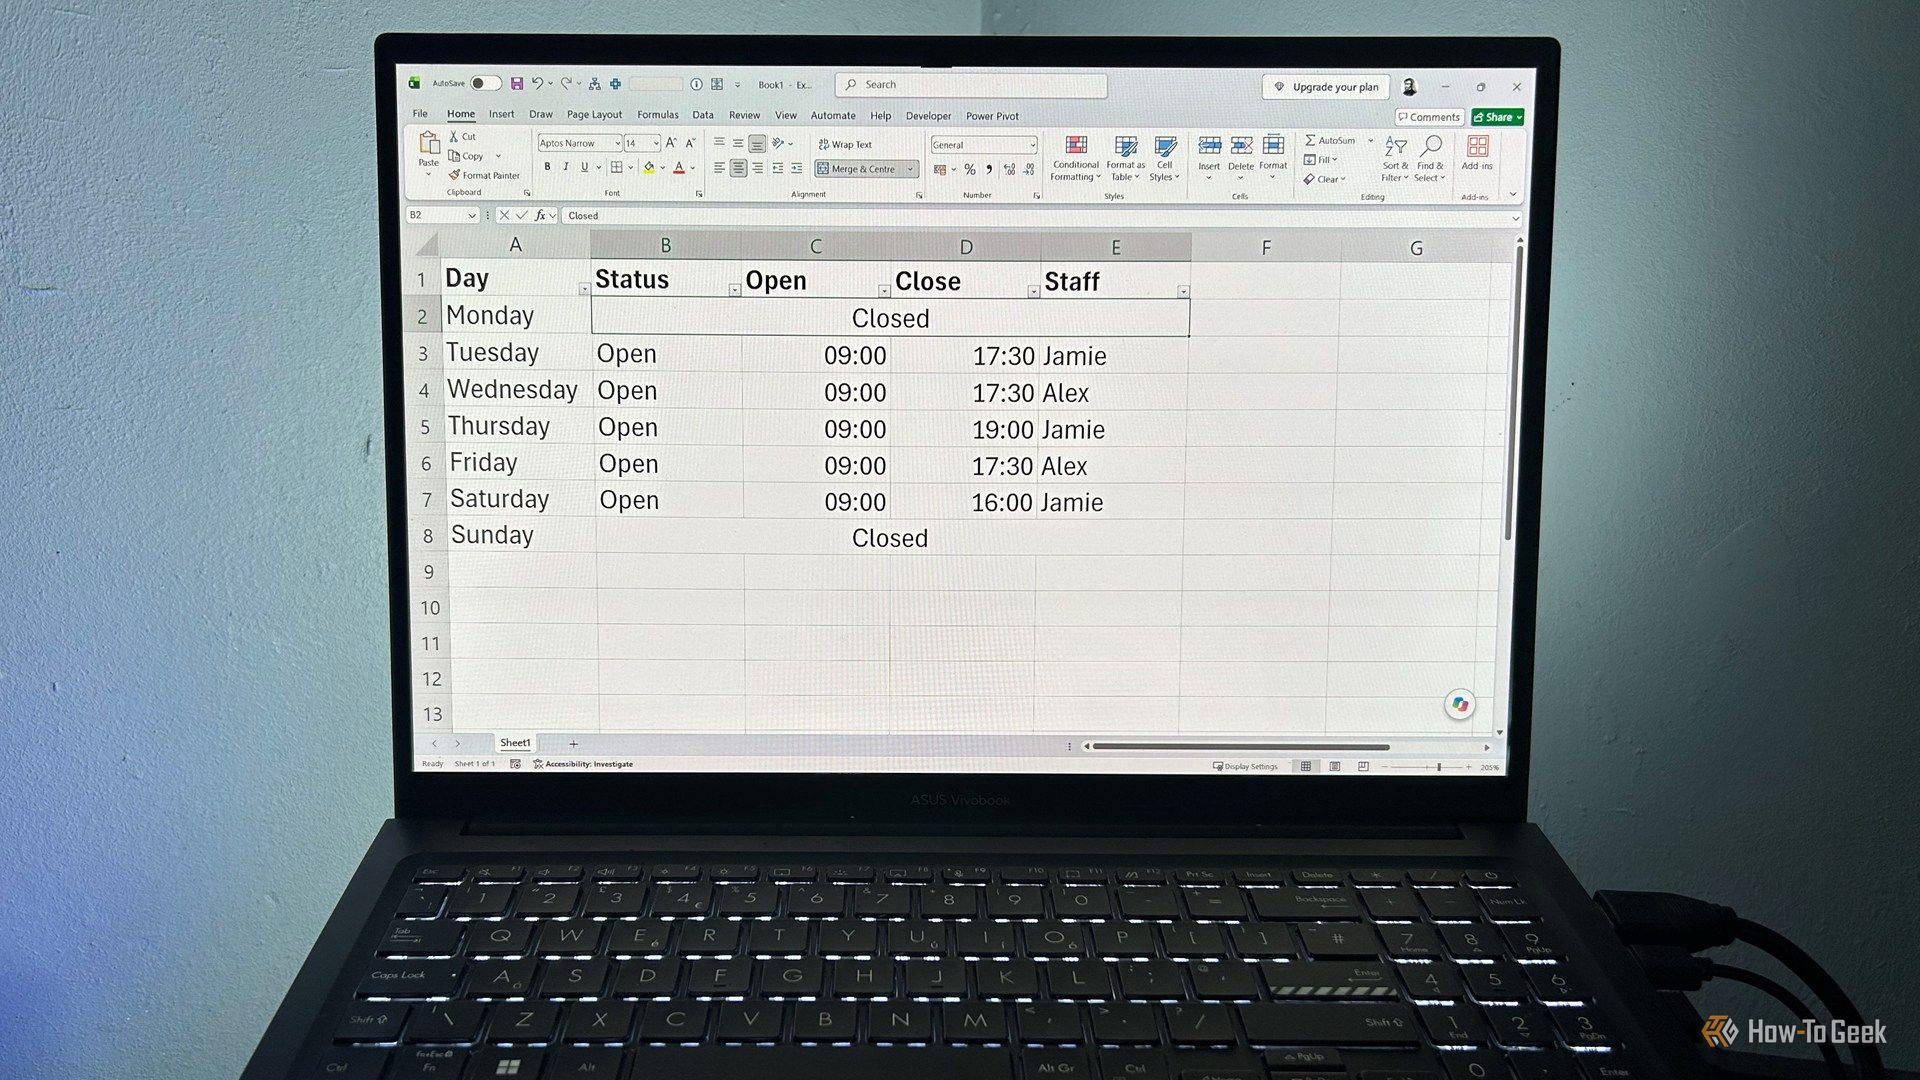
Ditch Merge & Center: The Better Way to Align Text in Excel
Learn to use Excel's "Center Across Selection" to align text across cells without merging, avoiding common data manipulation issues. This guide provides steps to utilize this newly accessible feature and add it to your Quick Access Toolbar.

Mark Wahlberg on using AI in film ‘the right way’ and being open to
Actor Mark Wahlberg believes AI has a place in filmmaking if used responsibly for enhancement, not script generation or actor replacement. At TechCrunch Disrupt, he expressed openness to an AI likeness carrying on his legacy, managed by his family, and emphasized storytelling.
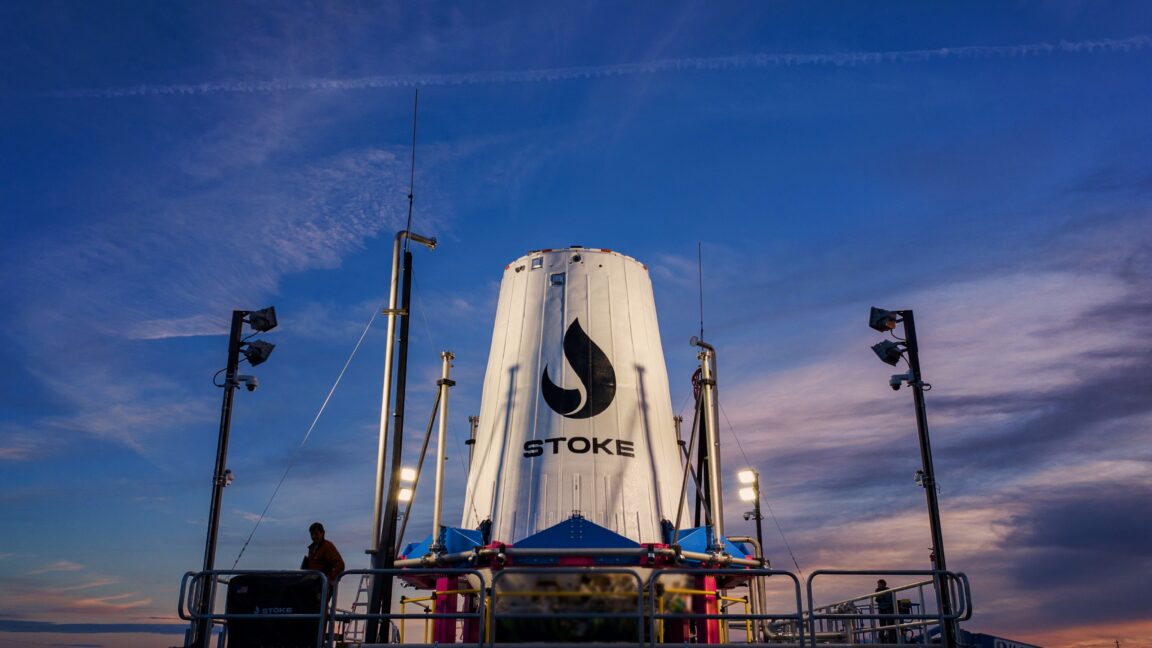
Ars Technica's Rocket Report: Your Essential Space Industry Briefing
Quick Verdict Ars Technica's Rocket Report, presented by veteran space reporter Stephen Clark, offers an invaluable and meticulously organized weekly (or similar frequency, implied by "Edition 9.15") digest of the most
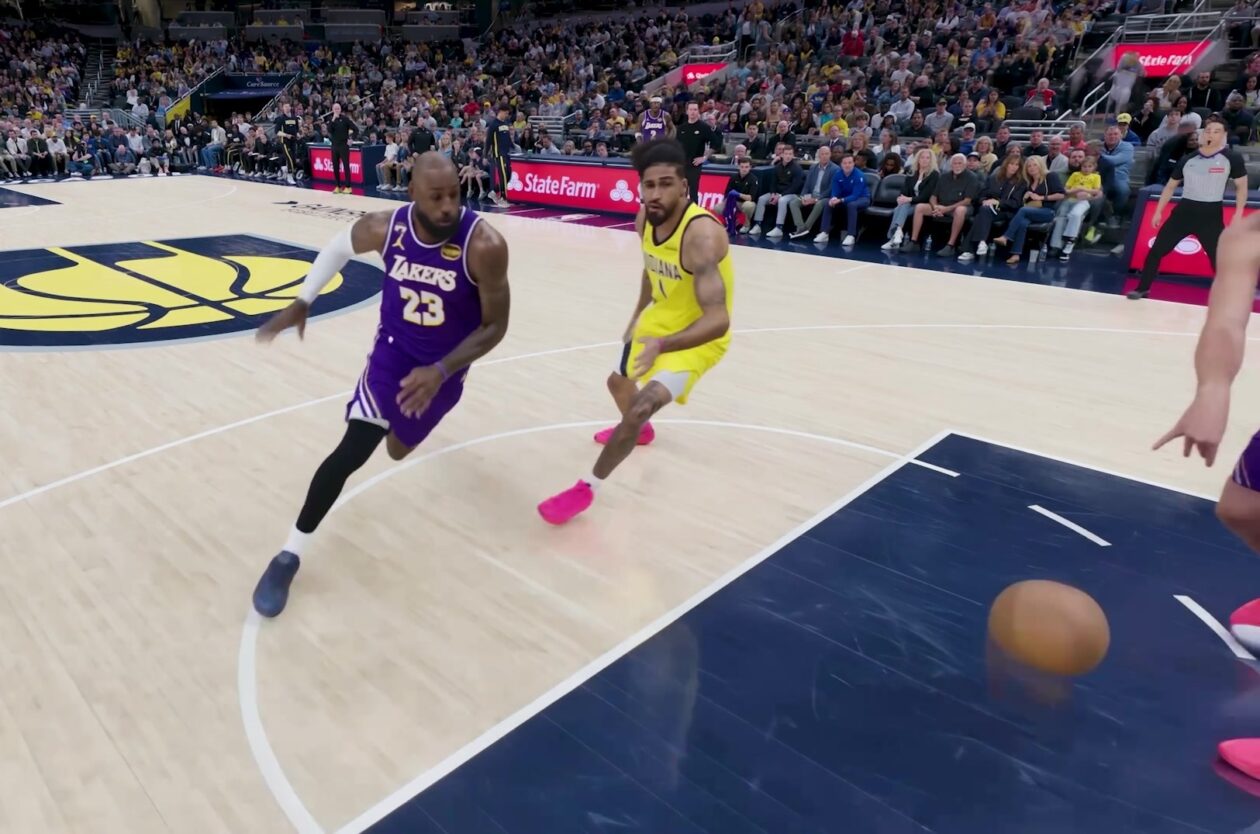
Amazon Prime Video Launches AI-Powered Prime 360 for NBA Coverage
Amazon Prime Video is elevating its NBA coverage with the introduction of Prime 360, an AI-powered replay system offering immersive, 'fly through' views of the action. Kicking off its second season, Prime Video also adds Yahoo fantasy integration and gains exclusive Eastern Conference Finals rights, expanding its tech-driven sports broadcast. The new features aim to deliver a unique and interactive viewing experience for basketball fans.
regional: A two-person Seattle startup lands $1M to reinvent
Seattle startup TriMagnetix has secured $1 million to develop semiconductor chips that consume 800 times less energy and are radiation-resistant. The two-person company, leveraging nanomagnetic technology, is targeting space applications and data centers. With new funding and key partnerships, TriMagnetix aims for commercial sales within a year.

Kojima Compares Divisive New Film 'Digger' to MGS2's Prescient Vision
Gaming icon Hideo Kojima has praised the divisive 2026 film *Digger*, drawing intriguing parallels to his own prophetic game, *Metal Gear Solid 2*. Both works, he explains, uniquely explore the dangers of misinformation and a fragmented digital reality, anxieties he shares with *Digger*'s director, Alejandro González Iñárritu.