
How to Debloat Windows 11 for a Faster, Cleaner PC
Learn to reclaim your Windows 11 PC's performance by removing bloatware, disabling ads, and optimizing startup processes in five easy steps.
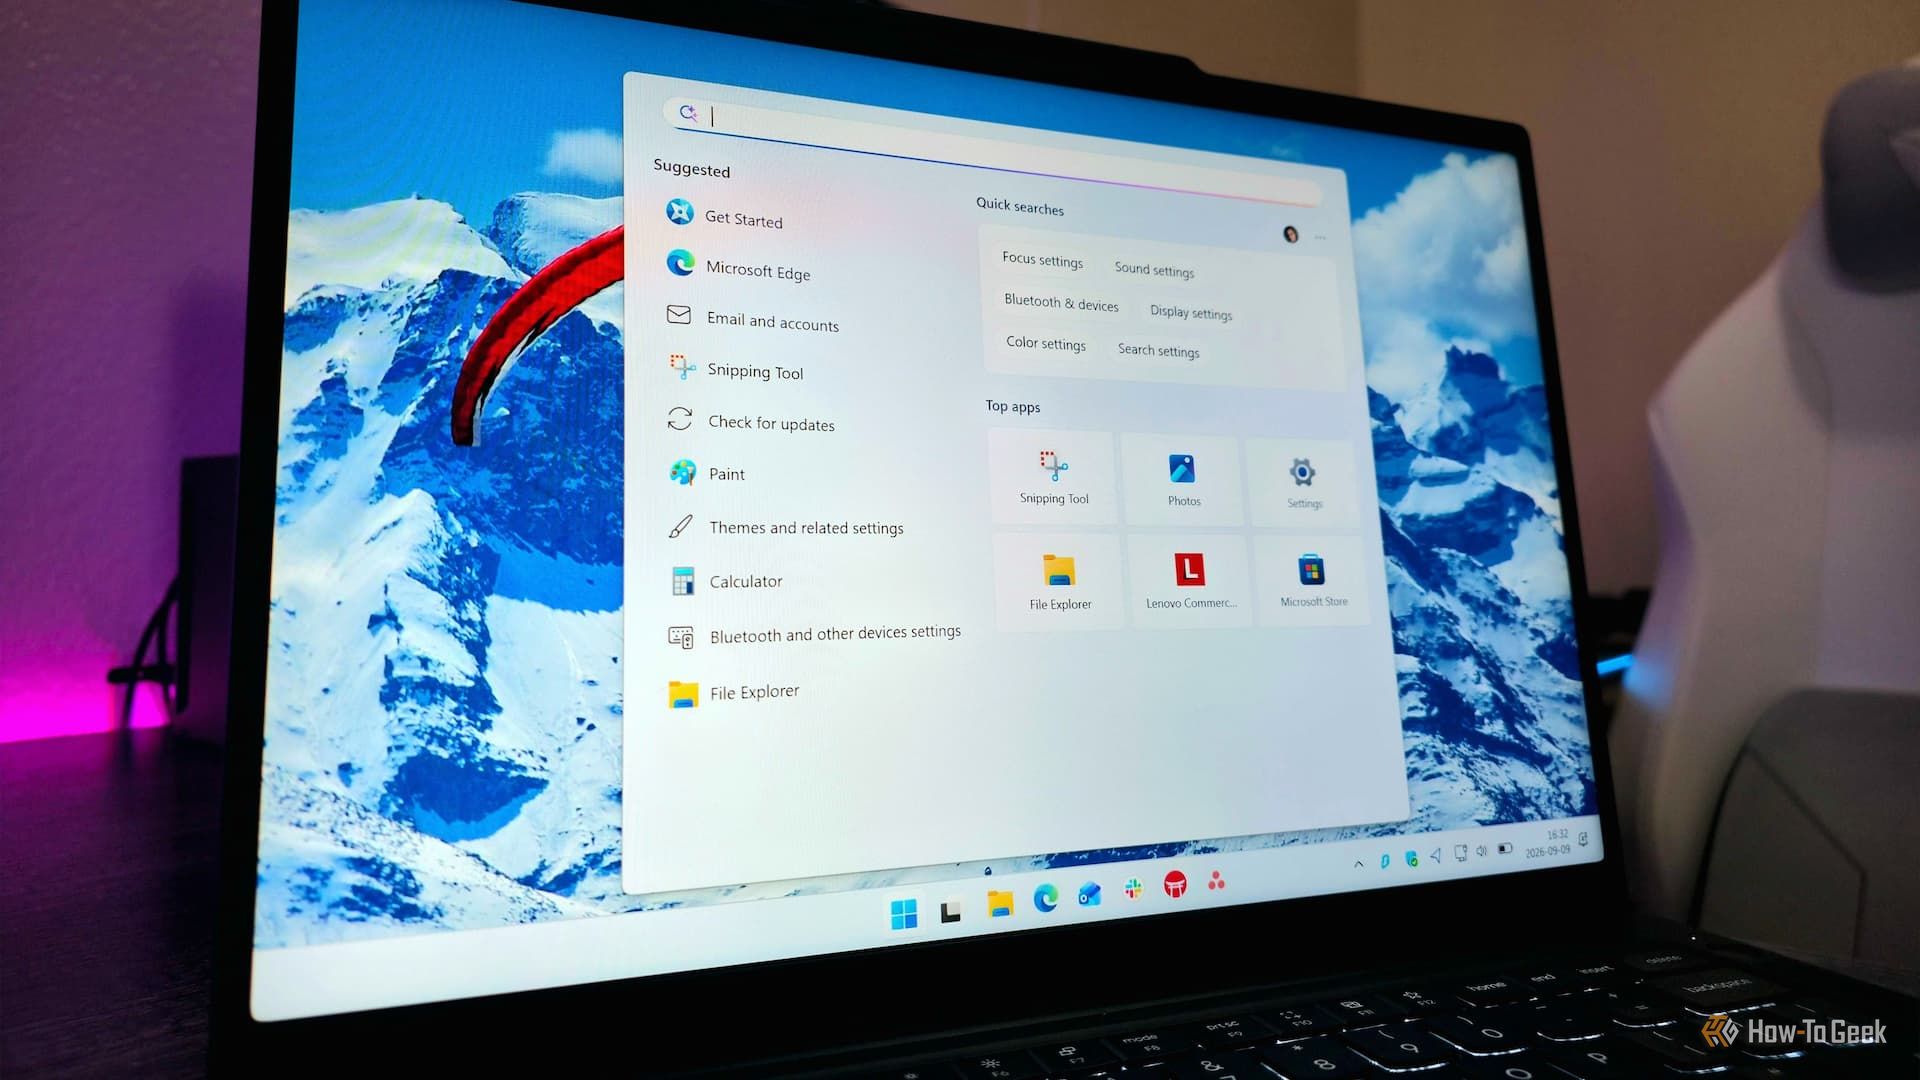
Setting up a new computer should be an exciting experience, not a frustrating one filled with unwanted software and advertisements. While Windows 11 promised a cleaner experience, it often arrives packed with pre-installed apps and promotional content that can slow down your system. This guide will walk you through clear, actionable steps to disable unnecessary features, remove bloatware, and reclaim your PC's performance, making your Windows 11 machine truly feel like your own.
What You'll Accomplish
By following this guide, you will:
- Remove non-essential pre-installed applications.
- Prevent unwanted apps from returning after system updates or new user logins.
- Eliminate promotional content, suggestions, and ads from your Start menu and settings.
- Disconnect Windows Search from Bing, focusing on local results.
- Optimize your PC's startup by disabling high-impact background processes.
- Experience a noticeably faster and more responsive Windows 11, especially on older hardware.
Prerequisites
Before you begin, ensure you have:
- Administrator Access: You'll need administrative privileges to perform some of the steps, particularly those involving PowerShell and the Registry Editor.
- Basic Windows Navigation Skills: Familiarity with the Settings app, Start menu, and Task Manager will be helpful.
- Caution: Always proceed carefully when modifying system settings, especially in the Registry Editor or PowerShell. Incorrect changes can affect system stability. We'll highlight critical components you should not remove.
Step-by-Step Guide to Debloating Windows 11
To effectively clean up Windows 11, we'll work in layers, starting with the easiest adjustments and progressing to more advanced system modifications.
Step 1: Uninstall Non-Essential Apps from Your Profile
The easiest way to begin is by removing applications that are installed for your user profile. While this doesn't completely remove the system-level template for these apps, it's a quick win for your current session.
- Open Settings by pressing
Windows key + Ior by right-clicking the Start button and selectingSettings. - Navigate to Apps, then click on Installed apps.
- Review the list of installed applications. Sort the list by 'Size' or 'Install date' to quickly identify non-essential software.
- Look for apps like Microsoft News, Clipchamp, Solitaire, and any OEM (Original Equipment Manufacturer) trial software that you don't use.
- For each app you wish to remove, click the three-dot menu next to its name and select Uninstall. Confirm the uninstallation when prompted.
Note: This action only removes the app from your current user profile. The underlying app template may still exist in the system image, meaning it could potentially return with major Windows updates or if a new user logs in.
Step 2: Prevent Apps from Returning with PowerShell
To ensure uninstalled apps don't reappear, you need to remove their provisioned packages from the system image. This requires using PowerShell with administrative privileges.
- Right-click the Start button and select Terminal (Admin) or Windows PowerShell (Admin).
- In the PowerShell window, type the following command and press Enter to list all provisioned app templates on your system:
Get-AppxProvisionedPackage -Online - Carefully examine the output to identify the
PackageNameof the apps you want to permanently remove. Look for names corresponding to the apps you uninstalled in Step 1 (e.g.,Microsoft.SolitaireCollection_...,Microsoft.ZuneVideo_...). - Once you have the exact
PackageName, use the following command to remove the template. Replace[PackageName]with the actual package name from the list:Remove-AppxProvisionedPackage -Online -PackageName [PackageName]Example:Remove-AppxProvisionedPackage -Online -PackageName Microsoft.SolitaireCollection_1.2.3.0_x64__8wekyb3d8bbwe
Important Distinction: This command is different from Remove-AppxPackage, which only removes the app for the current user. Using Remove-AppxProvisionedPackage prevents Windows updates from re-staging and re-registering the app as a system feature for all users.
Step 3: Disable Promotional Content and Suggestions
Windows 11 often displays tips, suggestions, and ads in various places. Here's how to turn them off.
- Open Settings (
Windows key + I). - Go to Personalization, then click on Start.
- Under the 'Start' settings, toggle off the following options:
- Show recommendations for tips, shortcuts, new apps, and more.
- Show recently opened items in Start, Jump Lists, and File Explorer. (This also reduces clutter, though not directly promotional).
- Go back to the main Settings menu.
- Click on Privacy & Security.
- Select General or Recommendation & offers (the exact name may vary based on your Windows version).
- Toggle off all options related to suggested content, personalized ads, and app launch tracking.
Step 4: Eliminate Bing Integration from Windows Search
By default, Windows Search queries both your local files and Bing, often displaying web suggestions and trending news. You can disable the Bing integration.
- Press
Windows key + Rto open the Run dialog. - Type
regeditand press Enter. Click Yes if prompted by User Account Control. - Navigate to the following path in the Registry Editor:
HKEY_CURRENT_USER\\\SOFTWARE\\\Policies\\\Microsoft\\\Windows\\\Explorer.- If the
Windowsfolder orExplorersubfolder doesn't exist underPolicies, right-click onPolicies, selectNew > Key, and name itWindows. Then, right-click on the newWindowskey, selectNew > Key, and name itExplorer.
- If the
- Right-click in the empty space in the right pane of the
Explorerfolder. - Select
New > DWORD (32-bit) Value. - Name the new value
DisableSearchBoxSuggestions. - Double-click on
DisableSearchBoxSuggestionsand set its Value data to1. Click OK.
This modification ensures that Windows Search only returns results from your local PC, preventing web queries and promotional content from Bing.
Step 5: Optimize Startup Programs with Task Manager
Background processes and startup entries consume RAM and CPU, especially during boot-up. Task Manager helps you manage these.
- Press
Ctrl + Shift + Escto open Task Manager. - Click on the Startup apps tab.
- Task Manager rates each startup entry by its impact (High, Medium, Low) on boot performance based on CPU time and disk I/O.
- High impact: Over 1 second of CPU time or 3 MB of disk I/O.
- Medium impact: 300 ms to 1,000 ms of CPU time or 300 KB to 3 MB of disk I/O.
- Low impact: Under 300 ms of CPU time and under 300 KB of disk I/O.
- Identify non-essential third-party applications. These often include update checkers, background chat clients, browser pre-loaders, or cloud synchronization tools you don't need running constantly.
- To disable an app, right-click on it and select Disable.
Best Practice: Do not disable anything tied to your core hardware (e.g., Realtek audio drivers, Nvidia/AMD/Intel graphics panels, touchpad drivers) or your security software. These are essential for proper system function and protection.
Important Considerations & Warnings
While debloating can significantly improve your system's performance, be aware of these crucial points:
- Essential System Components: Some UWP packages and modern services are considered core system dependencies by Microsoft. Do NOT remove the following:
- Edge WebView2 runtime
- Microsoft Defender
- Windows Security (Microsoft.SecHealthUI)
- Microsoft Store (Microsoft.WindowsStore)
- App Installer (Microsoft.DesktopAppInstaller) Removing these can lead to system errors or break critical functionality.
- Ongoing Maintenance: Debloating is not a one-time task. Major Windows updates may reinstall some apps you've removed, especially if you didn't use the
Remove-AppxProvisionedPackagecommand for them. Expect to repeat certain steps as part of your regular PC maintenance.
Troubleshooting Tips
- App Reappears After Update: If an app you uninstalled returns, it likely means its provisioned package was not removed. Revisit Step 2 using PowerShell to ensure the app's template is permanently gone from the system image.
- Unexpected System Behavior: If you encounter unexpected issues after making changes, first try to reverse the most recent modifications. For registry changes, you can set the
DWORDvalue back to0or delete it. For disabled startup apps, re-enable them in Task Manager. If severe, consider using a system restore point if you created one before beginning the debloating process.
Tips for Best Practices
- Work in Layers: As outlined in this guide, tackling debloating in stages allows you to see the impact of each change and makes troubleshooting easier if an issue arises.
- Be Selective: Only remove or disable what you know you don't need. When in doubt, leave it enabled, especially system-related components.
- Regular Review: Periodically check your installed apps and startup programs, especially after major Windows updates, to ensure your system remains clean and optimized.
FAQ
Q: Is debloating Windows 11 safe? A: Yes, when done carefully and following recommended guidelines, debloating Windows 11 is safe and can significantly improve performance. The key is to avoid removing essential system components like Microsoft Defender or the Microsoft Store, as outlined in this guide.
Q: Will Windows updates undo my debloating changes? A: Some changes, particularly those made to user-level app installations, can be reverted by major Windows updates if the underlying system provisioned package was not removed. By using PowerShell to remove provisioned packages (Step 2), you can largely prevent apps from reinstalling.
Q: How often should I debloat my PC? A: It's a good idea to perform a debloating check after every major Windows feature update (typically twice a year). For ongoing maintenance, periodically review your installed apps and startup programs every few months, or whenever you notice a decline in performance.
Reclaim Your PC's Potential
Spending a little time to strip out system bloat can make a noticeable difference in your PC's speed and responsiveness, particularly for older machines. While Microsoft continues to integrate more features and promotional content into Windows, you don't have to passively accept it. By actively managing your system, you can ensure your computer performs optimally and feels like a truly personalized tool, rather than a billboard you're merely borrowing. Enjoy your faster, cleaner Windows 11 experience!
Related articles
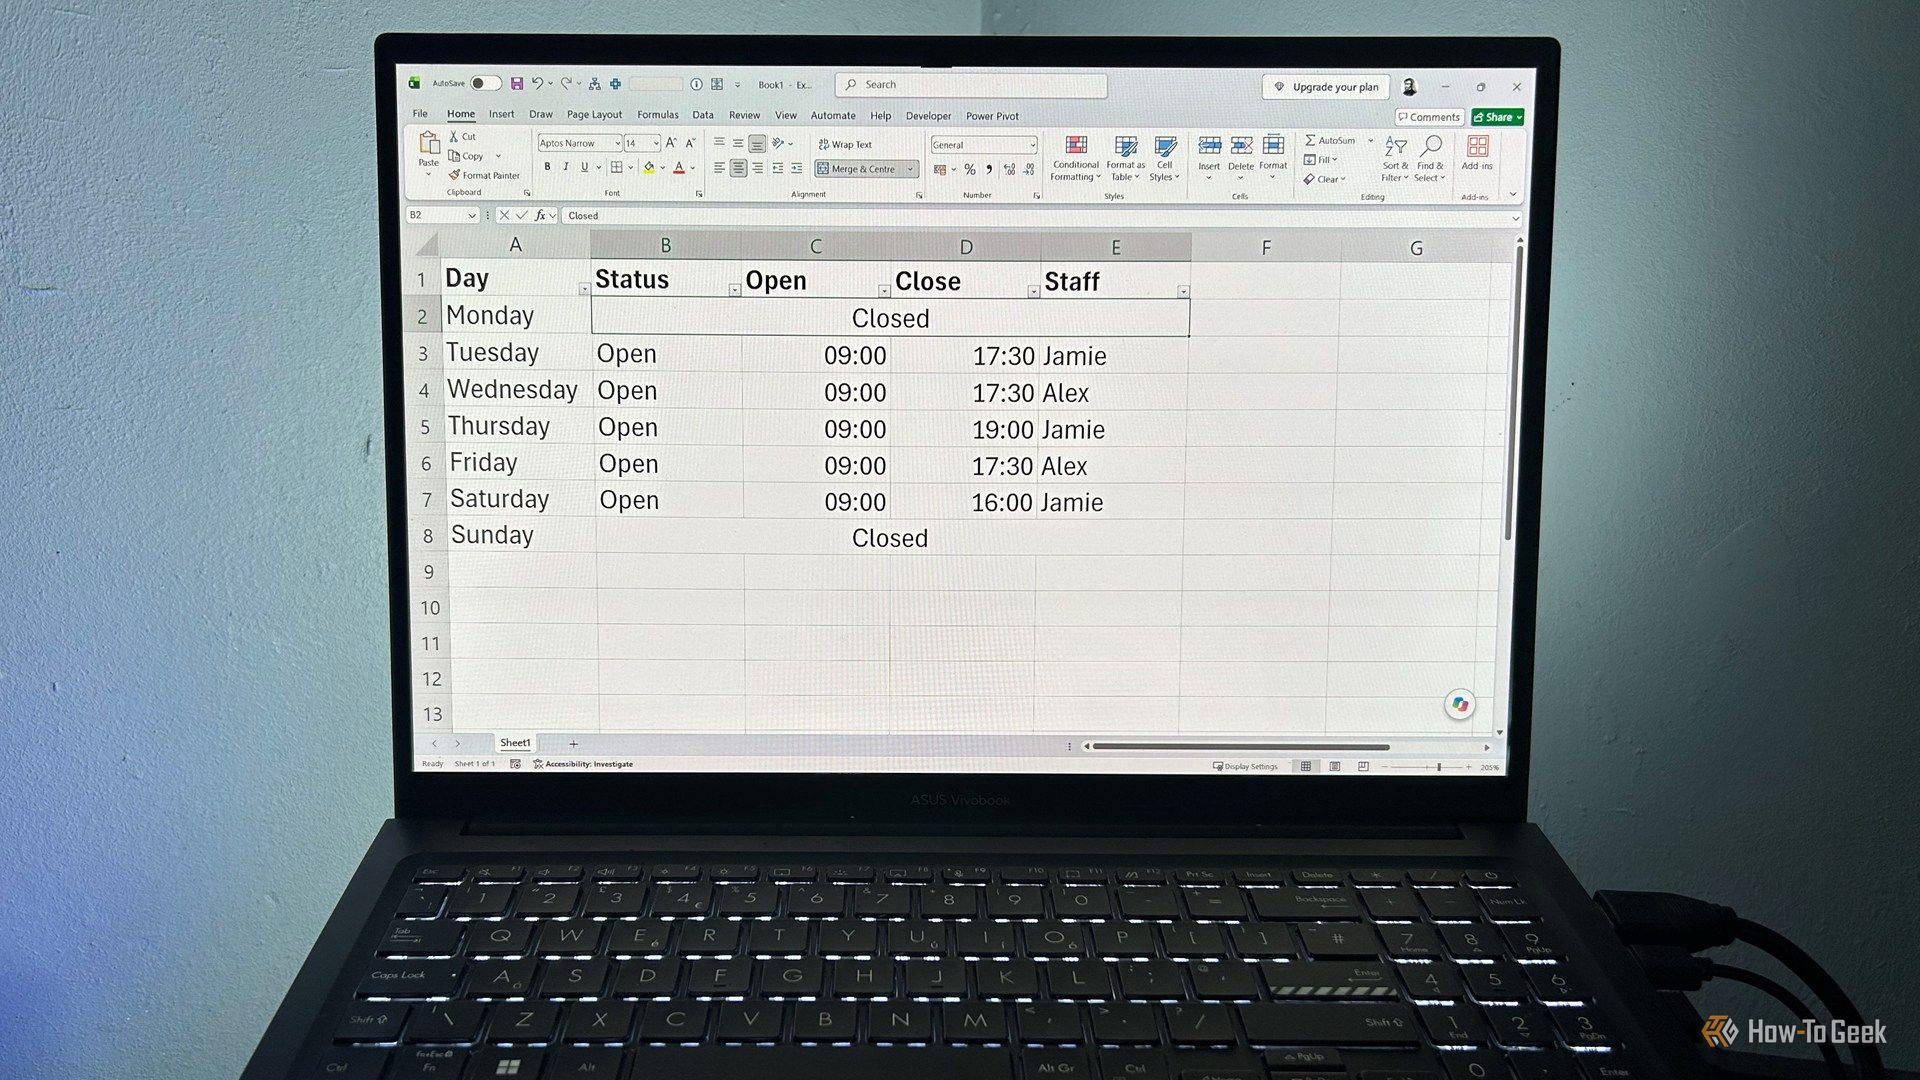
Ditch Merge & Center: The Better Way to Align Text in Excel
Learn to use Excel's "Center Across Selection" to align text across cells without merging, avoiding common data manipulation issues. This guide provides steps to utilize this newly accessible feature and add it to your Quick Access Toolbar.
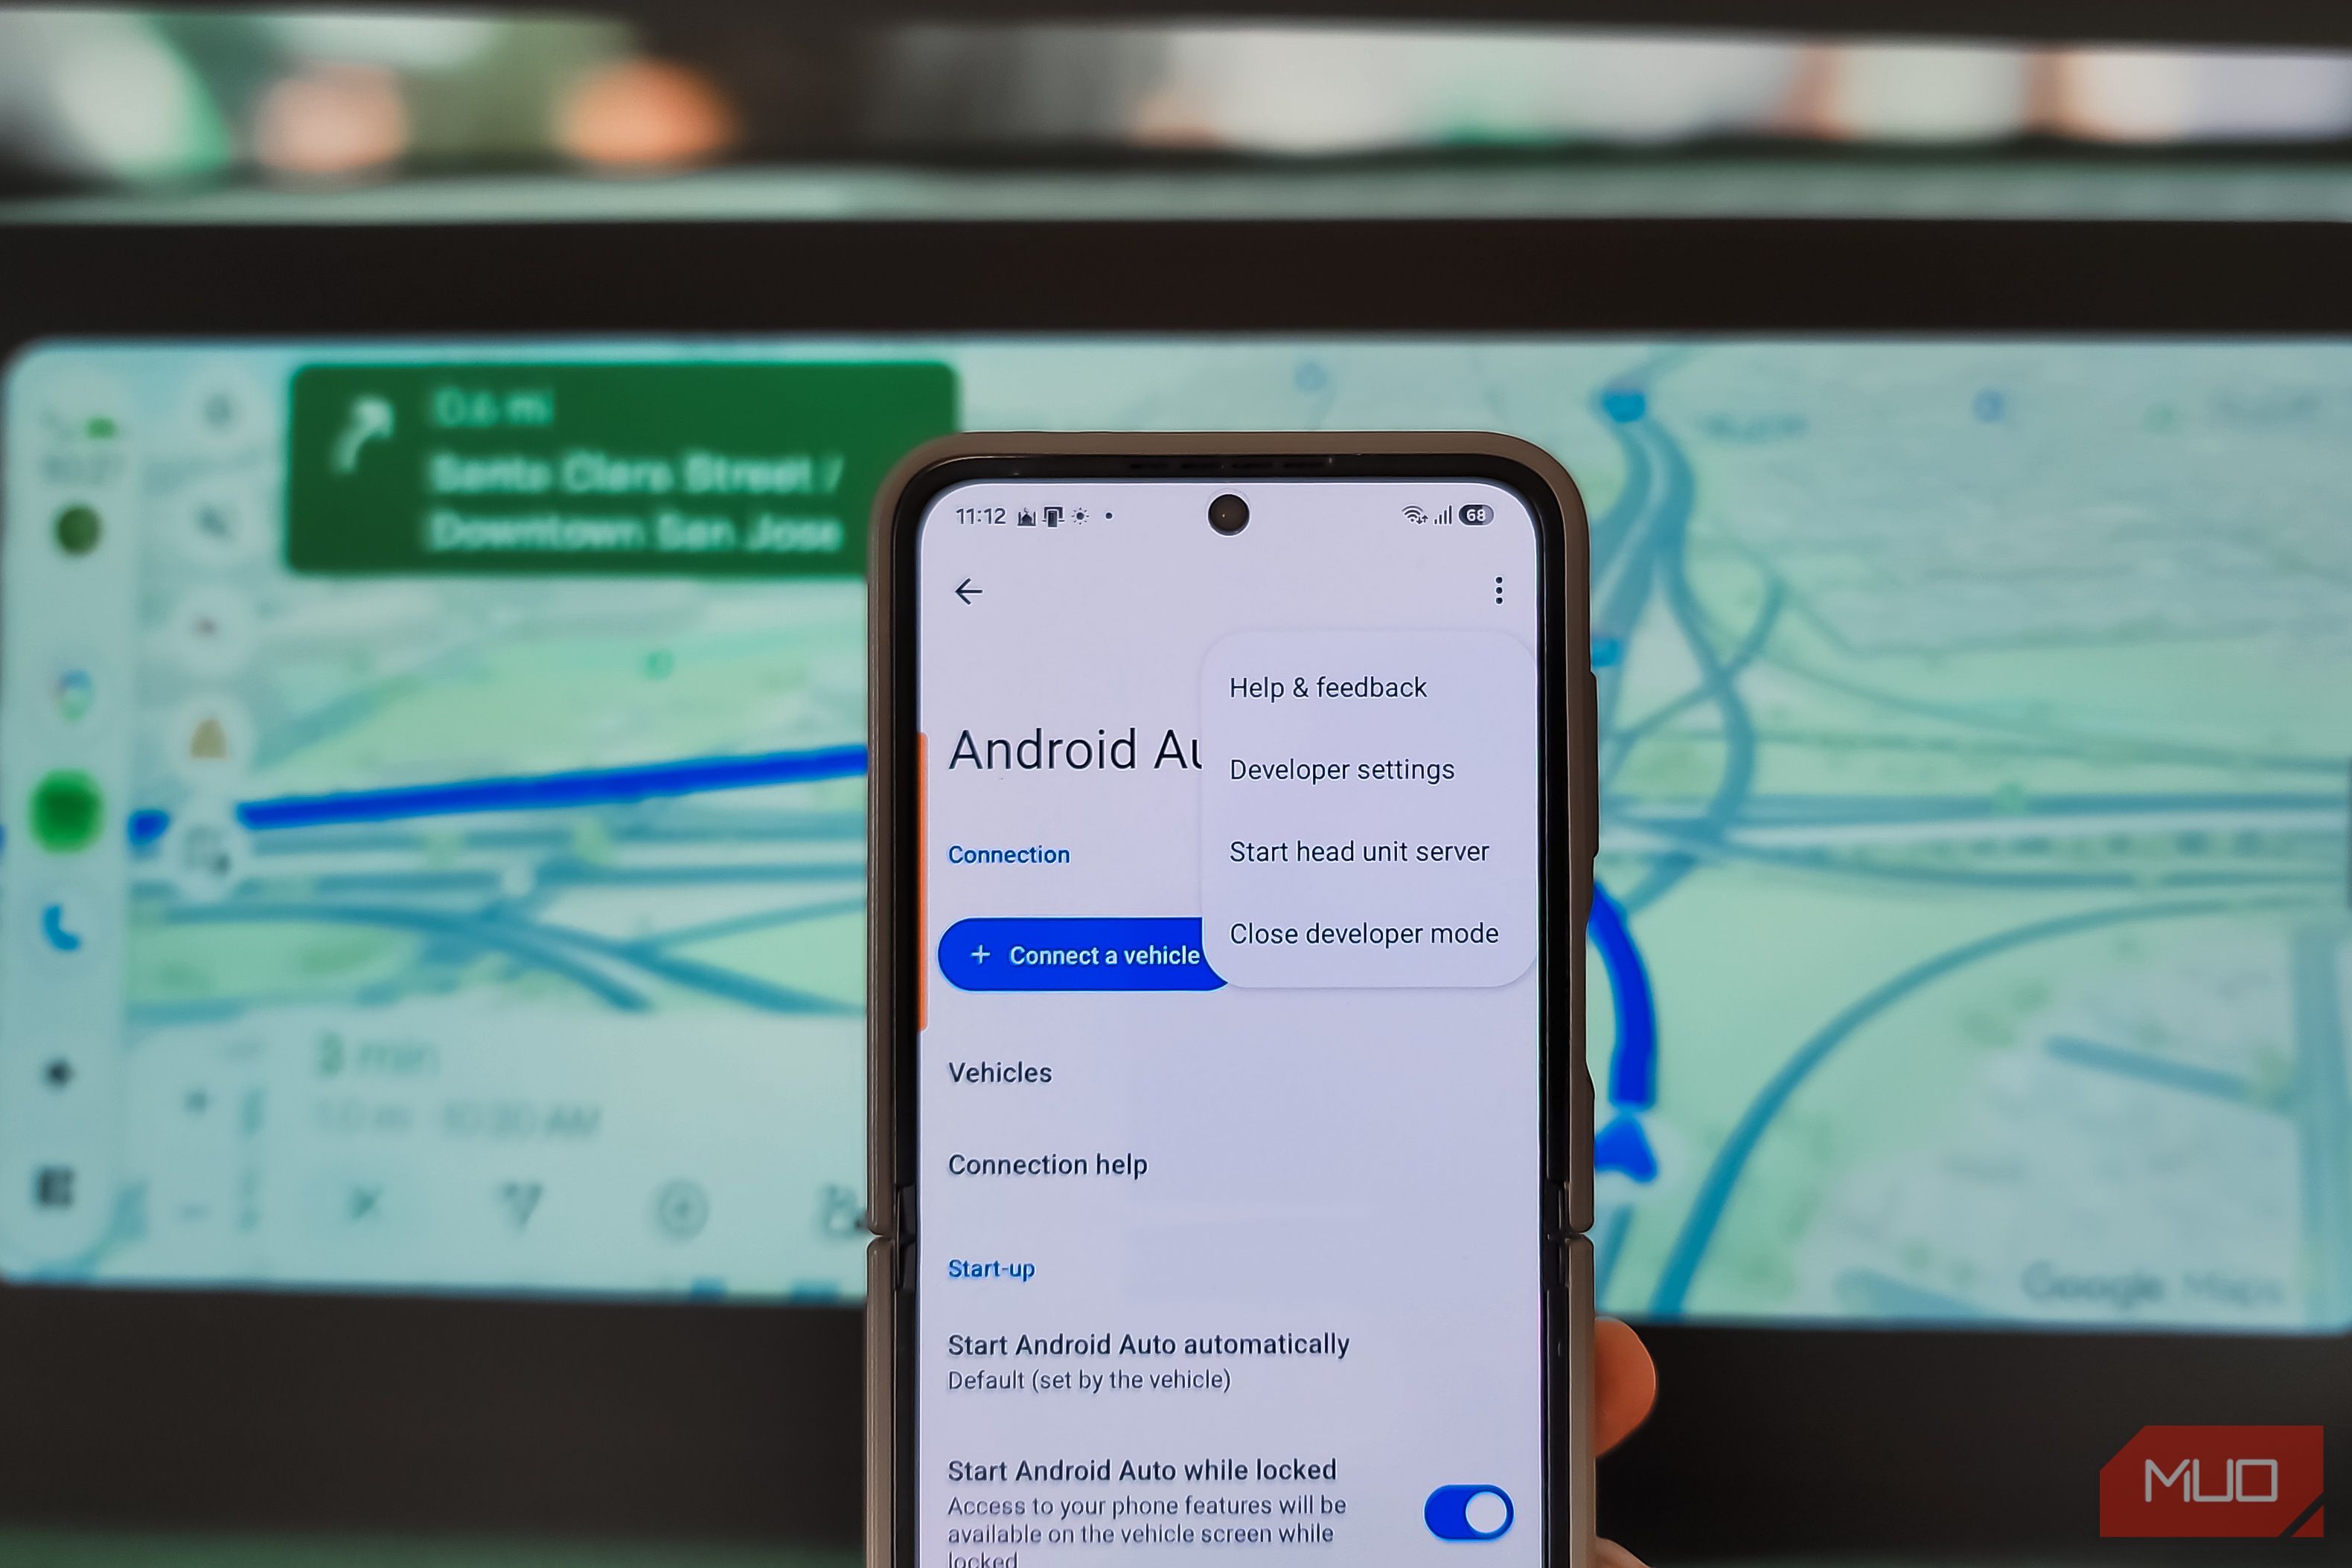
Stop Android Auto Battery Drain: Essential Features to Disable and
Android Auto offers unparalleled convenience, bringing your phone's most useful features directly to your car's display. From navigation and calls to messages and music, it keeps you connected without distracting you

Windows October Update: A Must-Have Security Overhaul
Microsoft's October 2026 Windows update delivers a critical security overhaul, patching over 1,400 vulnerabilities including two zero-days, one already exploited. It's essential for all users, especially with several Windows 11 versions reaching end of support.
Turn Your Android Phone into a Powerful Desktop Replacement
Learn how to transform your Android phone into a full-fledged desktop computer using external displays and accessories, providing a cost-effective and integrated alternative to new Googlebooks.

howto: Four Ways the Fitbit Edge Is Better Than the Charge 6, and Two
Learn the key differences between the Fitbit Edge and Charge 6, including four advantages of the Edge and two areas where it falls short, to help you choose the best fitness tracker for your needs.
How to Connect Your Googlebook to a Printer - Print Documents with
Learn to quickly connect your Googlebook to a printer via Wi-Fi, USB, or Bluetooth and print documents in minutes. This guide covers direct printing, app-specific connections, troubleshooting, and even printing screenshots as a workaround.