
Free Up 1GB RAM: Disable 5 Default Windows 11 Features
Learn to reclaim nearly 1GB of RAM in minutes by disabling 5 default Windows 11 features, including Widgets, OneDrive, and unnecessary startup apps, for a leaner, faster PC.
Is your Windows 11 PC feeling sluggish, even though its hardware should be capable? You're not alone. Many users experience a frustrating gap between how fast their computer should be and its actual performance. Often, the culprit isn't your processor or SSD, but rather a collection of default Windows 11 features that silently consume valuable system resources, especially RAM.
This guide will walk you through how to identify and disable five types of these resource-hungry defaults. By doing so, you can immediately free up nearly 1GB of RAM, transforming your background-heavy system into a much leaner setup. The author of the original experience saw their available idle RAM jump from around 510MB to 1.6GB on an 8GB laptop, demonstrating the significant impact these changes can have.
What You Will Accomplish
By following these steps, you will:
- Stop unnecessary background processes from launching with Windows.
- Reclaim significant amounts of idle RAM, potentially close to 1GB.
- Improve your PC's responsiveness and overall performance.
- Gain better control over which applications and services consume your system resources.
Prerequisites
Before you begin, ensure you have:
- A Windows 11 PC or laptop.
- Administrator access to your computer for certain steps (like using PowerShell).
- Basic familiarity with navigating Windows Settings and Task Manager.
- (Optional but recommended) A backup of any critical files, especially if you plan to make significant changes to how OneDrive operates on your system.
Let's get started and give your Windows 11 PC the boost it deserves!
Step 1: Remove the Widgets 'Web Experience Pack'
Many users hide the Widgets icon from their taskbar, assuming this stops the feature from running in the background. However, the Web Experience Pack, which powers news, weather, and other live content using Edge WebView2 components, often continues to run silently. Stopping this background activity can free up some immediate RAM.
How to do it:
-
Open PowerShell with administrative privileges. Search for "PowerShell" in the Windows search bar, right-click on "Windows PowerShell," and select "Run as administrator." Confirm the User Account Control prompt if it appears.
-
Execute the removal command. In the PowerShell window, type or paste the following command: powershell Get-AppxPackage WebExperience | Remove-AppxPackage
-
Press Enter. PowerShell will process the command, removing the Web Experience Pack. There might not be an explicit confirmation message, but if no error appears, the process was successful.
RAM Freed: Approximately 100-150MB.
Step 2: Prevent OneDrive from Launching at Startup
OneDrive is designed to launch immediately when you sign into Windows, constantly checking sync status and monitoring folders in the background, even before you open any files. This continuous activity consumes RAM unnecessarily if you prefer to manage your files locally or use other backup solutions.
How to do it:
- Open Task Manager. Press
Ctrl + Shift + Escon your keyboard, or right-click the Start button and select "Task Manager." - Navigate to the "Startup apps" tab. This tab lists all applications configured to launch automatically when Windows starts.
- Locate OneDrive. Find "Microsoft OneDrive" in the list. You'll likely see its "Status" as "Enabled."
- Disable OneDrive. Right-click on "Microsoft OneDrive" and select "Disable." The status will change to "Disabled."
RAM Freed: Around 50-150MB, with potential spikes much higher during active syncing. This change also makes Windows startup feel less crowded.
Step 3: Manage 'Tiny' Startup Applications
Individually, many small applications might seem insignificant, but collectively, they contribute significantly to RAM consumption at startup. This is a common "death-by-a-thousand-cuts" problem, especially problematic for systems with 8GB of RAM. Apps like Phone Link, Xbox-related services, Outlook preloaders, Weather apps, Clipchamp, and various other Microsoft services often run unused in the background.
How to do it:
- Open Task Manager. Use
Ctrl + Shift + Escor right-click the Start button and select "Task Manager." - Go to the "Startup apps" tab.
- Review and disable unnecessary apps. Carefully examine each entry in the list. Ask yourself: "Do I need this application running immediately when I start my computer?" If the answer is no, right-click on the application and select "Disable."
- Look for: "Phone Link," "Xbox Game Bar," "Xbox app," "Outlook," "Weather," "Clipchamp," and any other helper apps or services you don't frequently use or need to be active from boot.
RAM Freed: Approximately 600MB. Your exact gains may vary depending on how many unnecessary startup apps you have.
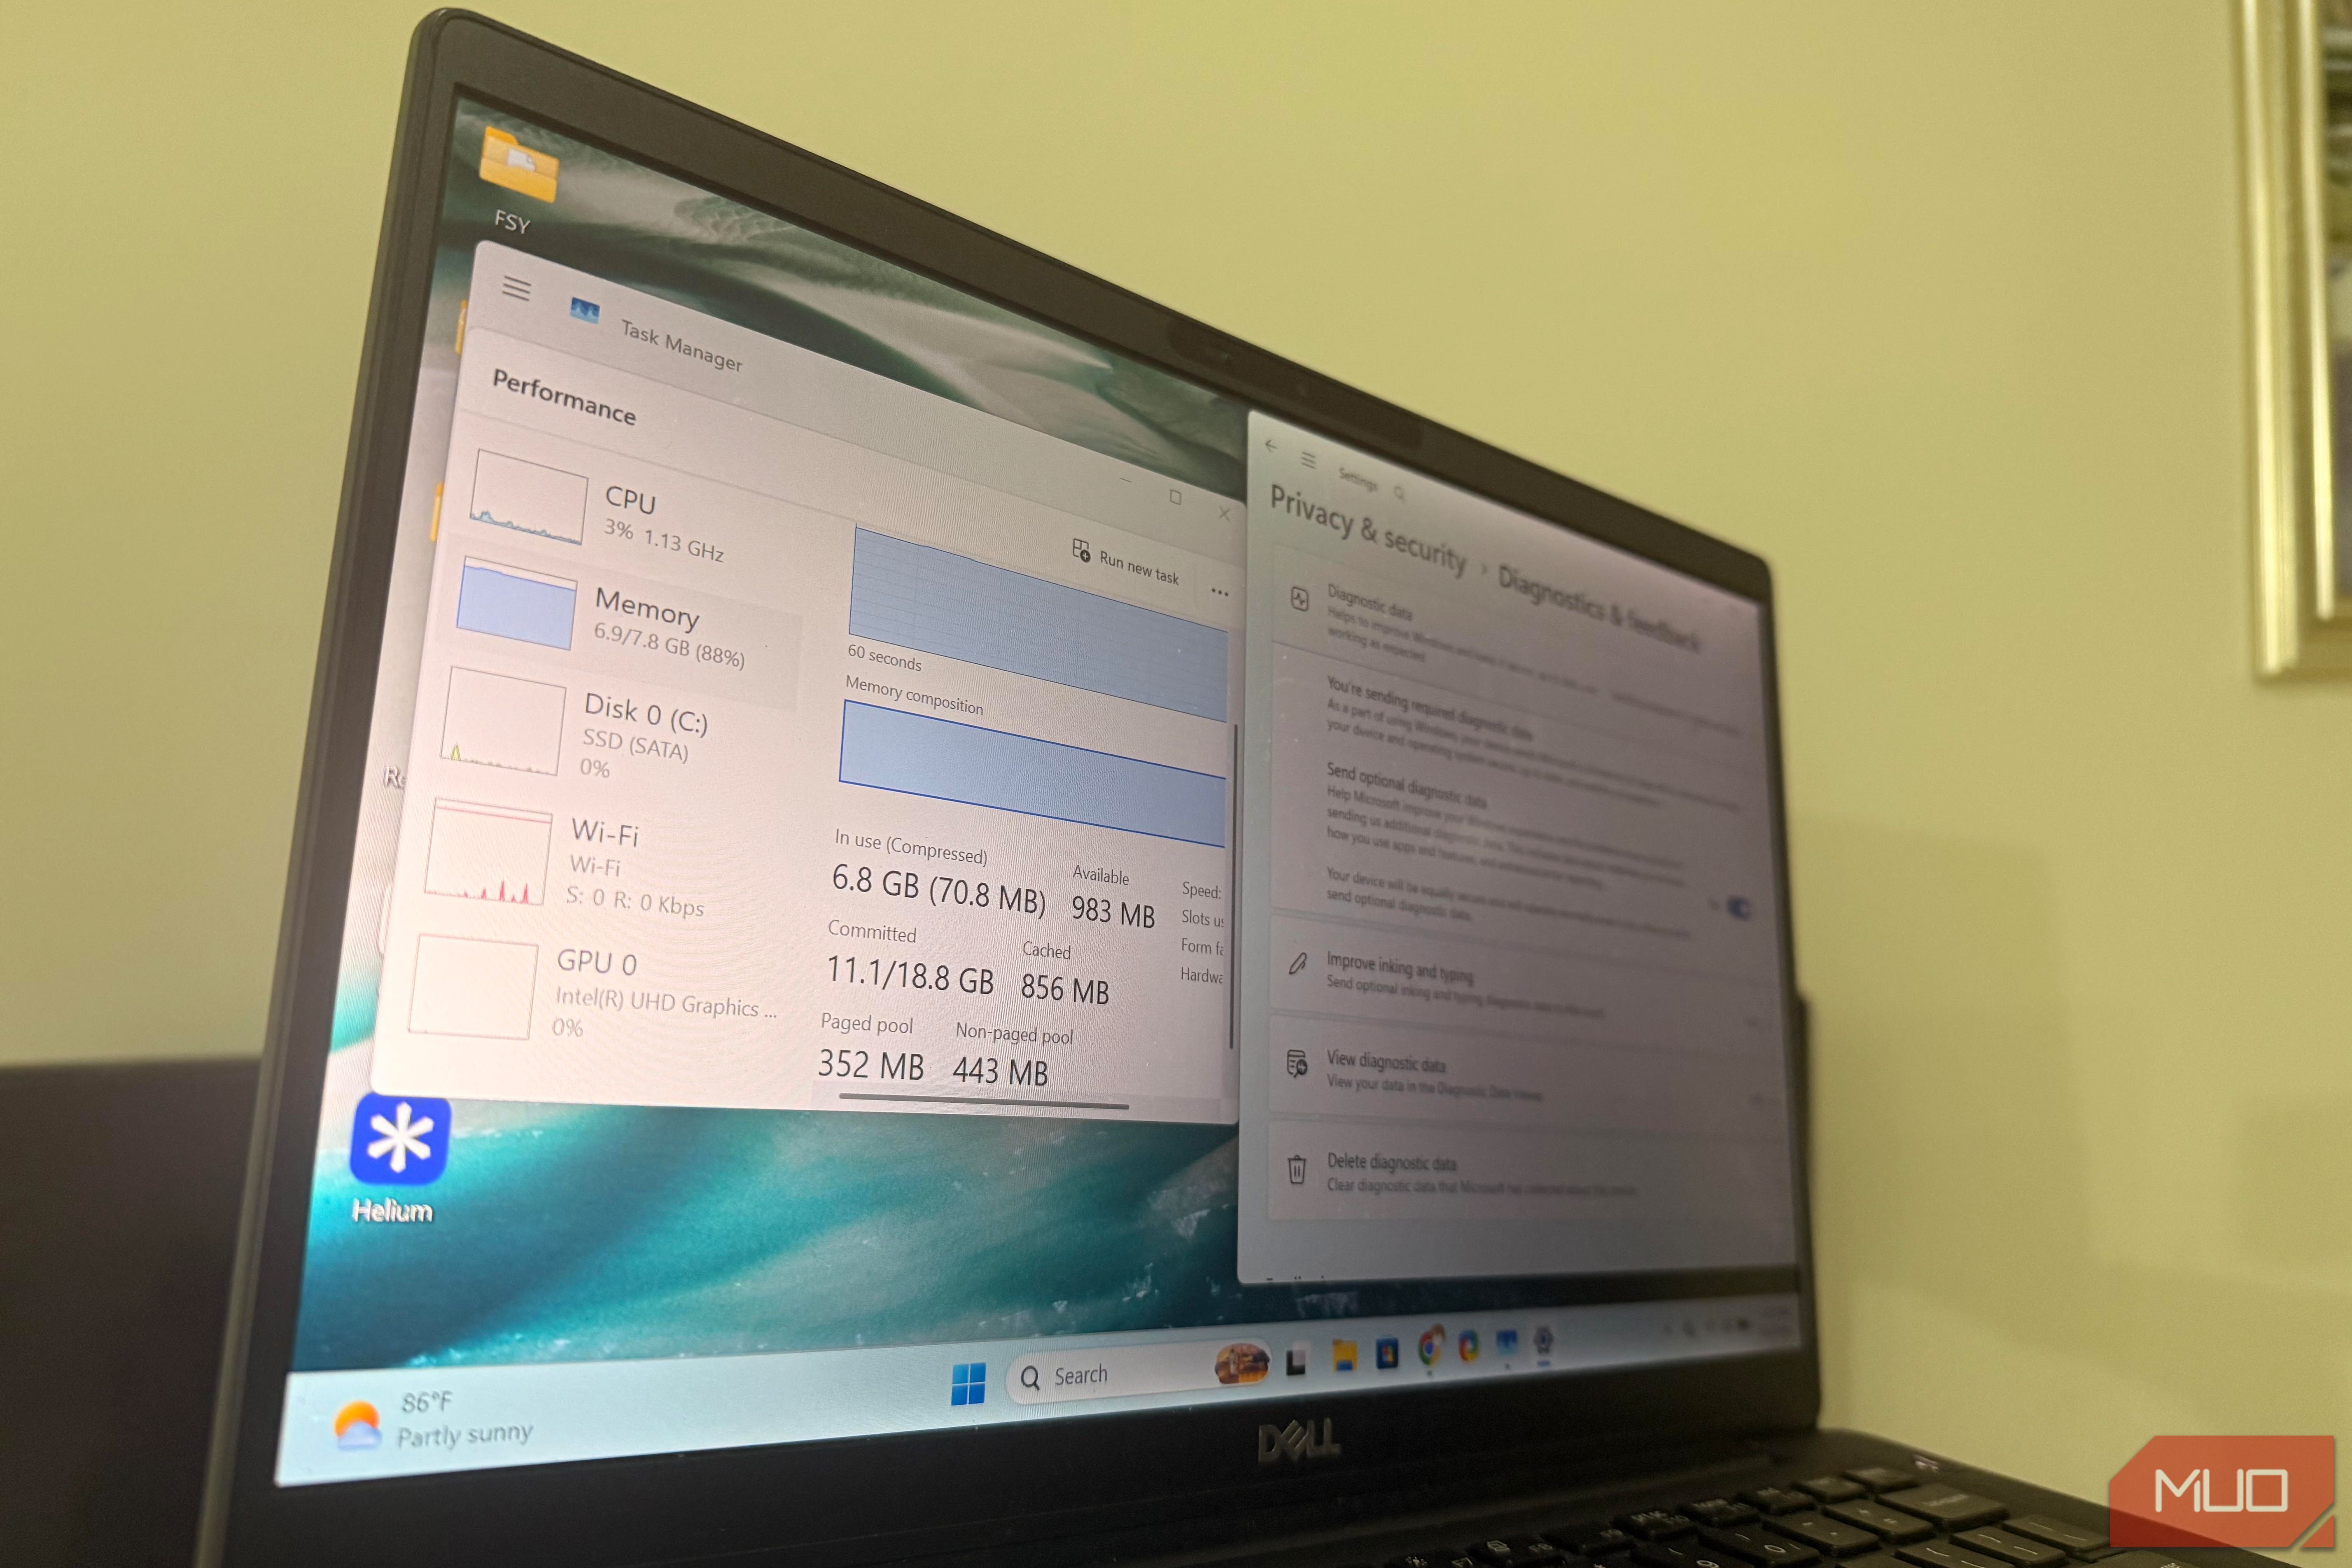
Step 4: Refine Privacy & Security Settings (Diagnostics, Tailored Experiences, Feedback)
While Microsoft's telemetry, diagnostics, and personalization features are designed to improve the operating system, they often consume RAM without directly benefiting your personal use case, especially on resource-limited systems. Disabling these optional elements can reclaim some memory.
How to do it:
- Open Windows Settings. Press
Windows key + Ion your keyboard, or right-click the Start button and select "Settings." - Navigate to "Privacy & security." This section contains various settings related to data collection and personalization.
- Adjust "Diagnostics & feedback" settings:
- Click on "Diagnostics & feedback."
- Toggle "Send optional diagnostic data" to "Off."
- Scroll down and also consider toggling off "Tailored experiences" if you prefer to limit data collection used for personalized content and recommendations.
- Review "General" privacy settings (for broader personalization):
- Go back to the main "Privacy & security" menu.
- Click on "General."
- Toggle off settings that allow apps to show personalized ads or suggested content, if you wish to further reduce background personalization processes.
RAM Freed: Approximately 100MB.
Troubleshooting Tips
- Re-enabling Features: If you find you need a disabled feature, most can be re-enabled. For startup apps, revisit Task Manager's "Startup apps" tab and simply right-click to "Enable." For privacy settings, go back into Settings and toggle them back on. Reinstalling the Web Experience Pack (Widgets) can be done via the Microsoft Store or more advanced PowerShell commands, though it's generally not recommended if you disabled it for performance.
- Command Failed: If the PowerShell command for Widgets returns an error, double-check your typing and ensure PowerShell was run as an administrator. If the Web Experience Pack is already gone, the command might indicate it can't find the package.
- Still Slow? While these steps target idle RAM, if your PC is slow during active use, check Task Manager's "Processes" tab to see which applications are currently consuming the most CPU, memory, or disk resources.
Best Practices for a Leaner System
- Regularly Review Startup Apps: New software often adds itself to startup. Periodically check the "Startup apps" tab in Task Manager to keep it clean.
- Question Necessity: Before disabling, ask yourself: "Does this app need to run constantly in the background, or can I launch it only when I need it?" If not, disable it.
- Uninstall Unused Apps: For applications you never use, consider uninstalling them completely rather than just disabling their startup. This frees up disk space and ensures no residual background processes remain.
Conclusion
You've now taken significant steps to strip away corporate bloat and unnecessary background activity from your Windows 11 PC. By reclaiming nearly 1GB of RAM, your system should feel noticeably faster, especially at idle, and more responsive overall. These small changes, taking less than five minutes, can make a world of difference for laptops with 8GB of RAM, turning a sluggish machine into a much more efficient companion.
Enjoy your optimized Windows 11 experience!
FAQ
Q: Will disabling these features break my Windows 11 system?
A: No, these are optional features or background processes that can be safely disabled without impacting core system functionality. The goal is to remove non-essential resource consumption. You can re-enable most of them if you change your mind.
Q: How often should I check my startup apps?
A: It's a good practice to review your startup apps periodically, perhaps once every few months or whenever you install new software, as many applications tend to add themselves to startup by default. This helps maintain a lean system.
Q: Can I regain more RAM than what's mentioned here?
A: While these steps target some of the largest RAM consumers from default features, individual results may vary. You might gain more or slightly less depending on your specific system configuration and how many apps you have installed. Further optimization could involve uninstalling other unused programs or upgrading your system's RAM.
Related articles

Give Your Old Android a New Life: 7 Free Apps to Repurpose It
Repurpose your old Android phone with 7 free apps to create a webcam, dash cam, e-reader, and more, saving money and reducing waste.

Mastering Agentic AI: Building Autonomous Workflows with LangGraph
The software development landscape is evolving beyond single-prompt LLMs to autonomous AI agents capable of complex, multi-step workflows. LangChain, with its extension LangGraph, provides the essential tools to build these sophisticated systems, enabling stateful, cyclical agent behaviors. Developers can implement advanced features like Human-in-the-Loop, RAG, and streaming responses, and deploy these agents using industry best practices.

How to Reimagine the World with Nano Banana 2 in Google Earth
Learn to use Nano Banana 2 AI in Google Earth on the web to generate historical scenes, futuristic landscapes, or personal design visualizations with text prompts.

TechCrunch Disrupt 2026: AI Stage Tackles SaaS Reckoning, Security
TechCrunch Disrupt 2026, held Oct 13-15 in San Francisco, features an AI Stage presented by Google for Startups. It will explore how AI is reshaping business models, creating security gaps like the 'agent security gap,' and pioneering new job categories like the 'GTM Engineer.' Industry leaders will share insights on topics from enterprise AI security to the future of video intelligence.
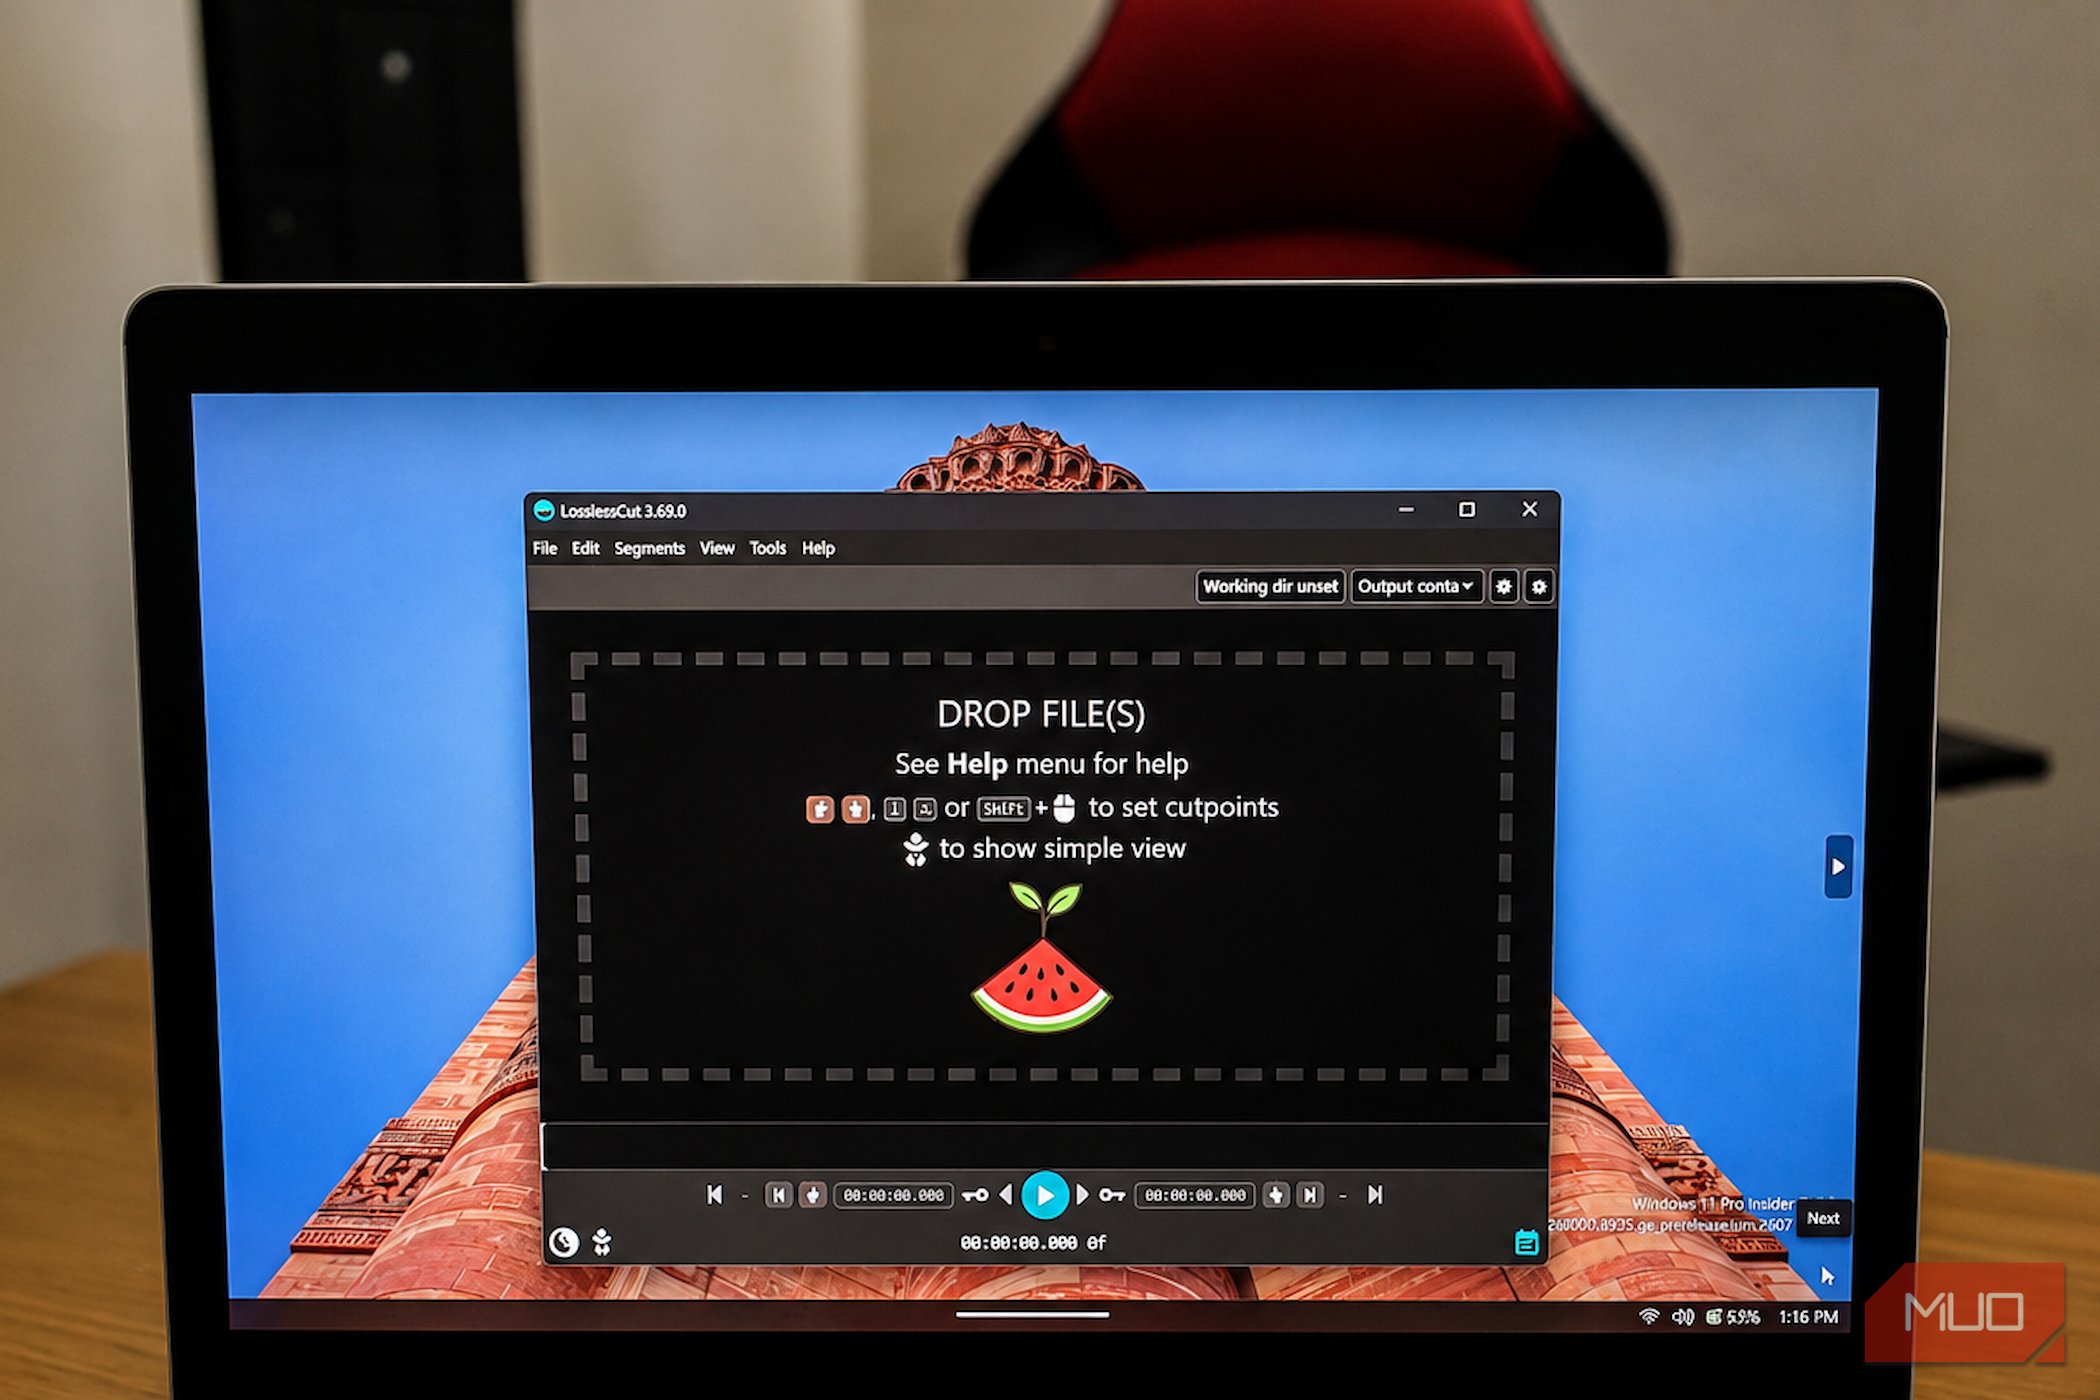
LosslessCut: Effortless Video Trimming Without Re-encoding
Learn to quickly trim and merge video segments without quality loss using LosslessCut, a free, open-source tool. This guide covers installation, step-by-step usage, key limitations, and troubleshooting tips for efficient video management.

Your Guide to the Vivo S2 India Launch Leaks: Design & Specs Revealed
Explore the latest leaks surrounding the Vivo S2 India launch, including its tipped August 6th release, detailed design, key specifications, and estimated pricing. Get ready for the S series revival.