
Enhance Your Pixel Photography: Install & Master Open Camera
Discover a New Way to Shoot with Your Pixel Your Pixel phone is celebrated for its camera, but sometimes, its automatic processing can be a bit heavy-handed, leaving little room for manual control. If you're looking for
Discover a New Way to Shoot with Your Pixel
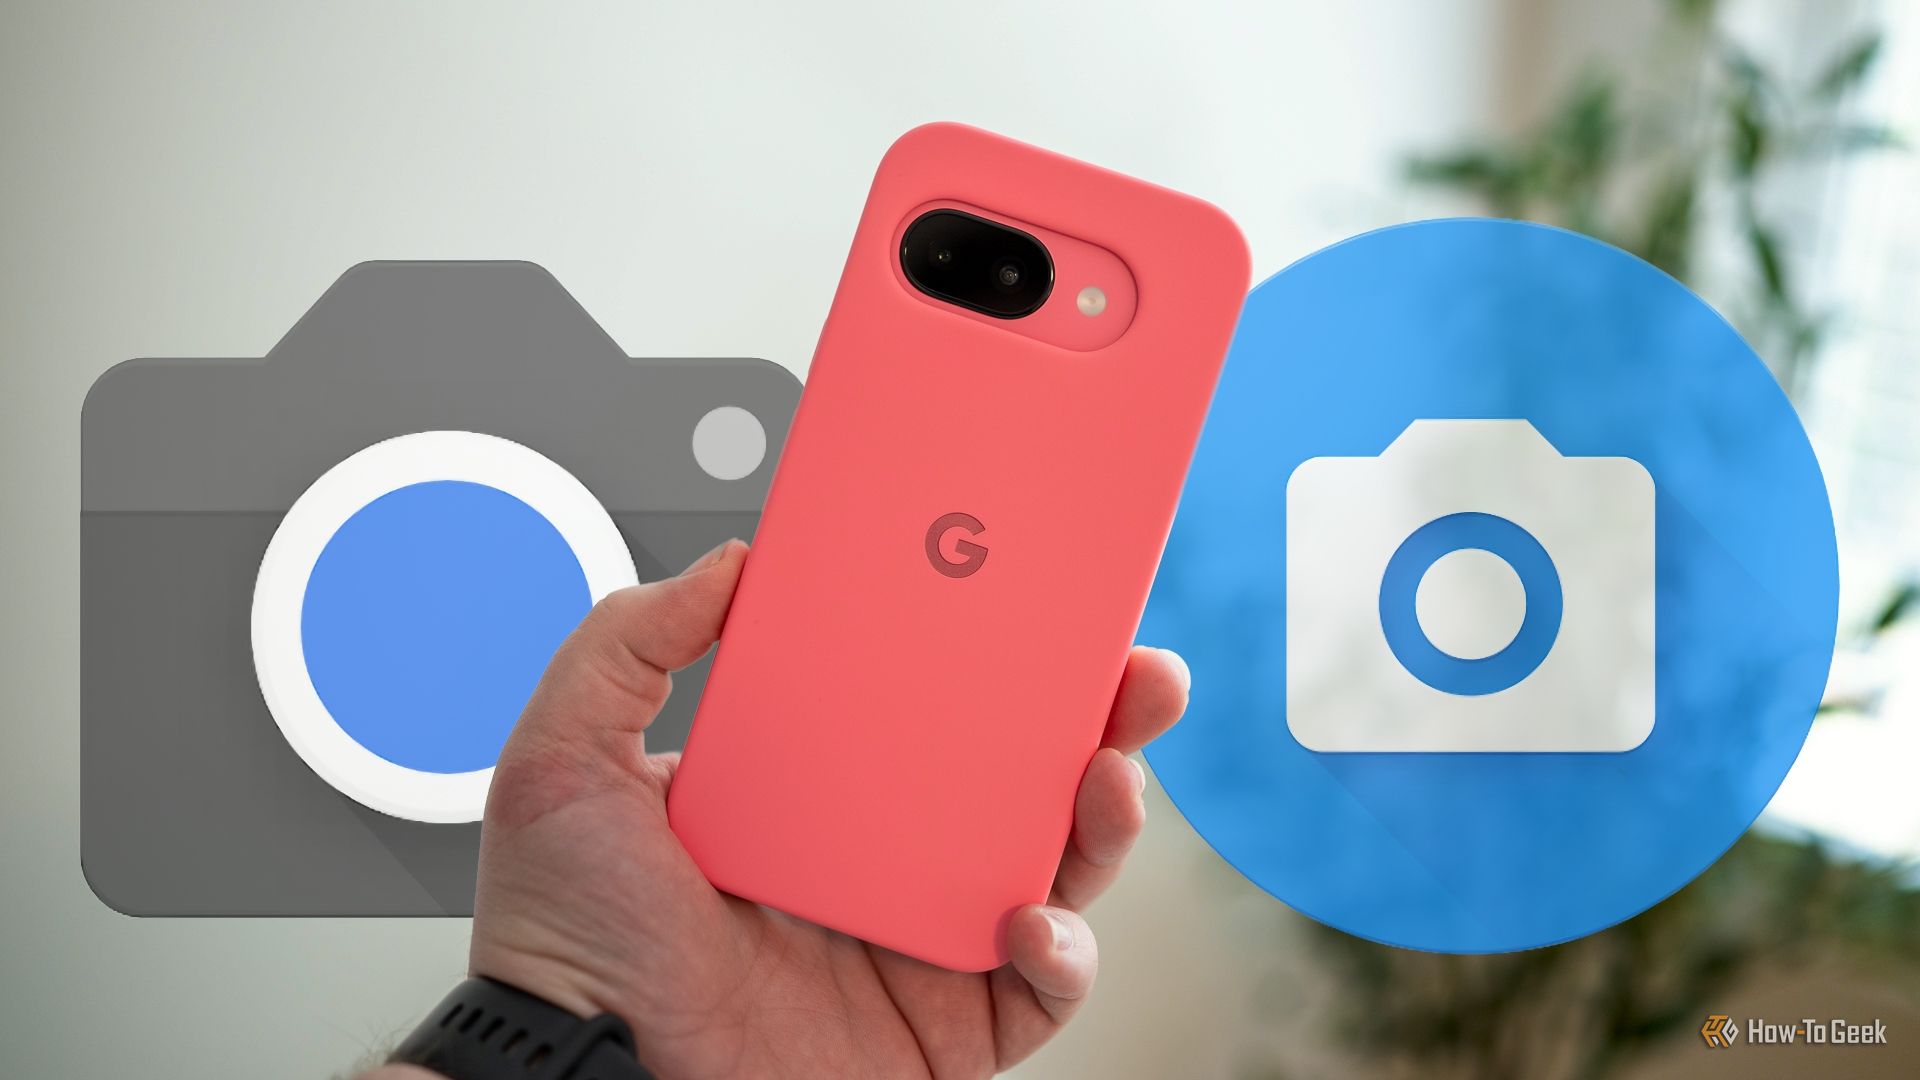
Your Pixel phone is celebrated for its camera, but sometimes, its automatic processing can be a bit heavy-handed, leaving little room for manual control. If you're looking for a different approach to photography – one that offers more natural-looking images and extensive manual settings – Open Camera is a fantastic, free, open-source alternative. This guide will walk you through how to install it, explore its powerful features, and integrate it into your mobile photography workflow, allowing you to get even more from your Pixel's camera hardware.
What You'll Accomplish
By following this guide, you will:
- Install Open Camera on your Pixel device.
- Understand its core benefits compared to the stock Pixel camera app.
- Learn to utilize its manual controls for exposure, focus, white balance, and ISO.
- Explore advanced features like burst mode, time-lapse, exposure bracketing, and RAW-only shooting.
- Customize the app to fit your personal photographic style.
- Determine when to use Open Camera and when to stick with your Pixel's default app for the best results.
Prerequisites
Before you begin, ensure you have:
- A Google Pixel phone (any model).
- An active internet connection to download the application.
Step 1: Get Open Camera on Your Pixel
Open Camera is readily available and completely free, making it easy to start experimenting.
- Open the Google Play Store on your Pixel phone.
- In the search bar, type "Open Camera".
- Locate the app by Mark Harman. It should be one of the top results.
- Tap Install to download and set up the app on your device.
Once installed, you'll find the Open Camera icon in your app drawer, ready to launch.
Step 2: First Launch and Basic Shooting
While Open Camera offers deep customization and advanced controls, it's also perfectly capable of simple point-and-shoot photography. When you first open the app:
- Grant Necessary Permissions: The app will ask for access to your camera, microphone, and storage. Tap Allow for these to ensure full functionality.
- Take a Test Shot: Point your camera at something and tap the shutter button. You'll immediately notice that the images often appear softer and less processed than those from the Pixel app. This is because Open Camera relies far less on computational photography.
- Utilize Auto-Level: Even for basic shots, Open Camera includes a clever Auto-Level option. This feature automatically crops your image to ensure the horizon is straight, even if your phone isn't perfectly level. It's a small touch that significantly improves casual photos.
Step 3: Dive into Manual Controls
This is where Open Camera truly shines, offering a "real camera" experience that the Pixel app often lacks. You'll find controls that allow you to dictate how your photos look.
- Exposure: Adjust the exposure to brighten or darken your scene. This is crucial for correctly lit subjects, especially in tricky lighting conditions.
- Focus: Move beyond auto-focus. Open Camera provides several autofocus modes, including continuous focusing, macro for close-ups, and infinity focus for landscapes. You can also manually adjust the focus to precisely pinpoint your subject.
- White Balance: Take control of your image's color temperature. The Pixel app often tries to correct colors automatically, but with Open Camera, you can manually set the white balance to achieve warmer or cooler tones, giving your photos a specific mood or ensuring accurate color reproduction in mixed lighting.
- ISO: Manage the camera's sensitivity to light. Lower ISO settings reduce noise, while higher settings allow you to shoot in darker environments (though with increased digital noise). Experimenting with ISO gives you control over image quality in varying light.
These controls are typically accessible via on-screen buttons or through the settings menu, allowing for quick adjustments as you compose your shot.
Step 4: Personalize Your Shooting Experience
Open Camera is almost endlessly customizable, allowing you to tailor the interface and controls to match your personal workflow.
- Interface Buttons: You can reconfigure where various buttons appear on the screen, bringing frequently used functions to your fingertips.
- Sounds and Gestures: Customize shutter sounds or assign specific actions to gestures, making the app feel more intuitive for you.
- Long-Press Actions: Define what happens when you long-press different areas of the screen, creating shortcuts for your most common settings.
- Screen Layout: Adjust the overall layout of the camera interface to minimize clutter or highlight key information, ensuring you have the most efficient setup for your photography style.
Spend some time in the app's comprehensive settings menu to discover all the ways you can make Open Camera truly yours.
Step 5: Unleash Advanced Photographic Features
Beyond basic manual controls, Open Camera is packed with advanced features often found only in dedicated cameras or high-end third-party apps.
- Fast Burst Mode: Capture up to 20 frames in rapid succession. This is perfect for action shots, photographing fast-moving subjects, or documenting dynamic events like storms.
- Configurable Time-Lapse Mode: Set the number of shots and the interval between them (from half a second to two hours). Capture sunsets, cloud movements, or even observe wildlife in your backyard.
- Exposure and Focus Bracketing: Take three shots with different exposure or focus settings in quick succession. This is invaluable for high-contrast scenes or ensuring you nail the perfect focus, especially when combining images in post-processing.
- Onscreen Histogram: Monitor your exposure in real-time with an onscreen histogram, helping you avoid overexposed or underexposed areas before you even take the shot.
- Overlays for Exposure & Focus: Add zebra stripes to your preview to highlight overexposed areas, and use focus peaking lines to visually confirm what's in sharp focus during manual focusing. These are professional-grade tools for precise control.
- Ghost Image (Onion-Skinning): This feature displays a semi-transparent overlay of your previous shot, making it incredibly easy to recreate variations of the same composition or align subsequent photos precisely.
- Custom EXIF Tags: Add your own custom data to the image's EXIF metadata, useful for organization or professional workflows.
- RAW-Only Mode: Unlike the Pixel app's RAW+JPEG option, Open Camera allows you to shoot in RAW-only mode. This is a game-changer for serious photographers, as it provides maximum flexibility for post-processing in apps like Snapseed, emulating a mirrorless camera and desktop software setup.
Tips for Mastering Your Pixel's Cameras
Open Camera doesn't completely replace everything the Pixel camera app does best, but it offers a powerful complementary tool.
- When to Use Open Camera: Opt for Open Camera when you desire more natural-looking images, require extensive manual control, want to experiment with creative features like burst mode or time-lapse, or need to shoot in RAW-only format for detailed post-processing.
- When to Stick with Pixel Camera: The stock Pixel app excels at simple point-and-shoot scenarios, especially in low-light conditions (thanks to Night Sight) and tasks that rely heavily on computational photography to produce instantly bright, ultra-crisp results. Keep both apps installed and switch between them based on your photographic needs.
Troubleshooting: Navigating the Options
With so many features and customization options, Open Camera can feel a bit overwhelming at first.
- The Learning Curve: It's true that Open Camera has a bit of a learning curve due to its extensive settings. Don't be discouraged! Start by focusing on one or two manual controls (like exposure or white balance) and gradually explore others.
- Finding Settings: If you're struggling to find a particular setting, remember that the app is highly customizable. Explore the main settings menu thoroughly. Often, controls are logically grouped, and with practice, you'll develop muscle memory for where your favorite options reside.
Next Steps: Explore Further
Now that you have Open Camera installed and understand its capabilities, the best way to master it is through practice. Experiment with different settings in various lighting conditions. Try shooting the same scene with both Open Camera and your Pixel's stock app to compare results and understand their distinct advantages.
Consider pairing Open Camera with a mobile editing app like Snapseed, especially if you're shooting in RAW. This combination can truly transform your mobile photography into a powerful, creative outlet.
FAQ
Q: Can Open Camera completely replace the Pixel's native camera app?
A: Not entirely. While Open Camera offers unparalleled manual control and natural image processing, the Pixel's native app excels at computational photography features like Night Sight. Many users, including the original article's author, find the best approach is to use both apps, switching between them depending on the desired outcome for a specific shot.
Q: Is Open Camera difficult for beginners to use?
A: Open Camera can be used for simple point-and-shoot photography with ease. However, its extensive array of advanced features and customization options can present a learning curve for beginners who wish to delve into manual controls and specialized settings. It's recommended to start with basic functions and gradually explore the more advanced options as you become comfortable.
Q: Does Open Camera perform well on Pixel hardware?
A: Yes, the app performs perfectly on Pixel hardware. It is very responsive, with close to zero shutter lag, meaning it doesn't feel like a compromise in terms of speed or user experience when compared to the native camera app.
Related articles

TCG Pocket Responds: A Much-Needed Pace Shift for Pokémon Fans
Pokémon TCG Pocket is rolling out a major update for its second anniversary, primarily addressing player concerns about overwhelming content releases by shifting to a six-week set schedule. This aims to curb player decline and improve overall engagement by giving trainers more time to collect and strategize. The update also adds new collection methods, improved deck-building features, and enhanced trading functionality.
Ditch Merge & Center: The Better Way to Align Text in Excel
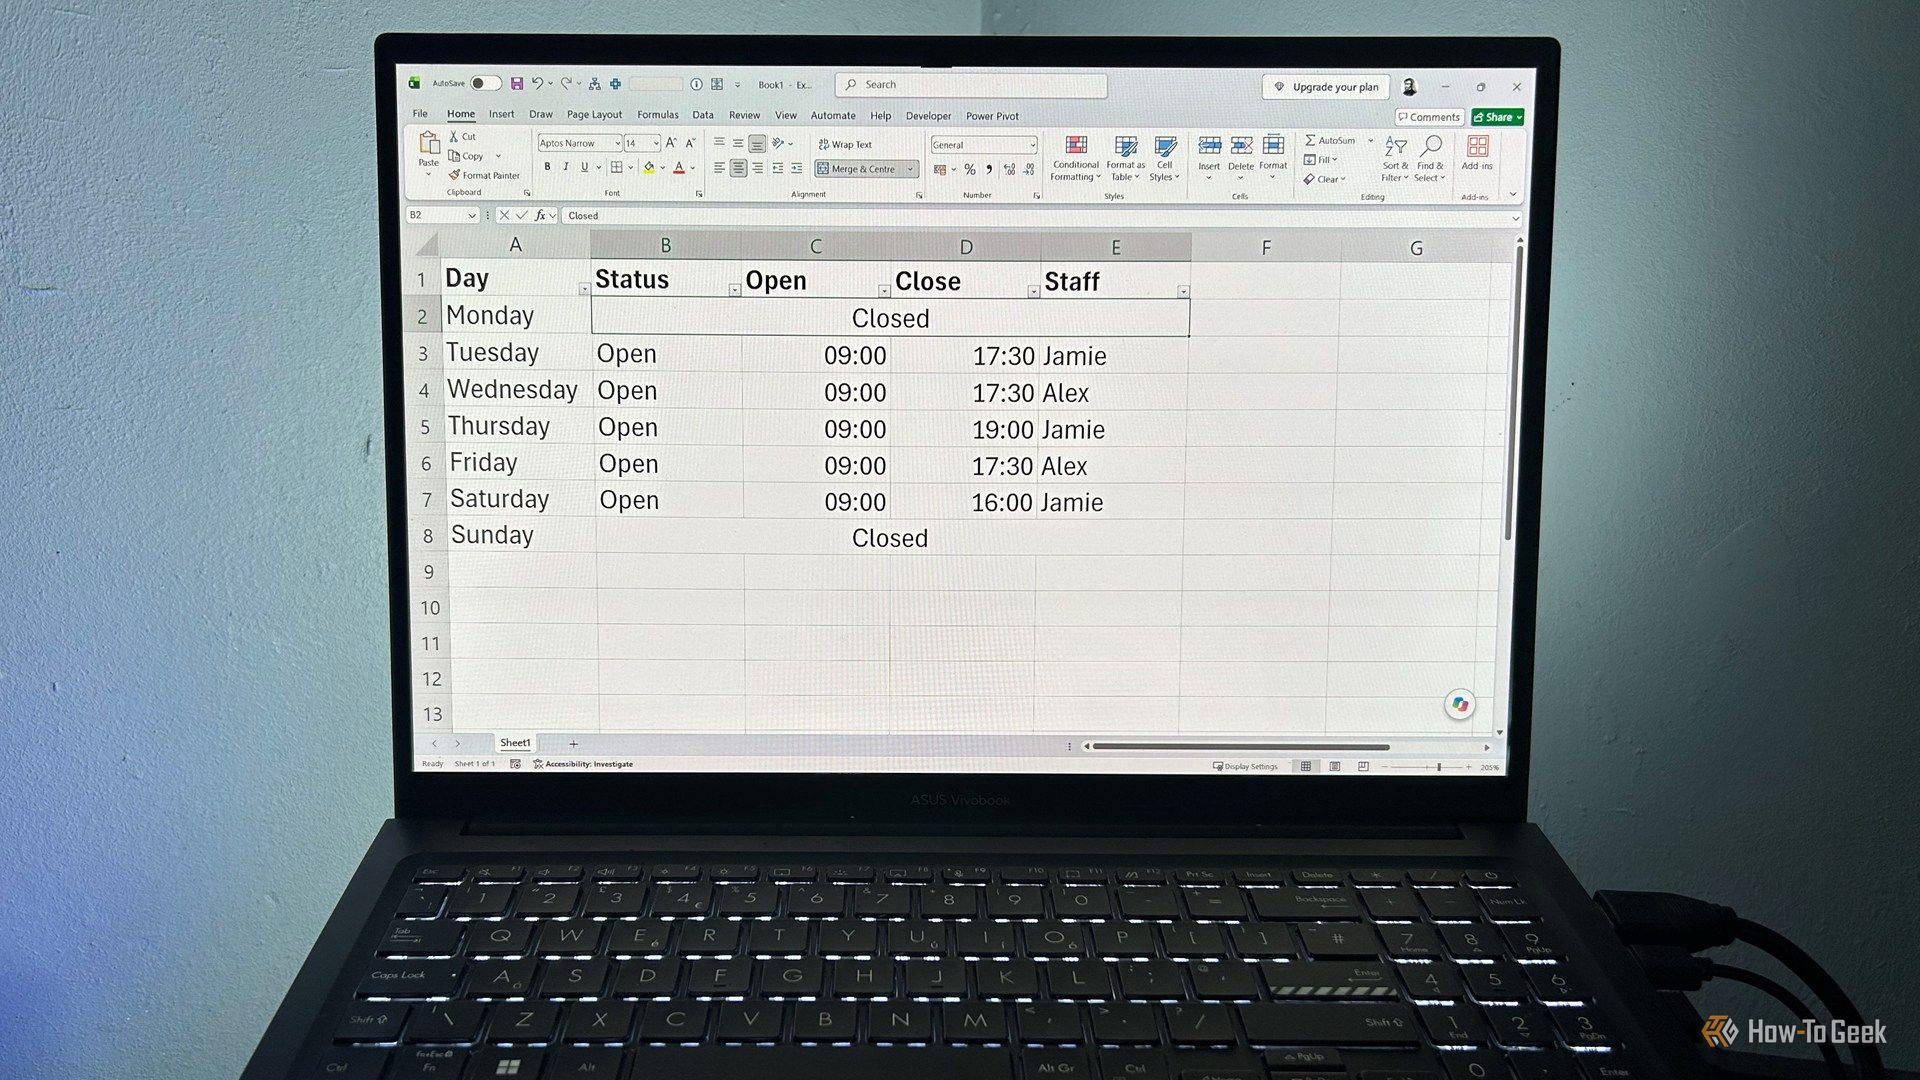
Learn to use Excel's "Center Across Selection" to align text across cells without merging, avoiding common data manipulation issues. This guide provides steps to utilize this newly accessible feature and add it to your Quick Access Toolbar.
Ars Technica's Rocket Report: Your Essential Space Industry Briefing
Quick Verdict Ars Technica's Rocket Report, presented by veteran space reporter Stephen Clark, offers an invaluable and meticulously organized weekly (or similar frequency, implied by "Edition 9.15") digest of the most
Stop Android Auto Battery Drain: Essential Features to Disable and
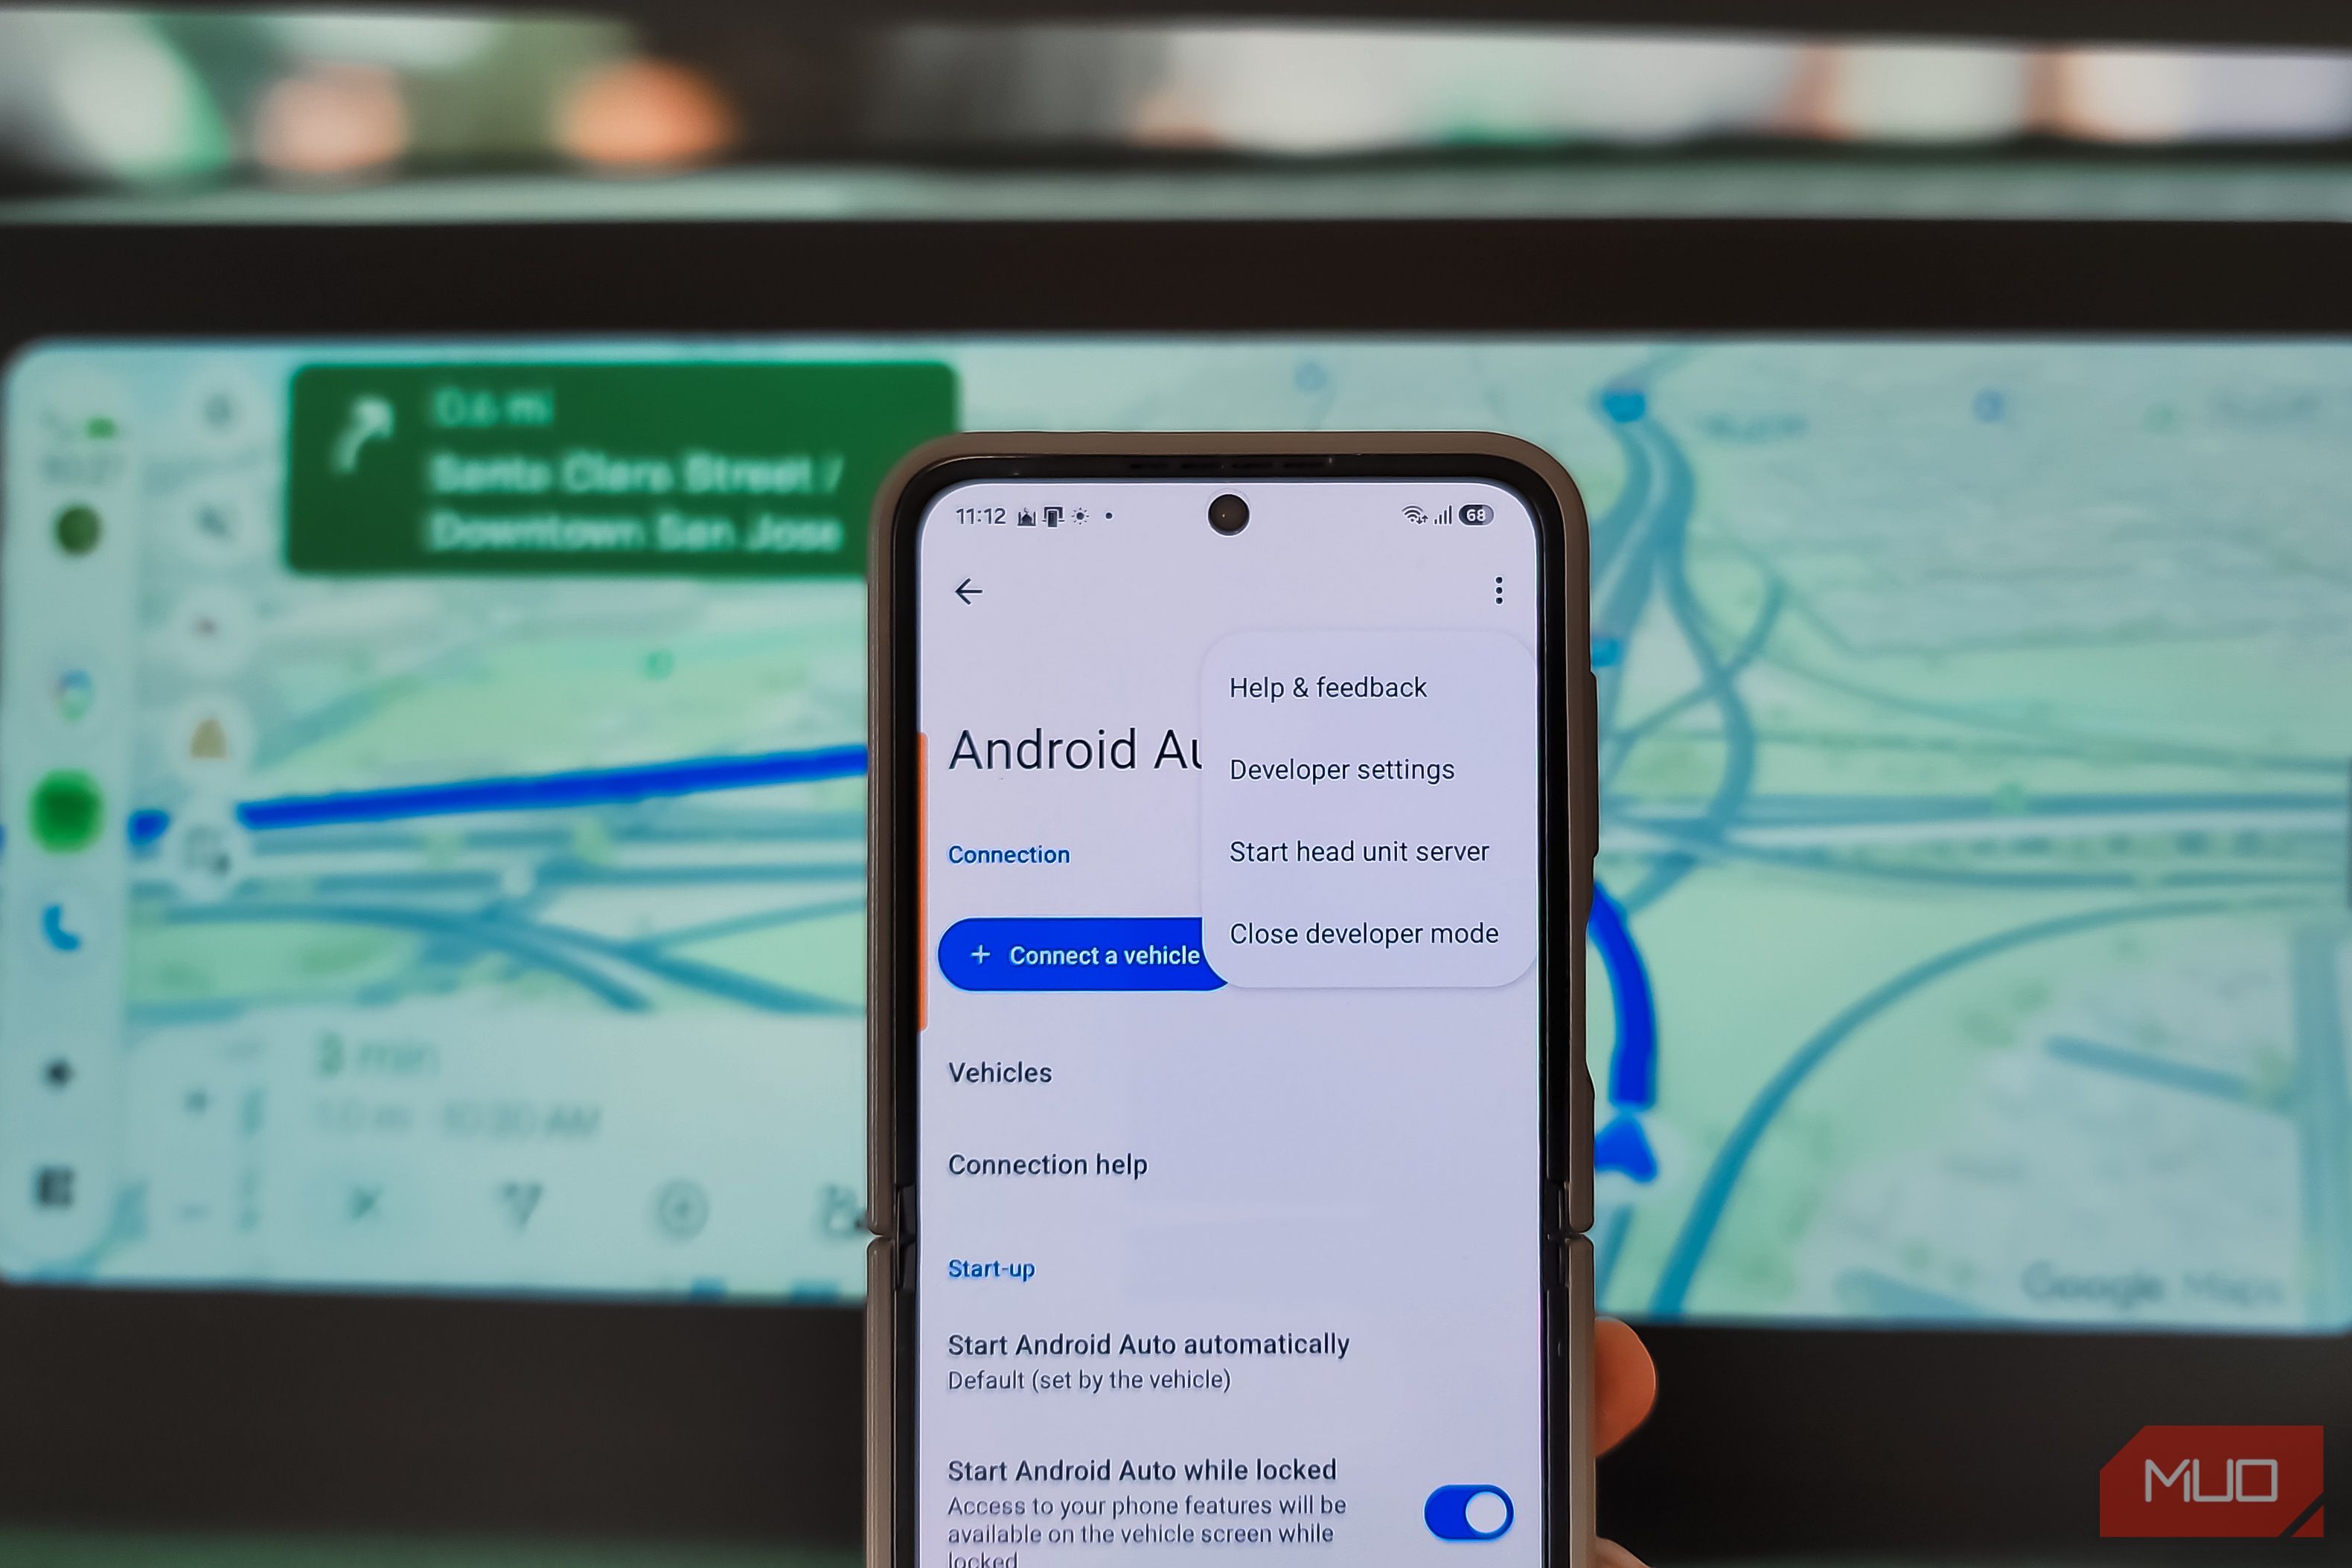
Android Auto offers unparalleled convenience, bringing your phone's most useful features directly to your car's display. From navigation and calls to messages and music, it keeps you connected without distracting you
Turn Your Android Phone into a Powerful Desktop Replacement
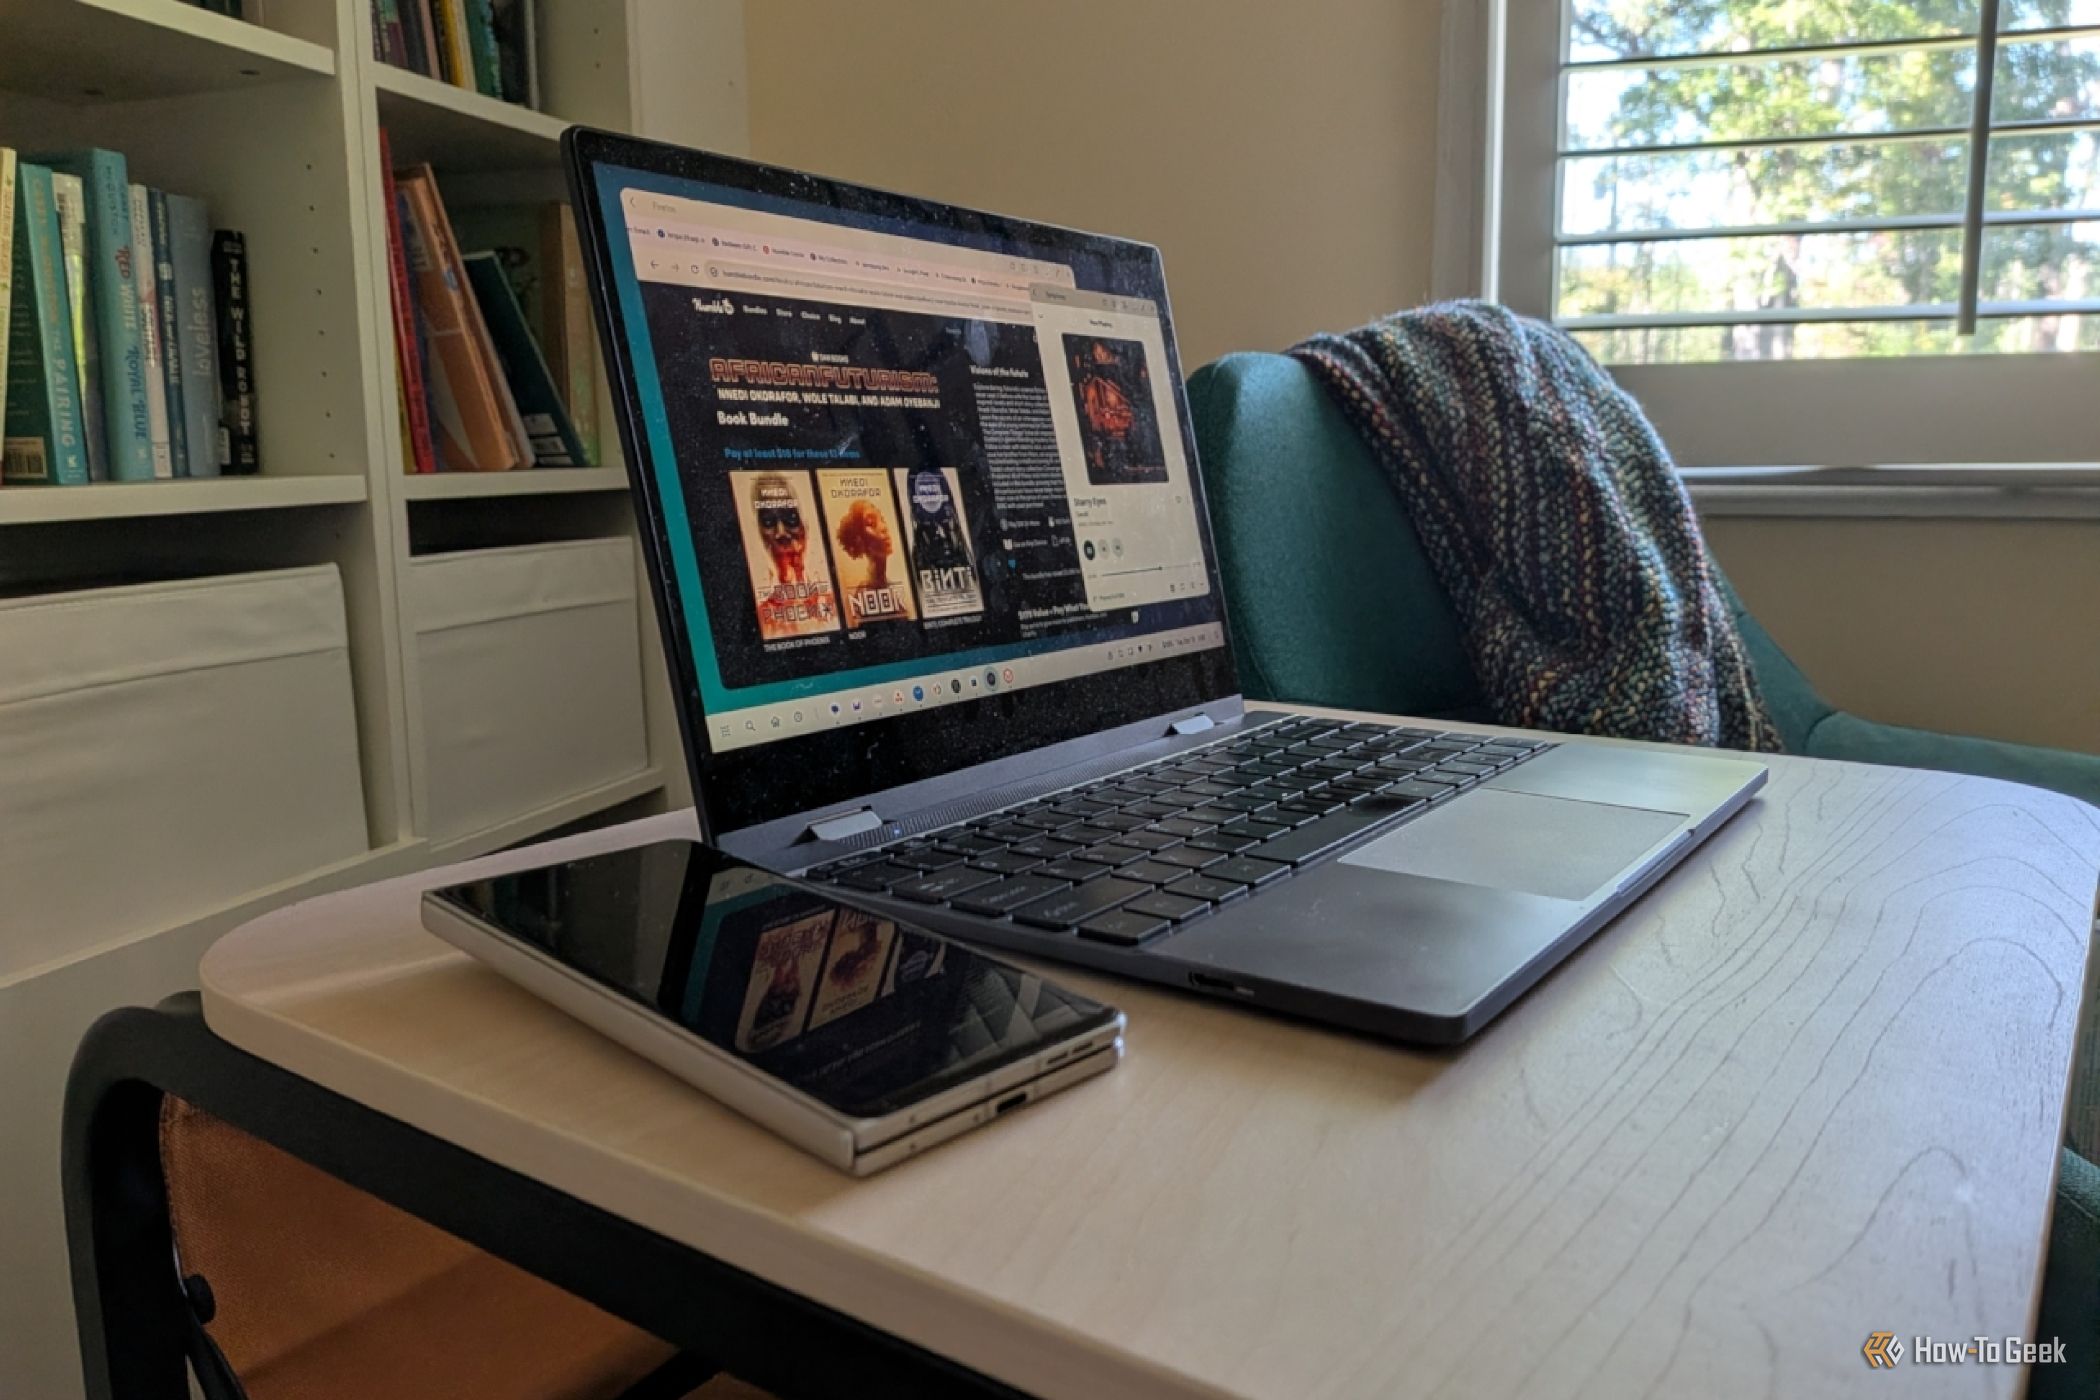
Learn how to transform your Android phone into a full-fledged desktop computer using external displays and accessories, providing a cost-effective and integrated alternative to new Googlebooks.
Android Auto 18 Beta: Glimpse into Google's Car Makeover
Verdict: A Sneak Peek at Tomorrow's Drive Android Auto 18.0 beta isn't the flashy, fully-realized redesign many might be hoping for, but it offers an invaluable look under the hood. What Google is signaling here,