
Start 5 Fun, Nerdy Hobbies for Cheap Right Now
Discover 5 fun, nerdy hobbies you can start today for cheap, including 3D printing, electronics, smart home automation, and self-hosting, with step-by-step guidance and budget-friendly tips.
Embarking on a new hobby can feel daunting, especially when enthusiasts boast about expensive gear. But what if you could dive into exciting, nerdy pursuits without breaking the bank? This guide reveals five engaging hobbies you can start today with minimal investment, proving that creativity and learning don't have to cost a fortune.
These hobbies aren't just budget-friendly; they offer a fantastic way to develop new skills, create unique items, and even potentially save money in the long run. Get ready to tinker, build, and explore without the financial commitment often associated with new passions.
General Prerequisites
Before diving into specific hobbies, here are some general things that will help you get started:
- A Willingness to Learn: These hobbies involve learning new concepts and skills. Embrace guides, online communities, and experimentation.
- An Open Mind for Used Equipment: Buying used gear, especially for 3D printers, can significantly reduce your initial outlay and risk.
- Basic Computer Access: Most of these hobbies require a computer for design, programming, or managing projects.
- Internet Access: Essential for finding guides, software, and community support.
1. Get Started with 3D Printing
3D printing might seem futuristic and expensive, but printers are now more accessible and affordable than ever. It's less a hobby in itself and more a powerful tool for creation, letting you bring digital designs into the physical world.
What You'll Accomplish: You'll be able to design and print custom objects, prototypes, and functional parts for other hobbies, truly seeing your ideas materialize.
Getting Started:
- Acquire a Printer: Look for new budget models around $300-$500, like the Bambu Lab A1 or A1 mini, which are known for ease of use. Alternatively, consider buying a used printer. This is a great way to try the hobby risk-free, as you can often resell it for a similar price if it doesn't stick.
- Choose Your Filament: PLA is a common and easy-to-use filament for beginners. Most printers come with a small sample.
- Find or Create a Model: Start with free online models from repositories. Many free 3D modeling software options are available if you want to design your own.
- Load and Print: Follow your printer's instructions to load the filament, slice your model using software (often included or freely available), and start your first print.
Tips for Success:
- Start Simple: Begin with small, uncomplicated prints to get a feel for your machine.
- Leverage Online Guides: The 3D printing community offers a wealth of tutorials and troubleshooting advice.
- Consider Enclosed Printers: If your budget allows, a fully enclosed printer like the Bambu Lab P2S ($549) can handle higher-temperature filaments and improve print consistency.
Cost Estimate: Starting from a few hundred dollars ($300-$500).
2. Explore Microcontroller-Based Electronics
Microcontrollers like the ESP32 and ESP8266 have democratized hobbyist electronics. These tiny, inexpensive computers allow you to build interactive projects, from smart home sensors to custom gadgets.
What You'll Accomplish: You'll learn basic electronics, programming, and how to create smart, automated devices tailored to your needs.
Getting Started:
- Purchase an ESP32/ESP8266: These microcontrollers can be found for $5 or less. Models like the Seeed Studio XIAO ESP32-C3 or ESP32-C6 are excellent choices for smart home projects due to their built-in Wi-Fi and Bluetooth.
- Choose a Project Guide: The internet is full of free ESP32 build guides. Start with a simple project like blinking an LED or reading a sensor.
- Gather Components: Depending on your project, you might need a breadboard, jumper wires, sensors, or LEDs. These are typically very cheap and often sold in starter kits.
- Software Setup: Install the necessary software (e.g., Arduino IDE, ESPHome framework) on your computer. ESPHome simplifies smart home projects, allowing you to skip complex coding for many applications.
- Assemble and Program: Connect your components on a breadboard (no soldering needed initially!) and upload your chosen code to the microcontroller.
Tips for Success:
- Breadboards are Your Friend: Use breadboards to prototype circuits without permanent soldering. When you're ready, an inexpensive soldering iron can be a valuable addition.
- Combine Hobbies: Many ESP32 projects pair perfectly with 3D printed enclosures or mounts.
- Select the Right Chip: For smart home, consider chips with features like Zigbee and Thread (e.g., ESP32-C6).
Cost Estimate: Starting from $5 for the microcontroller, plus a few dollars for basic components.
3. Dive into Laser Engraving
Laser engraving offers a precise and creative way to personalize items, create custom designs, and even start a small business. Modern laser engravers are more affordable and user-friendly than ever before.
What You'll Accomplish: You'll be able to etch designs onto various materials like wood, leather, metal, and cork, creating unique gifts, home decor, or branded products.
Getting Started:
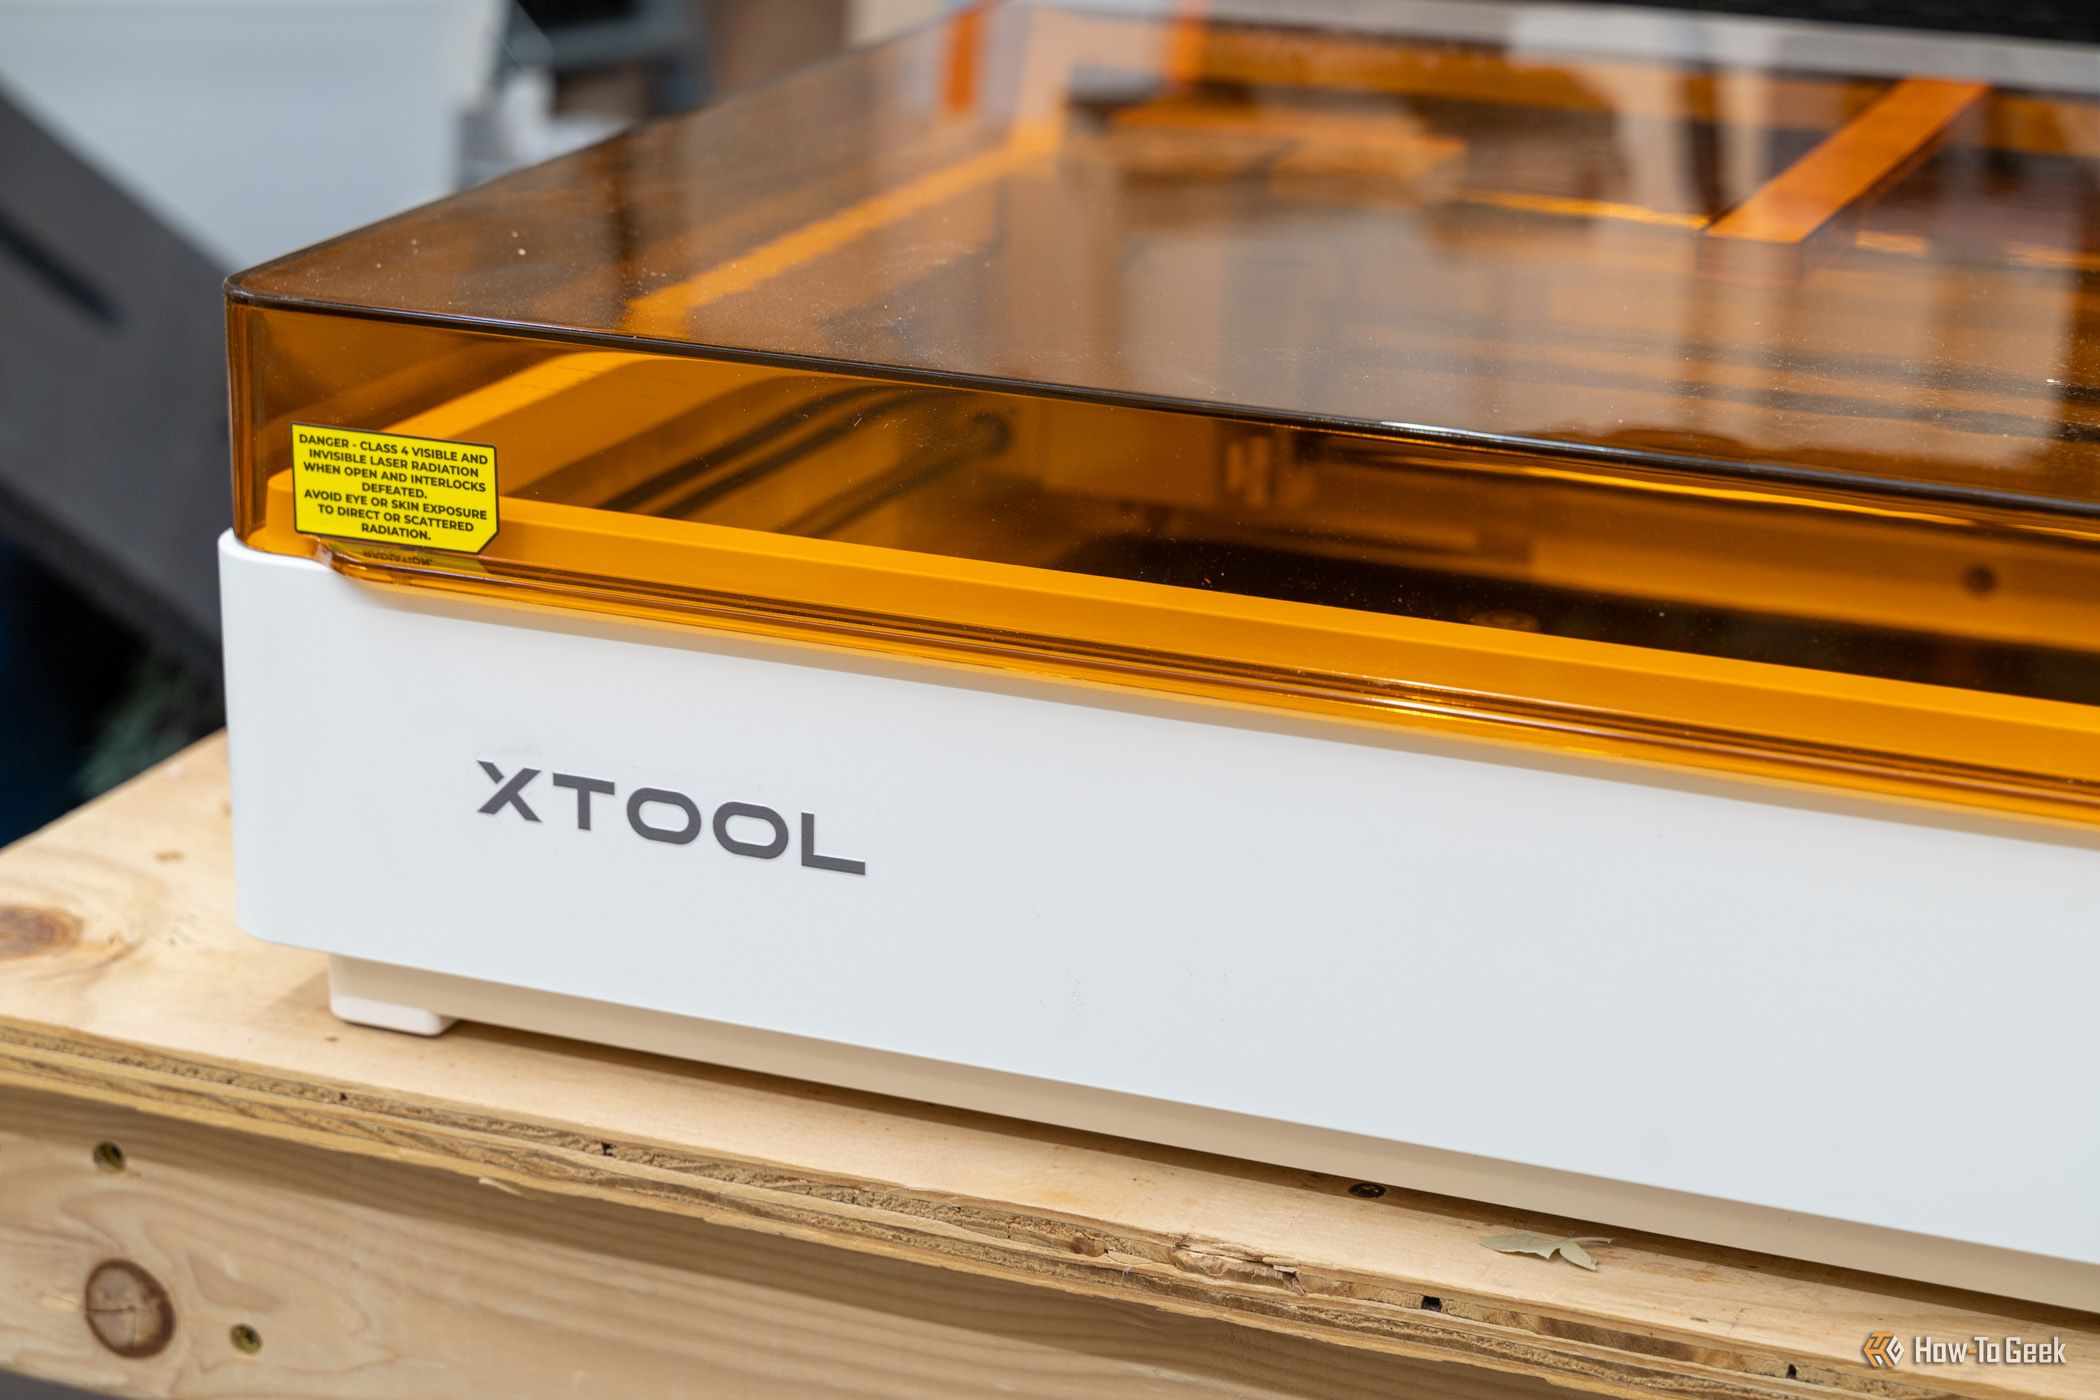
- Invest in an Engraver: Look for a 10W laser engraver with features like built-in air assist and cameras, which can be found for around $600. Brands like xTool (e.g., F1) and LaserPecker (e.g., LP4) offer dual-source lasers suitable for various materials.
- Choose Your Material: Start with easily accessible and inexpensive materials like thin wood, cork, or cardstock.
- Design or Find a Graphic: Use free graphic design software or find readily available vector images online for your first engraving.
- Software and Setup: Connect your engraver to your computer and use its dedicated software to prepare your design and calibrate the laser. Ensure proper ventilation and safety precautions.
- Engrave! Place your material, start the engraving process, and watch your design come to life.
Tips for Success:
- Safety First: Always use proper eye protection and ensure good ventilation. Follow all manufacturer safety guidelines.
- Experiment with Materials: Different materials react differently to laser power and speed. Keep notes on your settings for best results.
- Avoid 2-in-1 Devices: While tempting, dedicated laser engravers generally perform better than combined 3D printer/engraver units.
Cost Estimate: Around $600 for a capable beginner unit.
4. Build Your Own Smart Home
Forget expensive proprietary systems! Building a smart home with Home Assistant allows you to integrate devices from various brands, often using hardware you already own, for ultimate customization and control.
What You'll Accomplish: You'll gain centralized control over your home's devices, automate routines, and create a truly personalized smart environment without being locked into a single ecosystem.
Getting Started:
- Find a Server: You can run Home Assistant on almost anything. An old laptop you have lying around is perfect for starting out. Other options include a Raspberry Pi 4 Model B or a mini PC. For a plug-and-play solution, consider the Home Assistant Green hub.
- Install Home Assistant: Follow the online guides to install the free Home Assistant software on your chosen server. The platform rewards curiosity, and simply exploring its capabilities can be enough to get you hooked.
- Add Existing Devices: Home Assistant's strength is its openness. Connect any existing smart plugs, lights, or sensors you might already have, regardless of brand.
- Expand with Affordable Accessories: Companies like IKEA offer surprisingly cheap smart plugs, lights, and sensors. You can also build your own custom sensors using ESP32 microcontrollers (combining hobbies!).
- Create Automations: Start simple by setting up a light to turn on at sunset or a sensor to trigger an alert.
Tips for Success:
- Start Small: Don't try to automate your entire home at once. Begin with a single room or a few devices.
- Leverage ESP32s: Building your own sensors with ESP32s can save a lot of money and give you precise control.
- Consider a ZBT-2: If you plan on many Zigbee or Thread devices, the Home Assistant Connect ZBT-2 dongle provides robust connectivity.
Cost Estimate: Free (using existing hardware) up to $100-$200 for a dedicated hub/Pi.
5. Start a Homelab
A homelab is a personal computer lab set up within your home, typically using an old computer or a single-board computer like a Raspberry Pi and your standard home router. It's all about self-hosting services you might otherwise pay for.
What You'll Accomplish: You'll gain control over your data, learn server administration, and potentially save money by replacing costly cloud subscriptions with your own in-house, always-running services.
Getting Started:
- Gather Hardware: An old, unused computer (desktop or laptop) or a Raspberry Pi is the perfect starting point. You'll also need a standard home router.
- Define a Project: Start with a specific goal. Popular first projects include:
- DNS Sinkhole (Pi-hole): Block ads and trackers across your entire network.
- Network-Attached Storage (NAS): Create a central file server for your home.
- Media Server (Plex or Jellyfin): Stream your media collection to any device.
- Install Operating System/Software: Install a lightweight operating system (like Linux) on your chosen hardware. Then, follow guides to install your chosen self-hosting software (e.g., Pi-hole, Plex Media Server, Immich, NextCloud).
- Ensure Accessibility: The key to a homelab is that your services should always be running, online, and accessible when you need them.
- Replace Services: Once set up, consider replacing paid services like Google Photos (with Immich), Spotify (with your own music server), or cloud storage/office suites (with NextCloud).
Tips for Success:
- Begin with Simple Services: Pi-hole is an excellent and impactful first homelab project.
- Explore Cost Savings: A homelab can genuinely save you money by ditching subscriptions for budgeting apps, photo storage, and office suites.
- Security Mindset: When running services accessible from outside your home network, always prioritize security best practices.
Cost Estimate: Free (using existing hardware) up to $50-$100 for a Raspberry Pi.
Next Steps and Combining Hobbies
These hobbies often complement each other beautifully. Imagine 3D printing an enclosure for your ESP32-powered smart home sensor, or using your homelab to store files for your laser engraving business. The low barrier to entry for these pursuits means you can easily dabble in one, then another, letting your interests guide you. The wealth of free software and online guides ensures your learning journey remains engaging and affordable. So pick one, get started, and unleash your inner nerd!
FAQ
Q: Do I really need to spend money to start these hobbies? A: Not necessarily a lot! Many of these hobbies emphasize using existing hardware (like an old laptop for a smart home server or homelab) or offer very cheap entry points (an ESP32 for $5, used 3D printers). The goal is to minimize initial investment until you're sure you want to commit more.
Q: Can I combine these hobbies? A: Absolutely! In fact, many of them naturally complement each other. You could 3D print custom cases for your microcontroller projects, use your homelab to manage designs for your laser engraver, or integrate your ESP32 creations into your Home Assistant smart home setup. This cross-pollination can enhance your projects and skills.
Q: Where can I find guides and support for these technical hobbies? A: The internet is a treasure trove of free resources! Websites like How-To Geek, MakeUseOf, and Zapier often publish relevant articles. You'll also find countless community forums, YouTube tutorials, and dedicated project guides for topics like ESP32 builds or Home Assistant setups.
Related articles

Amazon Prime Video Launches AI-Powered Prime 360 for NBA Coverage
Amazon Prime Video is elevating its NBA coverage with the introduction of Prime 360, an AI-powered replay system offering immersive, 'fly through' views of the action. Kicking off its second season, Prime Video also adds Yahoo fantasy integration and gains exclusive Eastern Conference Finals rights, expanding its tech-driven sports broadcast. The new features aim to deliver a unique and interactive viewing experience for basketball fans.
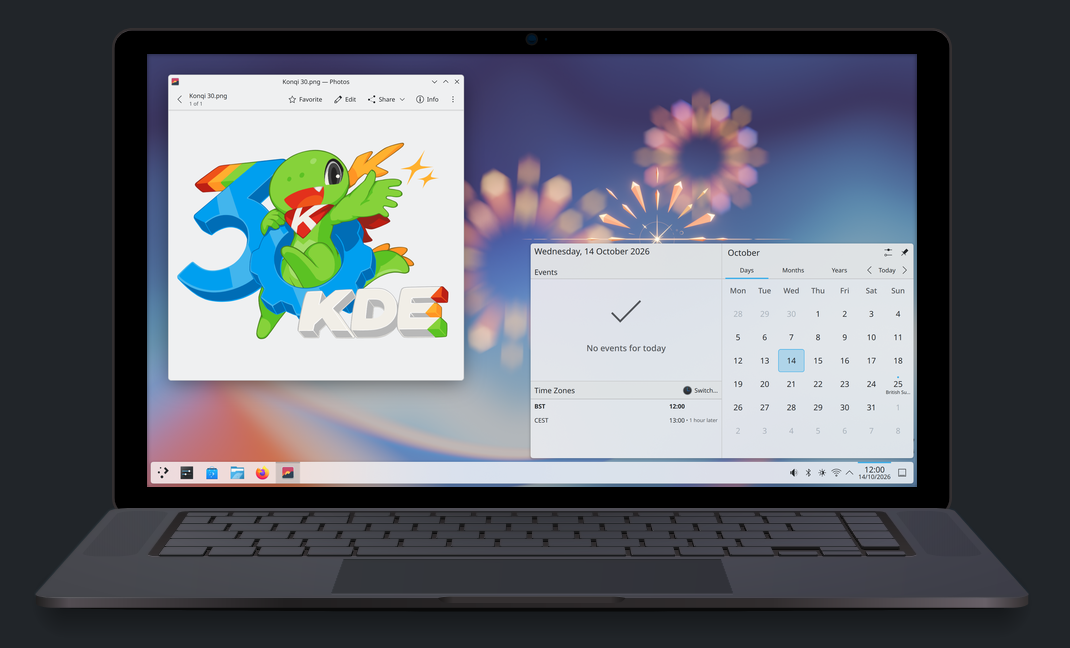
KDE Plasma 6.8: A Future-Focused 30th Anniversary Update
Quick Verdict KDE Plasma 6.8, arriving as the "30th Anniversary Edition," is a pivotal release that decisively pushes the desktop environment into the future. With a definitive farewell to native X11 sessions and a

regional: A two-person Seattle startup lands $1M to reinvent
Seattle startup TriMagnetix has secured $1 million to develop semiconductor chips that consume 800 times less energy and are radiation-resistant. The two-person company, leveraging nanomagnetic technology, is targeting space applications and data centers. With new funding and key partnerships, TriMagnetix aims for commercial sales within a year.
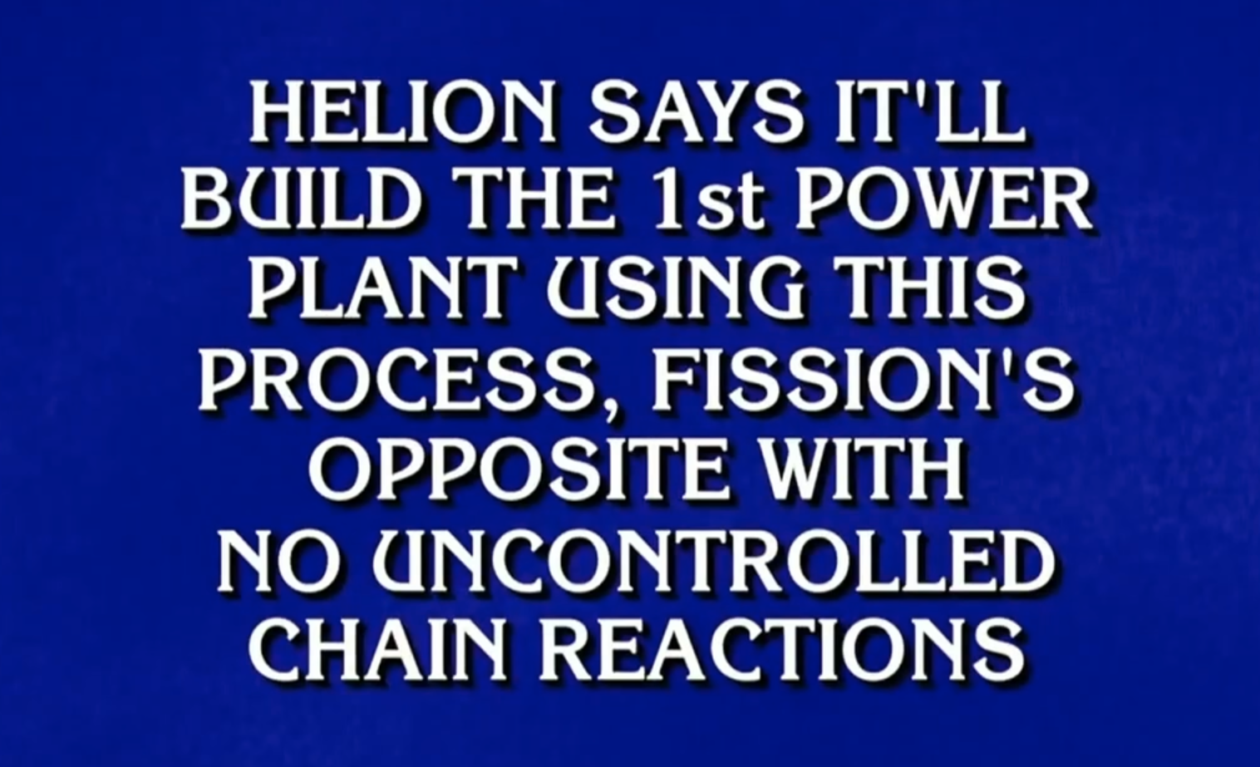
regional: ‘What is fusion?’ Helion Energy harnesses the power of
Helion Energy, the Everett-based fusion startup, gained mainstream attention this week after being featured as a clue on the popular game show "Jeopardy!". The $800 clue, part of a "Y Combinator" category, highlighted Helion's mission to build the first fusion power plant, bringing the concept of clean energy to a wider audience. CEO David Kirtley celebrated the "surreal" moment as a sign that reliable clean power is becoming more accessible.
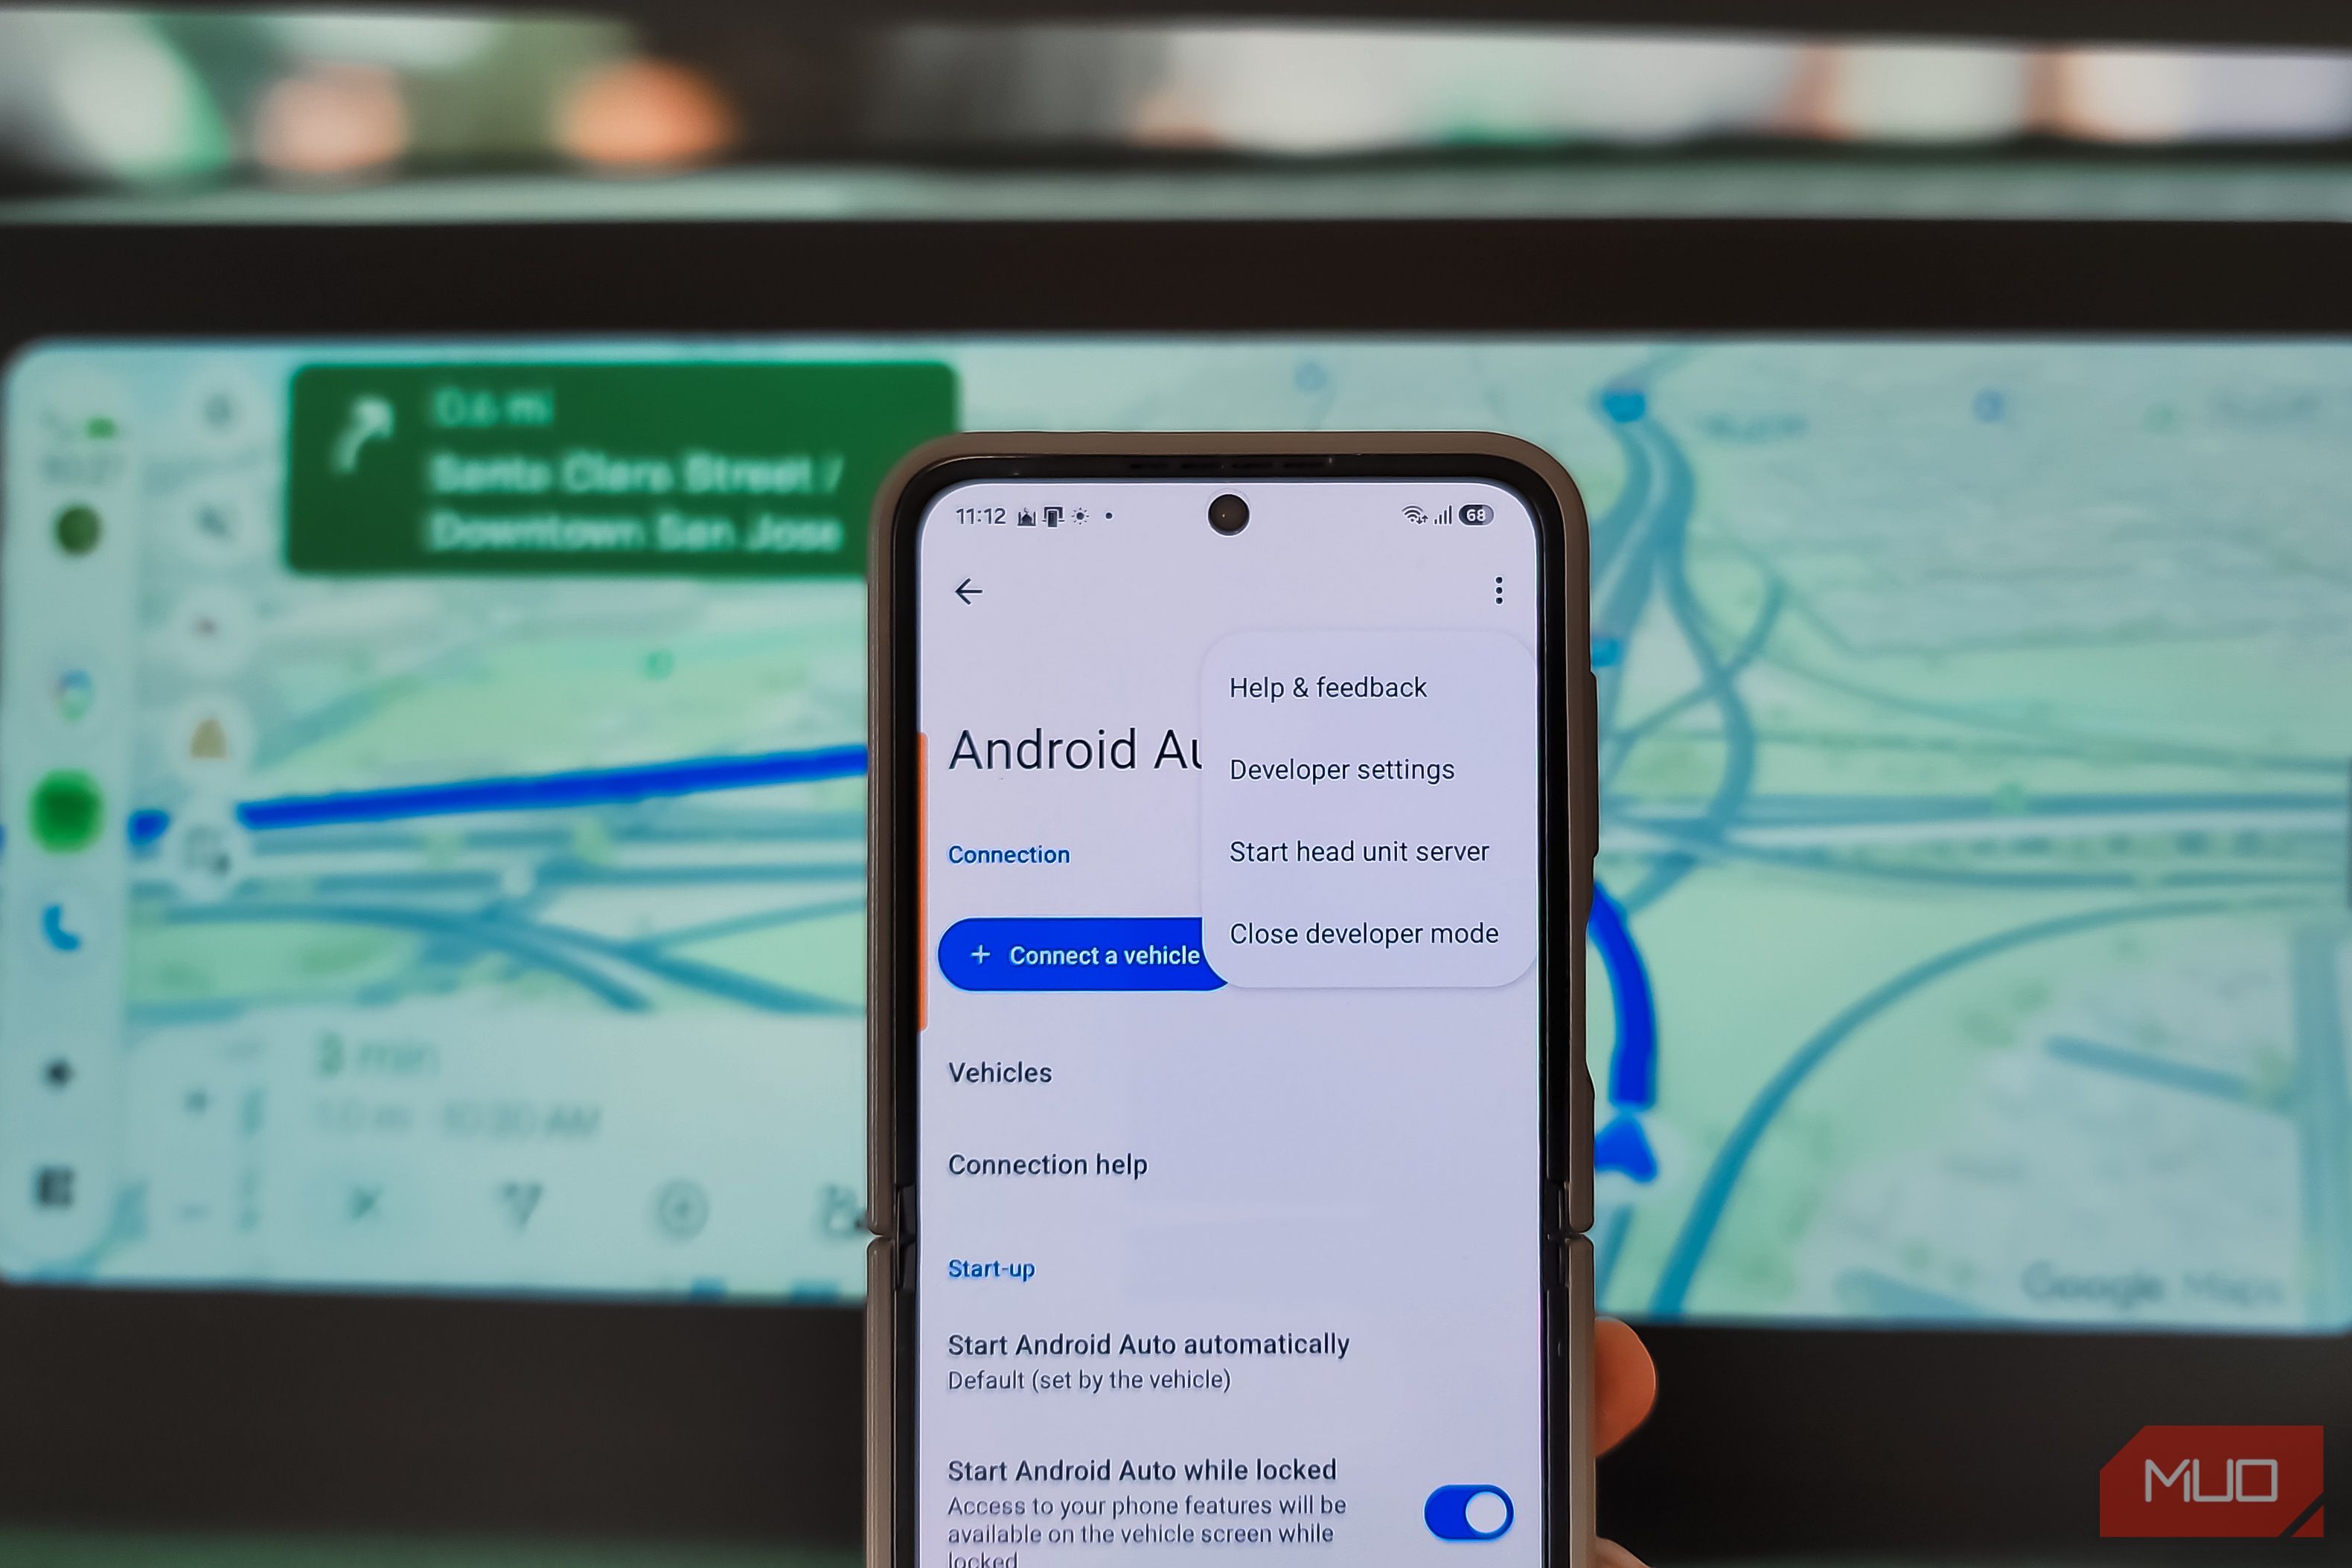
Stop Android Auto Battery Drain: Essential Features to Disable and
Android Auto offers unparalleled convenience, bringing your phone's most useful features directly to your car's display. From navigation and calls to messages and music, it keeps you connected without distracting you

Apple’s new HomeView smart display is $10 cheaper at Amazon: latest
In a rare move for a new Apple product, the highly anticipated HomeView smart display is already available at a discount on Amazon, weeks before its official launch. Consumers can now pre-order Apple's first dedicated