
How to Manage Your Windows Recycle Bin Limits to Prevent Data Loss
Learn to check, understand, and adjust your Windows Recycle Bin's size limits for each drive in a few steps to prevent accidental permanent data deletion.
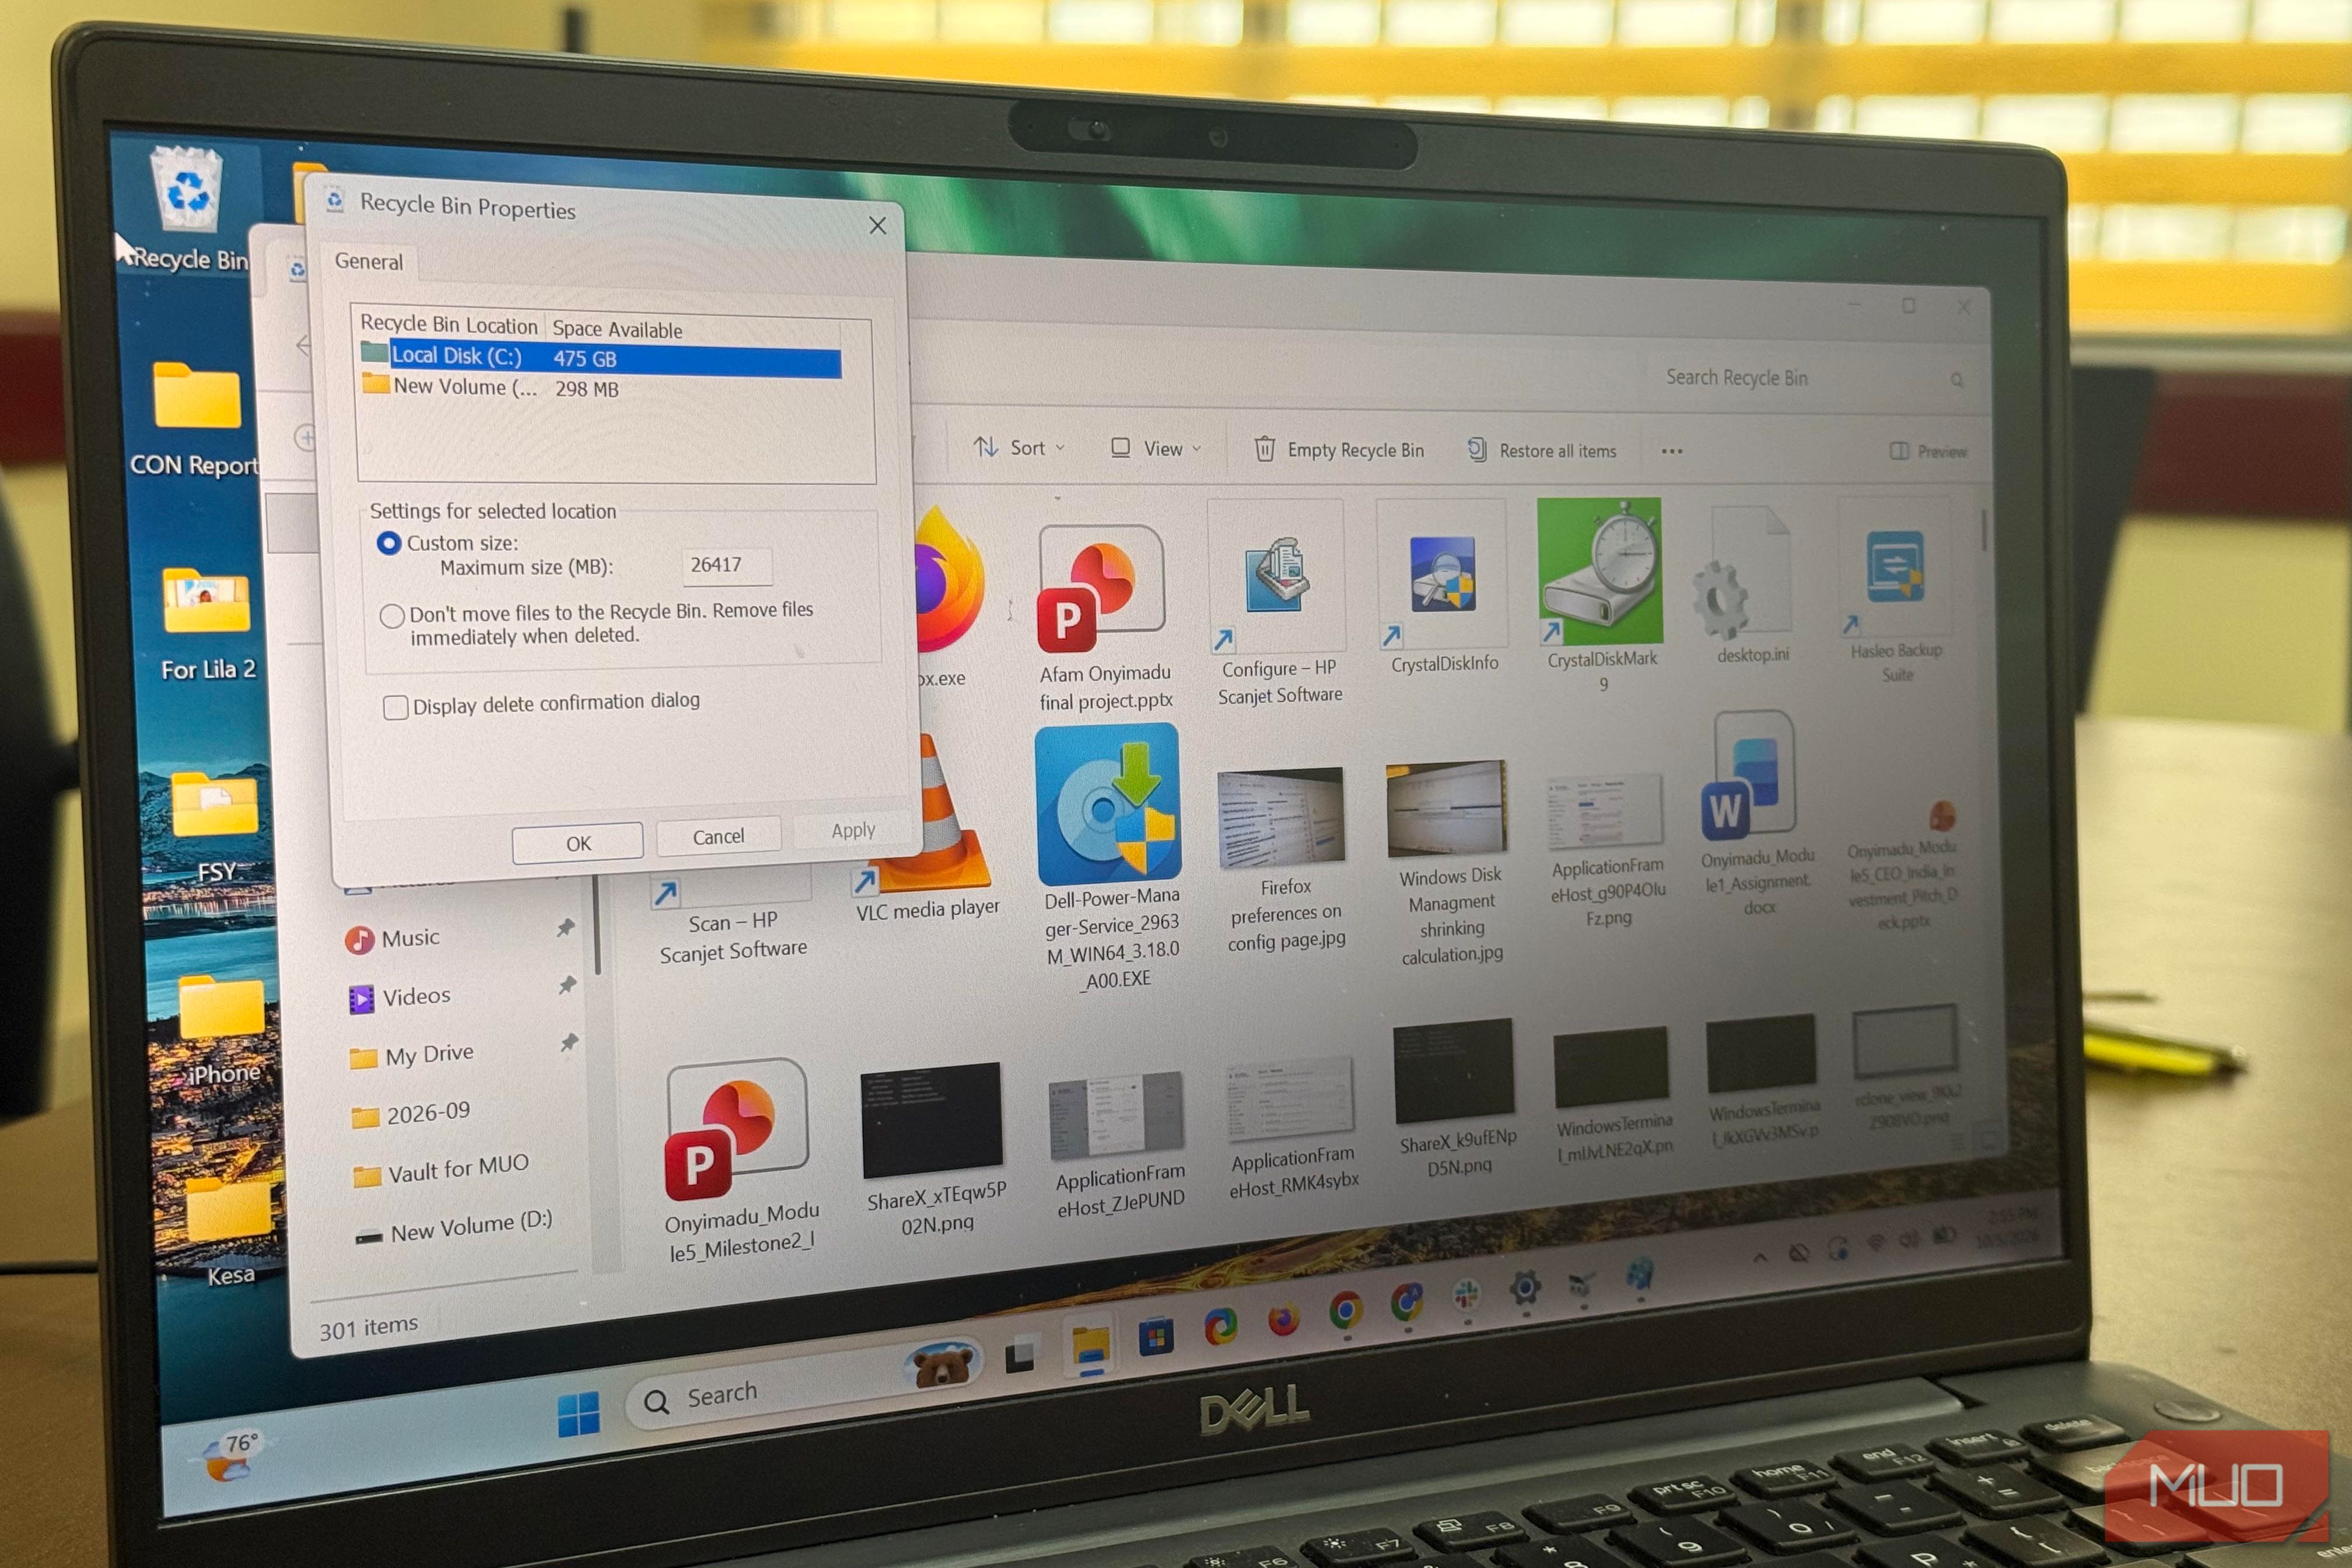
The Windows Recycle Bin acts as a safety net for your deleted files, giving you a chance to recover them if you change your mind. However, many users assume it's a bottomless pit or a universal undo button with no expiration. The truth is, your Recycle Bin has specific size limits for each drive on your computer, and if these limits are exceeded, files can be permanently deleted without explicit warning. This guide will walk you through how to understand, check, and adjust these crucial settings to protect your data.
Prerequisites
Before you start, make sure you have:
- A computer running Windows 10 or Windows 11.
- Basic familiarity with navigating the Windows operating system.
1. Check Your Recycle Bin Limits for Each Drive
Your first step is to uncover the current size limits for your Recycle Bin on every drive. You might be surprised at the variations.
- Locate the Recycle Bin Icon: Find the Recycle Bin icon on your desktop. If it's not there, you can search for "Recycle Bin" in the Start Menu.
- Open Properties: Right-click on the Recycle Bin icon and select Properties from the context menu.
- Review Each Drive: In the Recycle Bin Properties window, you'll see a list of your computer's drives (e.g., Local Disk (C:), Data (D:)). Click on each drive individually to see its specific settings.
- Note the "Maximum size": For each selected drive, observe the number listed under the "Maximum size (MB)" field. This value represents the maximum amount of space that the Recycle Bin can occupy on that particular drive.
You'll likely notice different limits for different drives. For instance, a drive with 237GB of space might have a 14GB Recycle Bin limit, while another 25GB drive could have a 2.6GB limit. These aren't arbitrary; they follow a specific Windows rule.
2. Understanding How Recycle Bin Limits Work
Windows employs a specific formula and two key rules to manage your Recycle Bin, which are crucial to prevent unexpected data loss.
The Default Calculation Rule
Windows automatically sets the Recycle Bin's maximum size based on the drive's total capacity. The rule is:
- 10% of the first 40 GB of the drive's total space.
- Plus 5% of the remaining capacity beyond 40 GB.
This calculation means that smaller drives get a proportionally larger Recycle Bin. For example, a 40GB drive would have a 4GB (10%) Recycle Bin. A 237GB drive would get 4GB (from the first 40GB) plus approximately 9.85GB (5% of 197GB), totaling around 13.85GB. This roughly matches the 14,187MB (about 14.18GB) seen in the source content's example.
Rule 1: Files Too Big to Recycle
If you attempt to delete a single file that is larger than the configured "Maximum size" limit for its drive, Windows will not send it to the Recycle Bin. Instead, you will receive a prominent prompt asking if you want to permanently delete the file. If you click "Yes," the file is unrecoverable from the Recycle Bin.
- Example: If your D: drive has a Recycle Bin limit of 2.6GB, and you delete a 3GB file from it, Windows will prompt you for permanent deletion. However, if you delete that same 3GB file from your C: drive, which has a 14GB limit, it will simply go to the Recycle Bin without a prompt.
Test It Yourself (Optional): You can safely test this behavior without risking important files. Open Command Prompt as an administrator (search for "cmd", right-click, and select "Run as administrator"), then use the following command to create a dummy file:
fsutil file createnew testfile.bin 31457280
This command creates a 30 MiB (31,457,280 bytes) file named testfile.bin in your current directory. You can then try deleting it on a drive with a limit just below 30 MiB to see the permanent deletion prompt.
Rule 2: When the Bin Needs More Room
Even if individual files are small enough to enter the Recycle Bin, the bin itself has an overall capacity per drive. Once the cumulative size of files in the Recycle Bin on a particular drive reaches its "Maximum size" limit, Windows will automatically delete the oldest files in the Recycle Bin to make space for newer deletions. This happens without any specific warning prompt at the time of deletion.
- Consequence: A file you deleted days or weeks ago, intending to recover later, might be gone even if you haven't manually emptied the Recycle Bin. This makes understanding and managing your limits even more critical.
3. Adjust Your Recycle Bin Limit
If the default limits don't suit your needs, you can easily change them for each drive.
- Access Recycle Bin Properties: Right-click the Recycle Bin icon on your desktop and select Properties.
- Select a Drive: Choose the drive for which you want to adjust the limit.
- Choose "Custom size": Select the Custom size radio button.
- Enter New Limit: In the field provided, type your desired maximum size in megabytes (MB). Remember that 1 GB equals 1024 MB.
- Apply Changes: Click OK to save your new limit.
Considerations:
- Larger Limit: Provides a larger buffer for deleted files, increasing the chance of recovery. This uses more disk space on that drive for deleted items.
- Smaller Limit: Frees up more disk space, but deleted files are purged more quickly (either by exceeding the individual file size limit or by the bin filling up faster).
4. Review and Adjust Storage Sense Settings
Beyond the fixed size limit, Windows can also be configured to automatically empty your Recycle Bin based on a schedule.
- Open Settings: Press
Win + Ito open the Settings app. - Navigate to Storage Sense: Go to System > Storage.
- Manage Storage Sense: Under "Storage management," click on Storage Sense.
- Configure Recycle Bin Schedule: Scroll down and find the option "Delete files in my Recycle Bin if they have been there for over...".
- Choose Retention Period: The default is typically 30 days. You can change this to Never, 60 days, 14 days, or 1 day, depending on how long you want files to remain in the Recycle Bin before automatic deletion.
Troubleshooting
- I accidentally deleted an important file, and it's not in the Recycle Bin: If a file was permanently deleted (either due to being too large for the Recycle Bin or the bin automatically purging older items), it cannot be recovered from the Recycle Bin. In such cases, you might be able to use a data recovery tool like Windows File Recovery (a Microsoft utility available in the Microsoft Store). However, success is not guaranteed, and immediate action (stop using the drive where the file was located) is crucial.
- My Recycle Bin seems to be emptying itself without me doing anything: Check your Storage Sense settings (as described in Step 4). It's likely set to automatically delete files after a certain number of days.
Tips & Best Practices
- Regularly Review: Periodically check your Recycle Bin limits and Storage Sense settings, especially after making significant changes to your drive partitions or storage setup.
- Balance Safety and Space: For drives where you often delete large, non-critical files (like game installations or temporary downloads), a smaller Recycle Bin limit might be acceptable. For drives containing crucial documents or media, consider a larger limit to increase your recovery window.
- Heed Prompts: Always pay close attention to any Windows prompts, especially those asking about permanent deletion. They are your last line of defense.
- Beyond the Bin: The Recycle Bin is a convenience, not a backup solution. For truly important data, implement a robust backup strategy using cloud services, external drives, or dedicated backup software.
FAQ
Q: Does the Recycle Bin take up space on my hard drive?
A: Yes, the Recycle Bin reserves a portion of space on each drive for deleted files. This space is temporarily occupied by items awaiting permanent deletion or restoration.
Q: Can I have a single Recycle Bin for all my drives?
A: No, Windows assigns a separate Recycle Bin and size limit for each individual hard drive or partition on your system.
Q: Why did my file get permanently deleted without a warning prompt?
A: This typically happens for two reasons: either the individual file was larger than the configured Recycle Bin limit for that specific drive, or the Recycle Bin was already full, and Windows automatically deleted the oldest files to make space for the new one, as per its "First-In, First-Out" policy. Your Storage Sense settings might also be configured to empty the Recycle Bin on a schedule.
Next Steps
Now that you understand and can manage your Recycle Bin, consider exploring other Windows storage management tools:
- Disk Cleanup: Use the built-in Disk Cleanup utility to free up space by removing temporary files and other non-essential data.
- Drive Partitioning: Learn more about how drive partitioning can help organize your data and potentially improve system performance, as discussed in related guides.
- Backup Solutions: Investigate comprehensive backup strategies to ensure your most valuable data is truly protected against all forms of loss.
Related articles
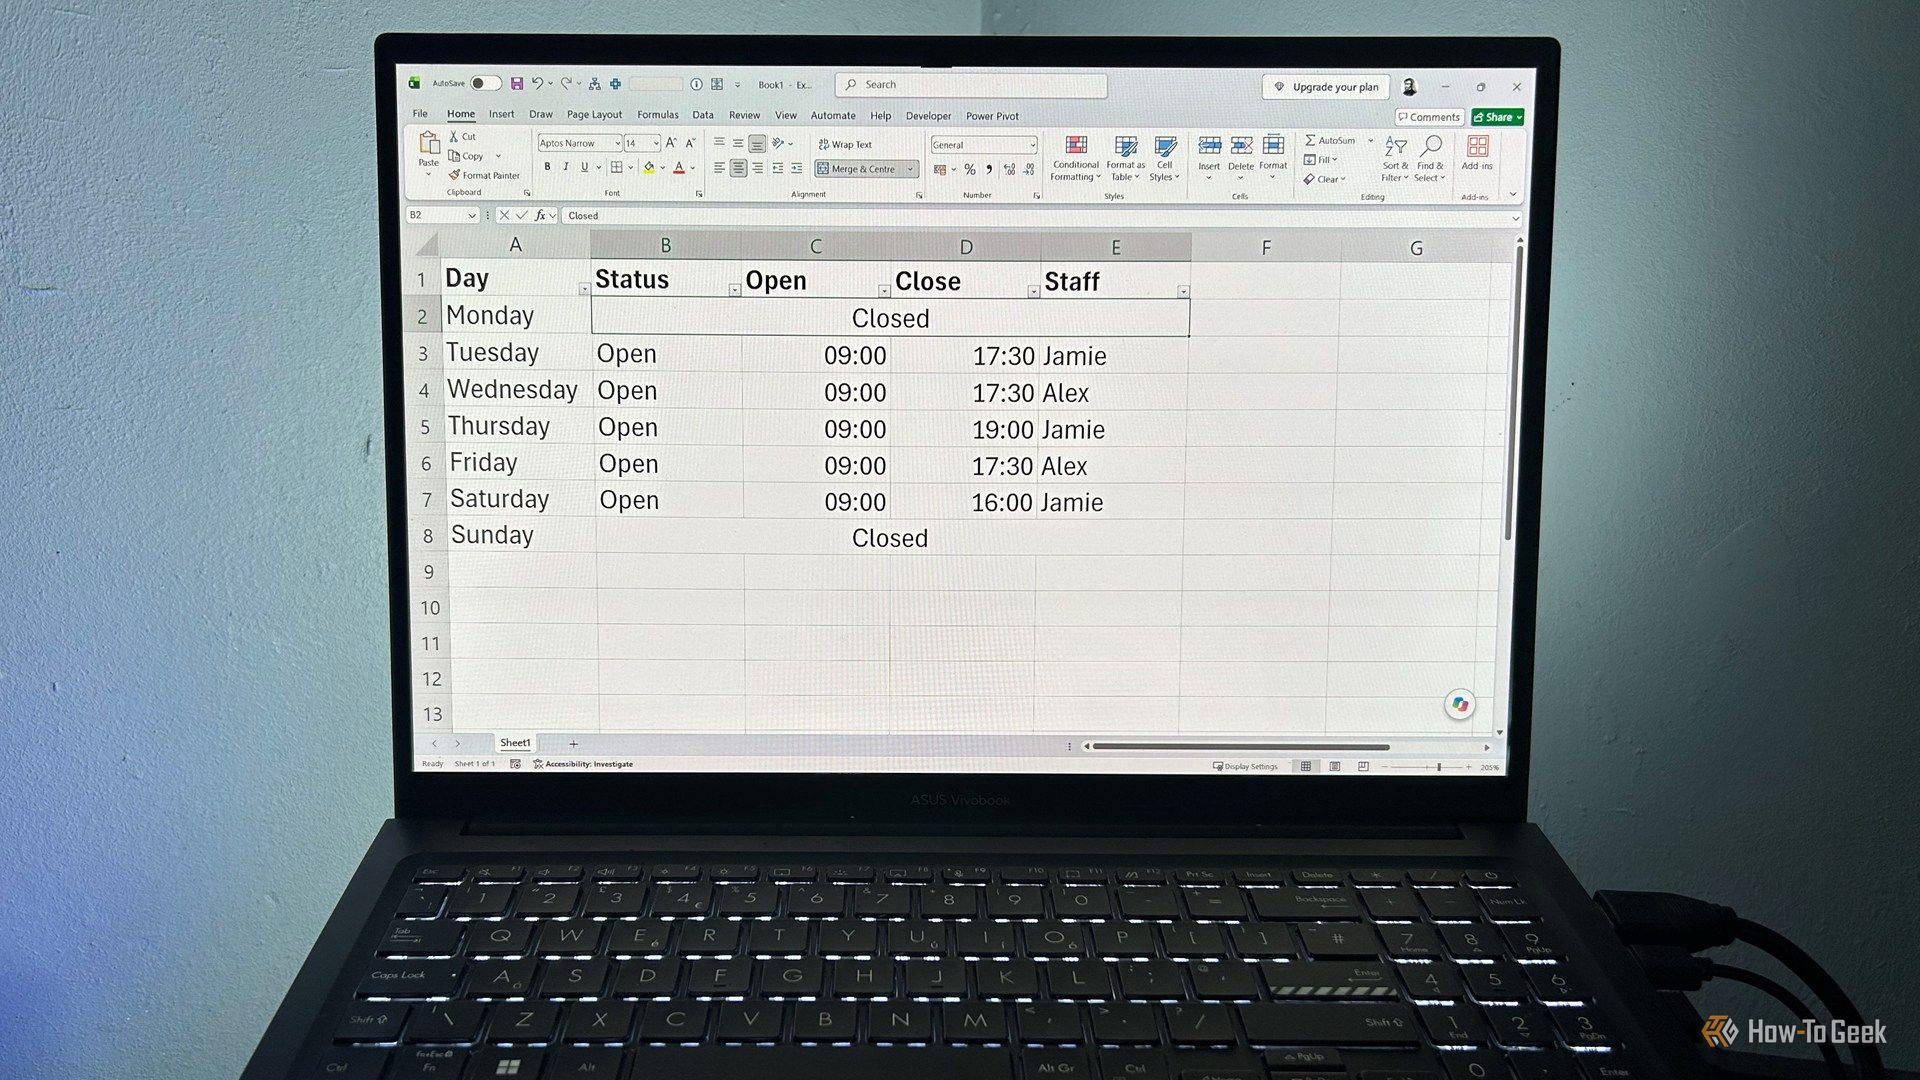
Ditch Merge & Center: The Better Way to Align Text in Excel
Learn to use Excel's "Center Across Selection" to align text across cells without merging, avoiding common data manipulation issues. This guide provides steps to utilize this newly accessible feature and add it to your Quick Access Toolbar.

Mark Wahlberg on using AI in film ‘the right way’ and being open to
Actor Mark Wahlberg believes AI has a place in filmmaking if used responsibly for enhancement, not script generation or actor replacement. At TechCrunch Disrupt, he expressed openness to an AI likeness carrying on his legacy, managed by his family, and emphasized storytelling.
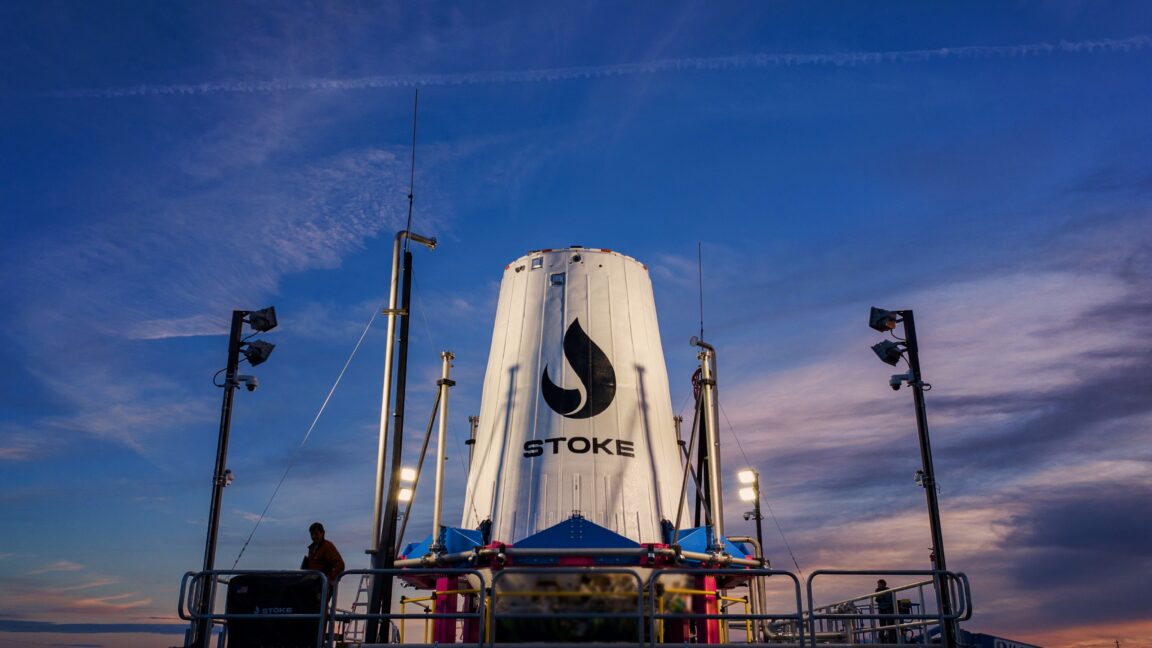
Ars Technica's Rocket Report: Your Essential Space Industry Briefing
Quick Verdict Ars Technica's Rocket Report, presented by veteran space reporter Stephen Clark, offers an invaluable and meticulously organized weekly (or similar frequency, implied by "Edition 9.15") digest of the most
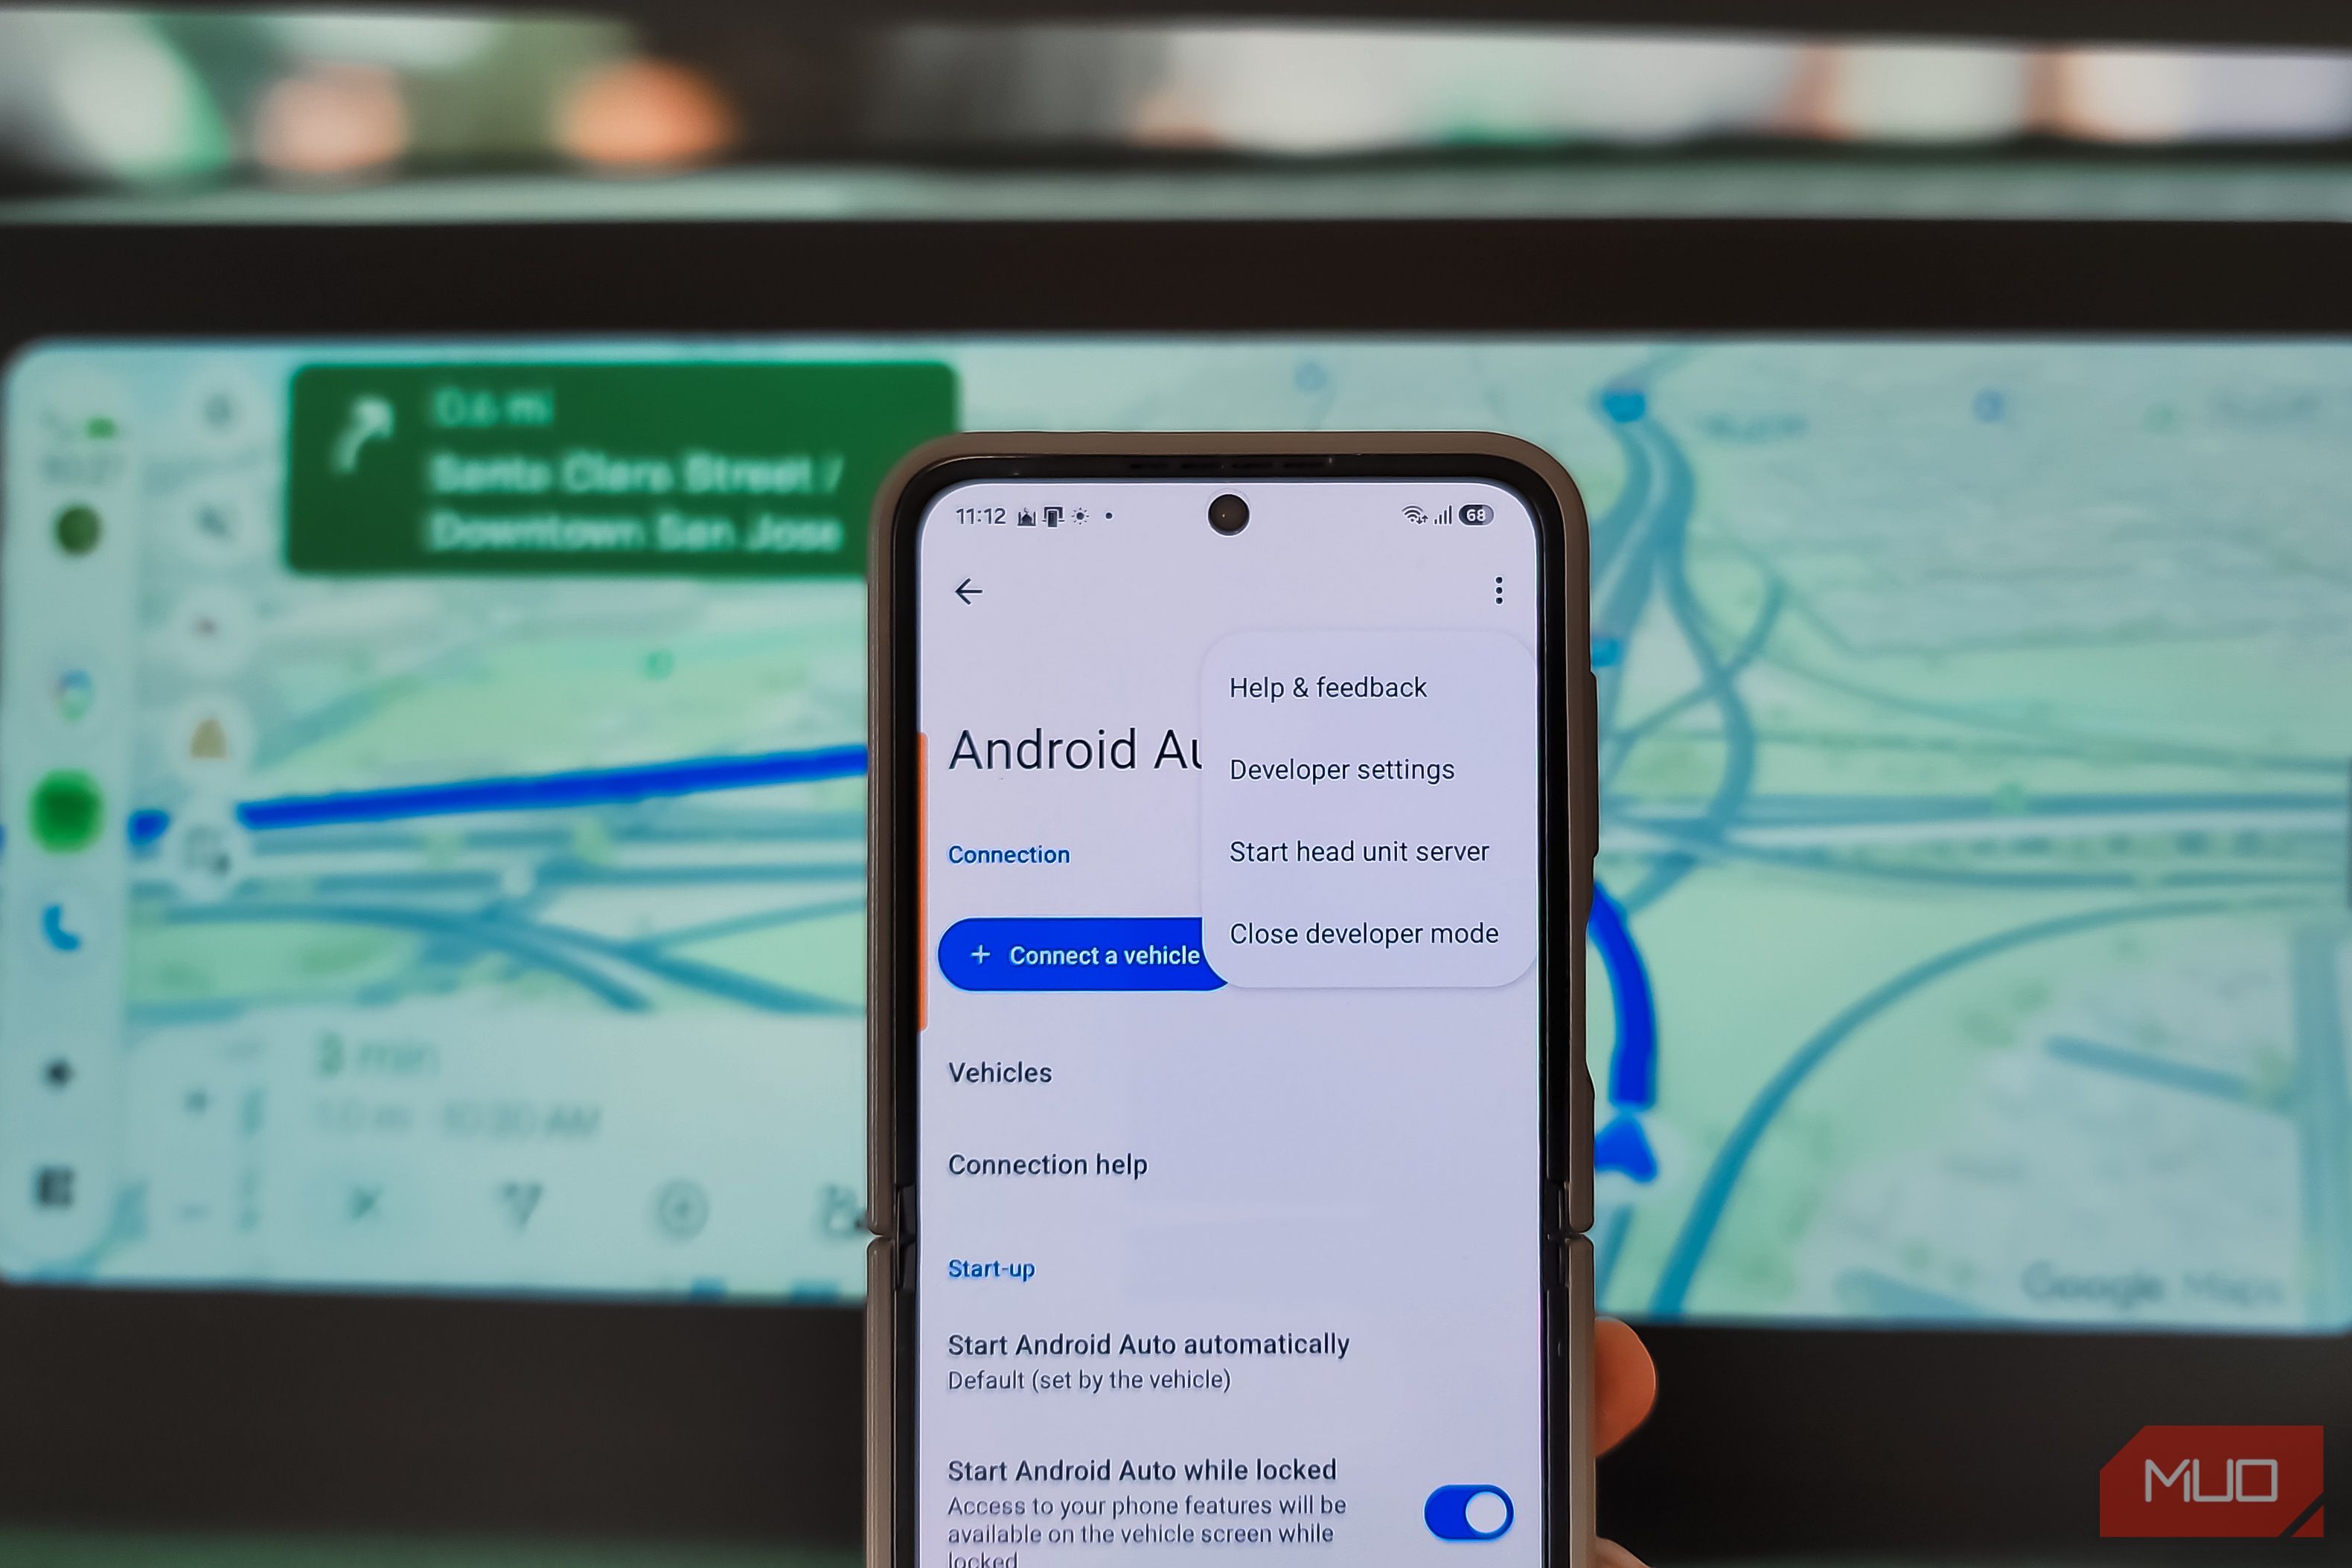
Stop Android Auto Battery Drain: Essential Features to Disable and
Android Auto offers unparalleled convenience, bringing your phone's most useful features directly to your car's display. From navigation and calls to messages and music, it keeps you connected without distracting you

Windows October Update: A Must-Have Security Overhaul
Microsoft's October 2026 Windows update delivers a critical security overhaul, patching over 1,400 vulnerabilities including two zero-days, one already exploited. It's essential for all users, especially with several Windows 11 versions reaching end of support.
SpaceX Starlink: Military Drone Service Hit by Unannounced Limits
Quick Verdict SpaceX's Starlink service, particularly the military-grade Starshield terminals, has experienced a significant and unannounced performance reduction for Ukraine's high-speed military drones. While