
How to Get Your New PC Build Ready for Action
Transform your newly assembled PC from a functional machine to a fully optimized powerhouse by following these four crucial post-build steps.
You've successfully assembled your new PC, hit the power button, and it roared to life – that's a huge achievement! While it might be tempting to call the job done, a PC that simply boots isn't truly ready for optimal performance or long-term stability. New builds frequently operate with outdated firmware, default memory settings, and unverified thermal management, which can lead to various issues down the line. This guide will walk you through four crucial post-assembly steps to address these common oversights, ensuring your system operates precisely as intended, providing the best possible experience.
What You'll Accomplish
By following this guide, you will transform your functional new PC into a fully optimized and stable machine. You'll ensure peak performance, enhance system reliability, and unlock the full potential of your hardware.
Prerequisites
To complete these essential setup steps, you will need:
- Access to another working PC or laptop to download necessary files.
- A USB drive, formatted to FAT32, with at least 1GB of free space.
1. Update Your Motherboard's BIOS to the Latest Version
Your motherboard plays a critical role in your PC's overall performance and stability. Most motherboards don't ship with the most current firmware, meaning an older BIOS version could hinder performance or even cause system instability. Updating your BIOS is a fundamental first step to ensure your hardware communicates efficiently and securely.
Step-by-Step:
- Check Your Current BIOS Version: First, identify the BIOS version currently installed. This information is often visible within the BIOS interface itself or via system information tools after OS installation.
- Find the Latest Version: Using another computer, visit your motherboard manufacturer's official support website. Search for your specific motherboard model (e.g., "MSI Z890 Gaming Plus Wi-Fi support").
- Locate the BIOS Section: Navigate to the "BIOS" or "Firmware" section for your model. Here, you'll see a list of available BIOS versions, along with their release dates.
- Download the Update: If a newer version is available, download it.
- Prepare Your USB Drive: Transfer the downloaded BIOS file to a USB drive. Ensure this drive is formatted to FAT32 and has at least 1GB of free space. This step requires another working PC or laptop.
- Flash the BIOS: Insert the prepared USB drive into your new PC. Access your motherboard's BIOS utility (often called "EZ Flash," "Q-Flash," or similar, depending on the manufacturer). Use this utility to select the BIOS file from your USB drive and initiate the update process.
Important Tip: A BIOS update is a sensitive process. It is absolutely crucial that your PC does not lose power or shut down during the update, as interrupting it can render your motherboard inoperable.
2. Install the Operating System and Essential Drivers
With your BIOS updated, the next logical step is to get your operating system (OS) installed. Whether you prefer Windows 11 or a Linux distribution, a clean installation is highly recommended. Once your OS is installed, the immediate priority shifts to installing all necessary hardware drivers. These drivers are the communication bridge between your OS and your components, ensuring everything works as it should.
Step-by-Step:
- Install Your Operating System: Perform a clean installation of your chosen OS.
- Prioritize Motherboard and Chipset Drivers: Begin by installing drivers for your motherboard's core utilities and chipset. These are foundational for your system's functionality.
- Install Network Drivers: Immediately after the core motherboard drivers, focus on installing your network drivers (LAN, Wi-Fi, Bluetooth). This is crucial because critical features like Wi-Fi and Bluetooth connectivity often won't appear in your system settings until these specific drivers are in place. Without them, you might find yourself unable to access the internet.
- How to Find Drivers:
- Using another PC, visit your motherboard manufacturer's website and search for your exact model.
- Navigate to the "Drivers" or "Support" section. You'll find drivers neatly categorized (e.g., audio, chipset, LAN). Download the necessary files.
- Tip: Many manufacturers offer a dedicated utility tool that can automatically detect and install all relevant drivers for your board.
- Install Graphics Card (GPU) Drivers: Once your core system and network drivers are installed, move on to your dedicated graphics card.
- For Nvidia GPUs, the Nvidia App is the easiest way to download and install the latest drivers.
- For AMD GPUs, the Adrenalin software performs the same function.
Best Practice: Taking the time to install the correct drivers early on is essential. It prevents common performance issues, enables missing functionality, and saves you from troubleshooting problems that shouldn't exist on a brand-new build.
3. Enable XMP/EXPO for Your RAM's Full Speed
Many users are surprised to find their new RAM running at a significantly lower speed than advertised. For example, a RAM kit rated at 7200MT/s might initially run at a default speed of only 4800MT/s. While this default speed is stable, it means you're not getting the performance you paid for. This is where Extreme Memory Profile (XMP) for Intel systems and EXPO (Extended Profiles for Overclocking) for AMD Ryzen platforms become essential.
What are XMP and EXPO? These are pre-configured profiles stored on your RAM modules. They contain specific settings—including speed, timings, and voltage—that allow your RAM to operate at its advertised, higher performance levels. By default, your system will use a slower, universal "safe mode" speed to ensure compatibility. Enabling XMP or EXPO tells your system to use these optimized profiles instead.
Step-by-Step:
- Access Your BIOS: Reboot your PC and enter the BIOS (typically by pressing Delete, F2, or a similar key during startup).
- Locate the Memory Profile Setting: Within the BIOS, look for a setting explicitly labeled "XMP," "EXPO," or sometimes a more generic "Memory Profile" or "DRAM Profile." This setting is often found on the main BIOS screen or within advanced memory configuration sections.
- Select the Correct Profile: You'll usually see one or more profiles listed, each indicating a specific speed, timing, and voltage. Choose the profile that corresponds to the advertised speed of your RAM kit.
- Save and Reboot: After selecting the appropriate profile, save your BIOS changes and exit. Your system will then reboot.
The Result: Upon rebooting, your RAM should now be operating at its full, advertised speed, allowing you to fully utilize your high-performance memory.
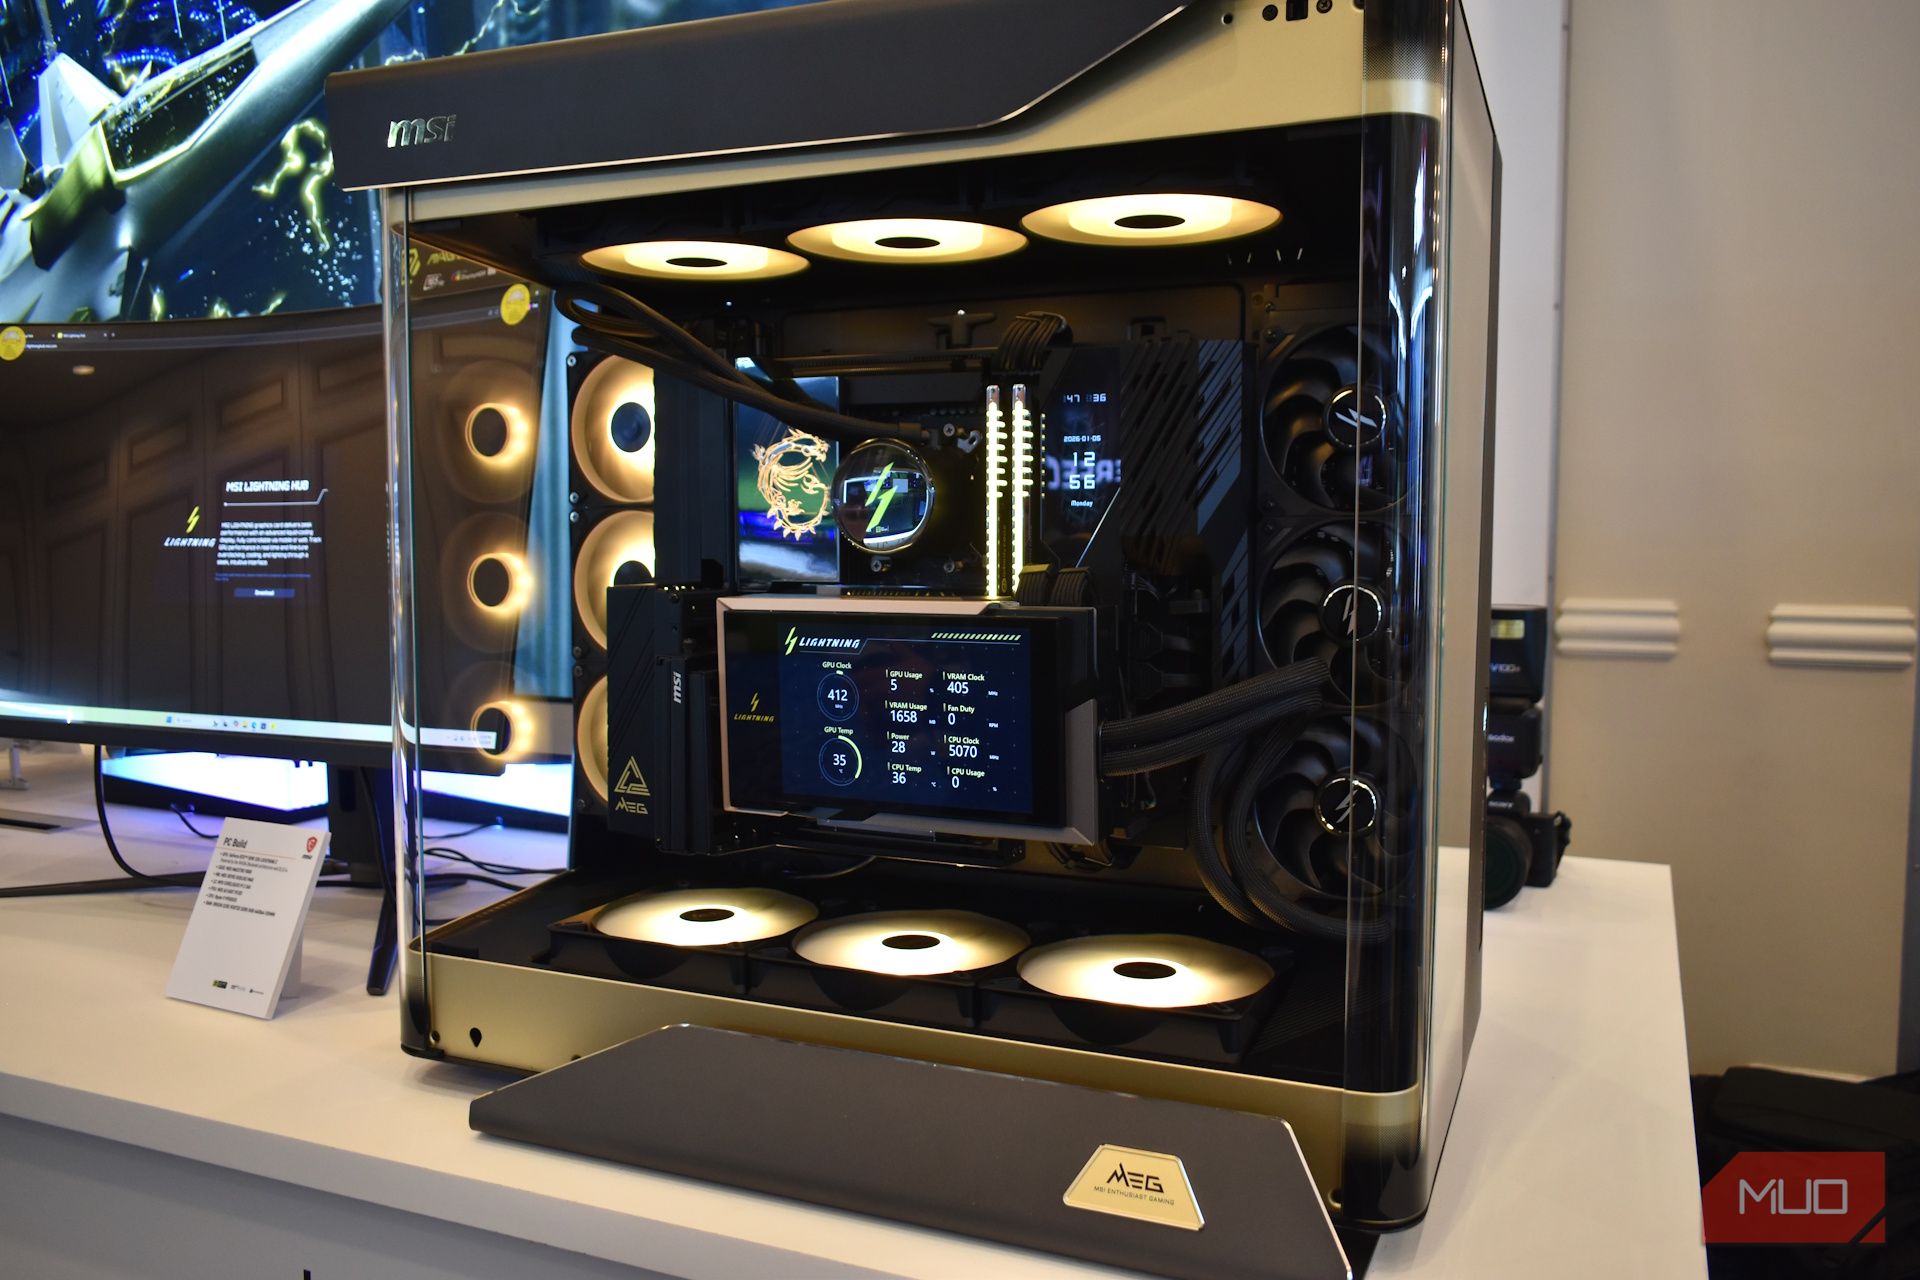
4. Stress Test Your New PC Build
After all the setup, it's time to put your PC through its paces. Stress testing is crucial because it moves beyond idle functionality, pushing your CPU and GPU to their limits to confirm their stability and thermal management under heavy load. This step can reveal subtle assembly errors, such as an incorrectly mounted CPU cooler that might seem fine at idle but causes overheating under demand.
How to Stress Test:
- Monitor Your System: Before running any stress tests, download and open a monitoring tool like HWInfo64. This software will allow you to track vital statistics such as CPU and GPU temperatures, clock speeds, and overall component behavior in real-time.
- CPU Stress Test:
- Free Tools: Popular and free options include Cinebench R23 or Cinebench 2024. Run multiple passes.
- Built-in Windows Tool: For a quick check, use Windows' built-in benchmarking tool, WinSAT, via the command prompt.
- What to Watch For: Monitor CPU temperatures closely. If temperatures rapidly climb above safe limits (e.g., consistently over 90°C), investigate your cooling solution. Observe clock speeds to ensure they remain stable.
- GPU Stress Test (Real-World Approach):
- Play a graphically demanding video game that includes a built-in benchmark, such as Cyberpunk 2077 or Black Myth: Wukong. Run the game's benchmark for several passes.
- What to Watch For: Focus on: Temperatures (are they reasonable?), Stability (no crashes, freezes, or glitches?), and Clock Speeds (are they consistent?).
Troubleshooting Tip: If your system experiences crashes, severe thermal throttling, or unexpected shutdowns during stress testing, it's a clear signal to investigate issues with component installation, power delivery, or cooling.
Confidence Builder: If your PC completes these stress tests with stable temperatures, consistent clock speeds, and no crashes, you can be confident that your new build is robust and ready for daily use.
Now You Can Actually Enjoy Your PC
Bringing a new PC build to life is incredibly rewarding, but remember that the initial boot-up is just the beginning. These crucial post-build steps—updating the BIOS, installing essential drivers, optimizing RAM performance with XMP/EXPO, and thoroughly stress testing—are vital investments. They transform your PC from merely functional to fully complete, stable, and performing at its peak.
This phase does require some dedicated time, so approach it without rushing. Once these foundational steps are securely in place, you can finally dive into the truly fun part: customizing your operating system, installing your favorite applications, downloading games, and setting up all your everyday tools. Consider using batch installation tools (like Ninite for Windows) to quickly set up multiple programs at once, streamlining this final stage.
Congratulations! Your new PC is now truly ready to deliver an exceptional and reliable experience.
FAQ
Q: Why can't I just start using my PC after it successfully boots up?
A: While your PC might power on, it often runs with outdated firmware, default (slower) memory settings, and unverified thermal performance. Skipping these post-build steps can lead to system instability, reduced performance, and potential issues down the line that are harder to diagnose. These initial optimizations ensure your hardware is working efficiently and reliably from the start.
Q: Is updating the BIOS really necessary, or can I skip it?
A: Updating your BIOS is highly recommended. Motherboards rarely ship with the absolute latest firmware, and an older BIOS can cause compatibility issues, instability, or leave performance on the table. A current BIOS ensures your motherboard has the latest bug fixes, supports the newest CPUs and features, and communicates optimally with your components.
Q: What if my RAM doesn't have XMP or EXPO profiles?
A: Most modern performance RAM kits are designed with either XMP (for Intel) or EXPO (for AMD) profiles. If your RAM is a standard, non-performance kit, it might not have these profiles and will simply run at its default JEDEC speed. However, if you purchased a performance kit, it almost certainly has one. Double-check your RAM's specifications and carefully explore your BIOS's memory settings; the option might be labeled generically as "Memory Profile" if not explicitly XMP or EXPO.
Related articles

How to Evaluate the 2026 Hyundai Ioniq 5 N's New Price and Upgrades
Learn to evaluate the 2026 Hyundai Ioniq 5 N's significant price drop and enhanced features to decide if this enthusiast EV is right for you.

Build Your Own Local NMT App with React Native and QVAC
This article explores how Neural Machine Translation (NMT), powered by the Transformer architecture, revolutionized translation by understanding context. We then delve into QVAC, a local-first AI development platform, and its Bergamot engine, enabling private, on-device translation. Learn to set up a React Native app with QVAC and manage model lifecycles for efficient local translation.

The SaaS Survival Guide: AI's Impact & Workday's Strategy Reviewed
ZDNet's article, "'The SaaS apocalypse is overrated': How Workday and other software providers plan to survive AI," offers a refreshingly balanced and insightful perspective on a topic often shrouded in sensationalism.

Gemini Voice Customization: Your AI, Your Tone
Gemini review: Google's upcoming voice customization offers granular control over Energy, Formality, Warmth, and Speed, marking a shift towards truly personal AI interaction. This beta-discovered feature promises more natural and consistent user experiences, putting Google in a strong position in the evolving AI landscape.
How to Reclaim 22GB on Your Samsung Phone Without Deleting Important
Learn to effectively free up significant storage space on your Samsung phone by emptying trash, removing duplicates, archiving apps, clearing caches, and managing offline files in just a few steps, without sacrificing your essential data.

in-depth: 11 Best Sleeping Bags (2026): Ultralight, Warm Weather, for
A comprehensive guide to the best sleeping bags for 2026 has been released, featuring expert-tested options for every outdoor adventure. From ultralight designs to comfy car camping bags and kid-specific models, this updated selection helps adventurers find their perfect sleep system for warmth and comfort.