
Halve Your Windows Boot Time Without Buying a New SSD
Optimize your Windows boot time without new hardware. Learn to enable UEFI Fast Boot, activate Windows Fast Startup, and clean up startup apps for a significantly faster PC in under 15 minutes.
Is your Windows PC taking forever to boot up? Many of us instinctively blame outdated hardware, thinking a faster SSD is the only solution. But what if we told you that significant boot time improvements are possible without spending a single dollar on new components? This guide will walk you through a series of simple yet powerful software and firmware adjustments that can dramatically cut down your Windows boot time, making your computer feel snappier from the moment you hit the power button.
By following these steps, you'll learn how to streamline your PC's startup process at both the hardware and software levels. We'll cover optimizing your motherboard's firmware settings, enabling a Windows-specific fast boot feature, and decluttering the applications that launch automatically with your system. The best part? These changes are quick to implement and require no technical expertise beyond basic navigation.
Prerequisites
Before you begin, ensure you have:
- Administrative access to your Windows computer.
- The ability to access your computer's UEFI/BIOS settings (this usually involves pressing a key like Delete, F2, F10, or Escape repeatedly right after powering on your PC).
Step 1: Enable UEFI Fast Boot in Your Motherboard Settings
Before Windows even begins to load, your computer undergoes a crucial diagnostic process called the Power-On Self-Test (POST). During POST, your Unified Extensible Firmware Interface (UEFI) firmware checks all connected hardware components, such as RAM, storage drives, and peripherals, to ensure they are present and functioning correctly. This process can be surprisingly time-consuming, especially if your motherboard is checking for devices you rarely use, like an optical drive or specific USB ports.
Enabling "Fast Boot" in your UEFI settings instructs your motherboard to skip many of these thorough hardware checks and proceed directly to booting from your primary storage drive. This is a hardware-level setting and is distinct from Windows' "Fast Startup" feature.
-
Access Your UEFI/BIOS Settings:
- Method A (Direct Access): Restart your computer. As soon as the screen goes black and before any operating system logo appears, repeatedly press the designated key to enter BIOS/UEFI. Common keys include
Delete,F2,F10, orEscape. The specific key varies by manufacturer (e.g., Dell, HP, Lenovo, ASUS, MSI). Watch closely for a prompt on the screen during startup. - Method B (Via Windows Advanced Startup - if too fast): If your computer boots too quickly to catch the key press, you can access UEFI settings from within Windows:
- Go to
Settings>System>Recovery. - Under "Recovery options," click
Restart nownext to "Advanced startup." - After your PC restarts, choose
Troubleshoot>Advanced options>UEFI Firmware Settings. - Click
Restartto enter the UEFI utility.
- Go to
- Method A (Direct Access): Restart your computer. As soon as the screen goes black and before any operating system logo appears, repeatedly press the designated key to enter BIOS/UEFI. Common keys include
-
Locate Fast Boot Setting: Once inside your UEFI utility, navigate to the
Bootmenu or a similar section related to startup options. The exact location and naming can vary. -
Enable Fast Boot: Look for an option like "Fast Boot," "Boot Mode," or "Quick Boot." Change its setting from "Disabled" or "Thorough" to "Enabled" or "Minimal." Be aware that enabling this feature might disable boot support for certain devices like optical drives, network booting, or removable media, as it prioritizes speed.
-
Save and Exit: Save your changes (often
F10) and exit the UEFI utility. Your computer will restart with the new, faster boot sequence.
Step 2: Enable Windows Fast Startup
Windows Fast Startup is a feature designed to accelerate the operating system's loading process. Unlike a traditional shutdown that completely closes everything, Fast Startup signs you out of your user account but keeps a snapshot of the system kernel in a hibernation file. When you power on your PC again, Windows simply loads this saved kernel state back into memory instead of rebuilding it from scratch. This can reduce your Windows loading time by 30 to 60 percent.
-
Open Control Panel: Search for "Control Panel" in the Windows search bar and open it.
-
Navigate to Power Options:
- If viewing by "Category," click on
Hardware and Sound, thenPower Options. - If viewing by "Large icons" or "Small icons," directly click
Power Options.
- If viewing by "Category," click on
-
Choose Power Button Actions: In the left-hand pane, click on "Choose what the power buttons do."
-
Change Unavailable Settings: Click on "Change settings that are currently unavailable" at the top. This will allow you to modify advanced power settings.
-
Enable Fast Startup: Under the "Shutdown settings" section, check the box next to "Turn on fast startup (recommended)." If it's already checked, you're all set.
-
Save Changes: Click
Save changes.
Step 3: Clean Up Your Startup Programs
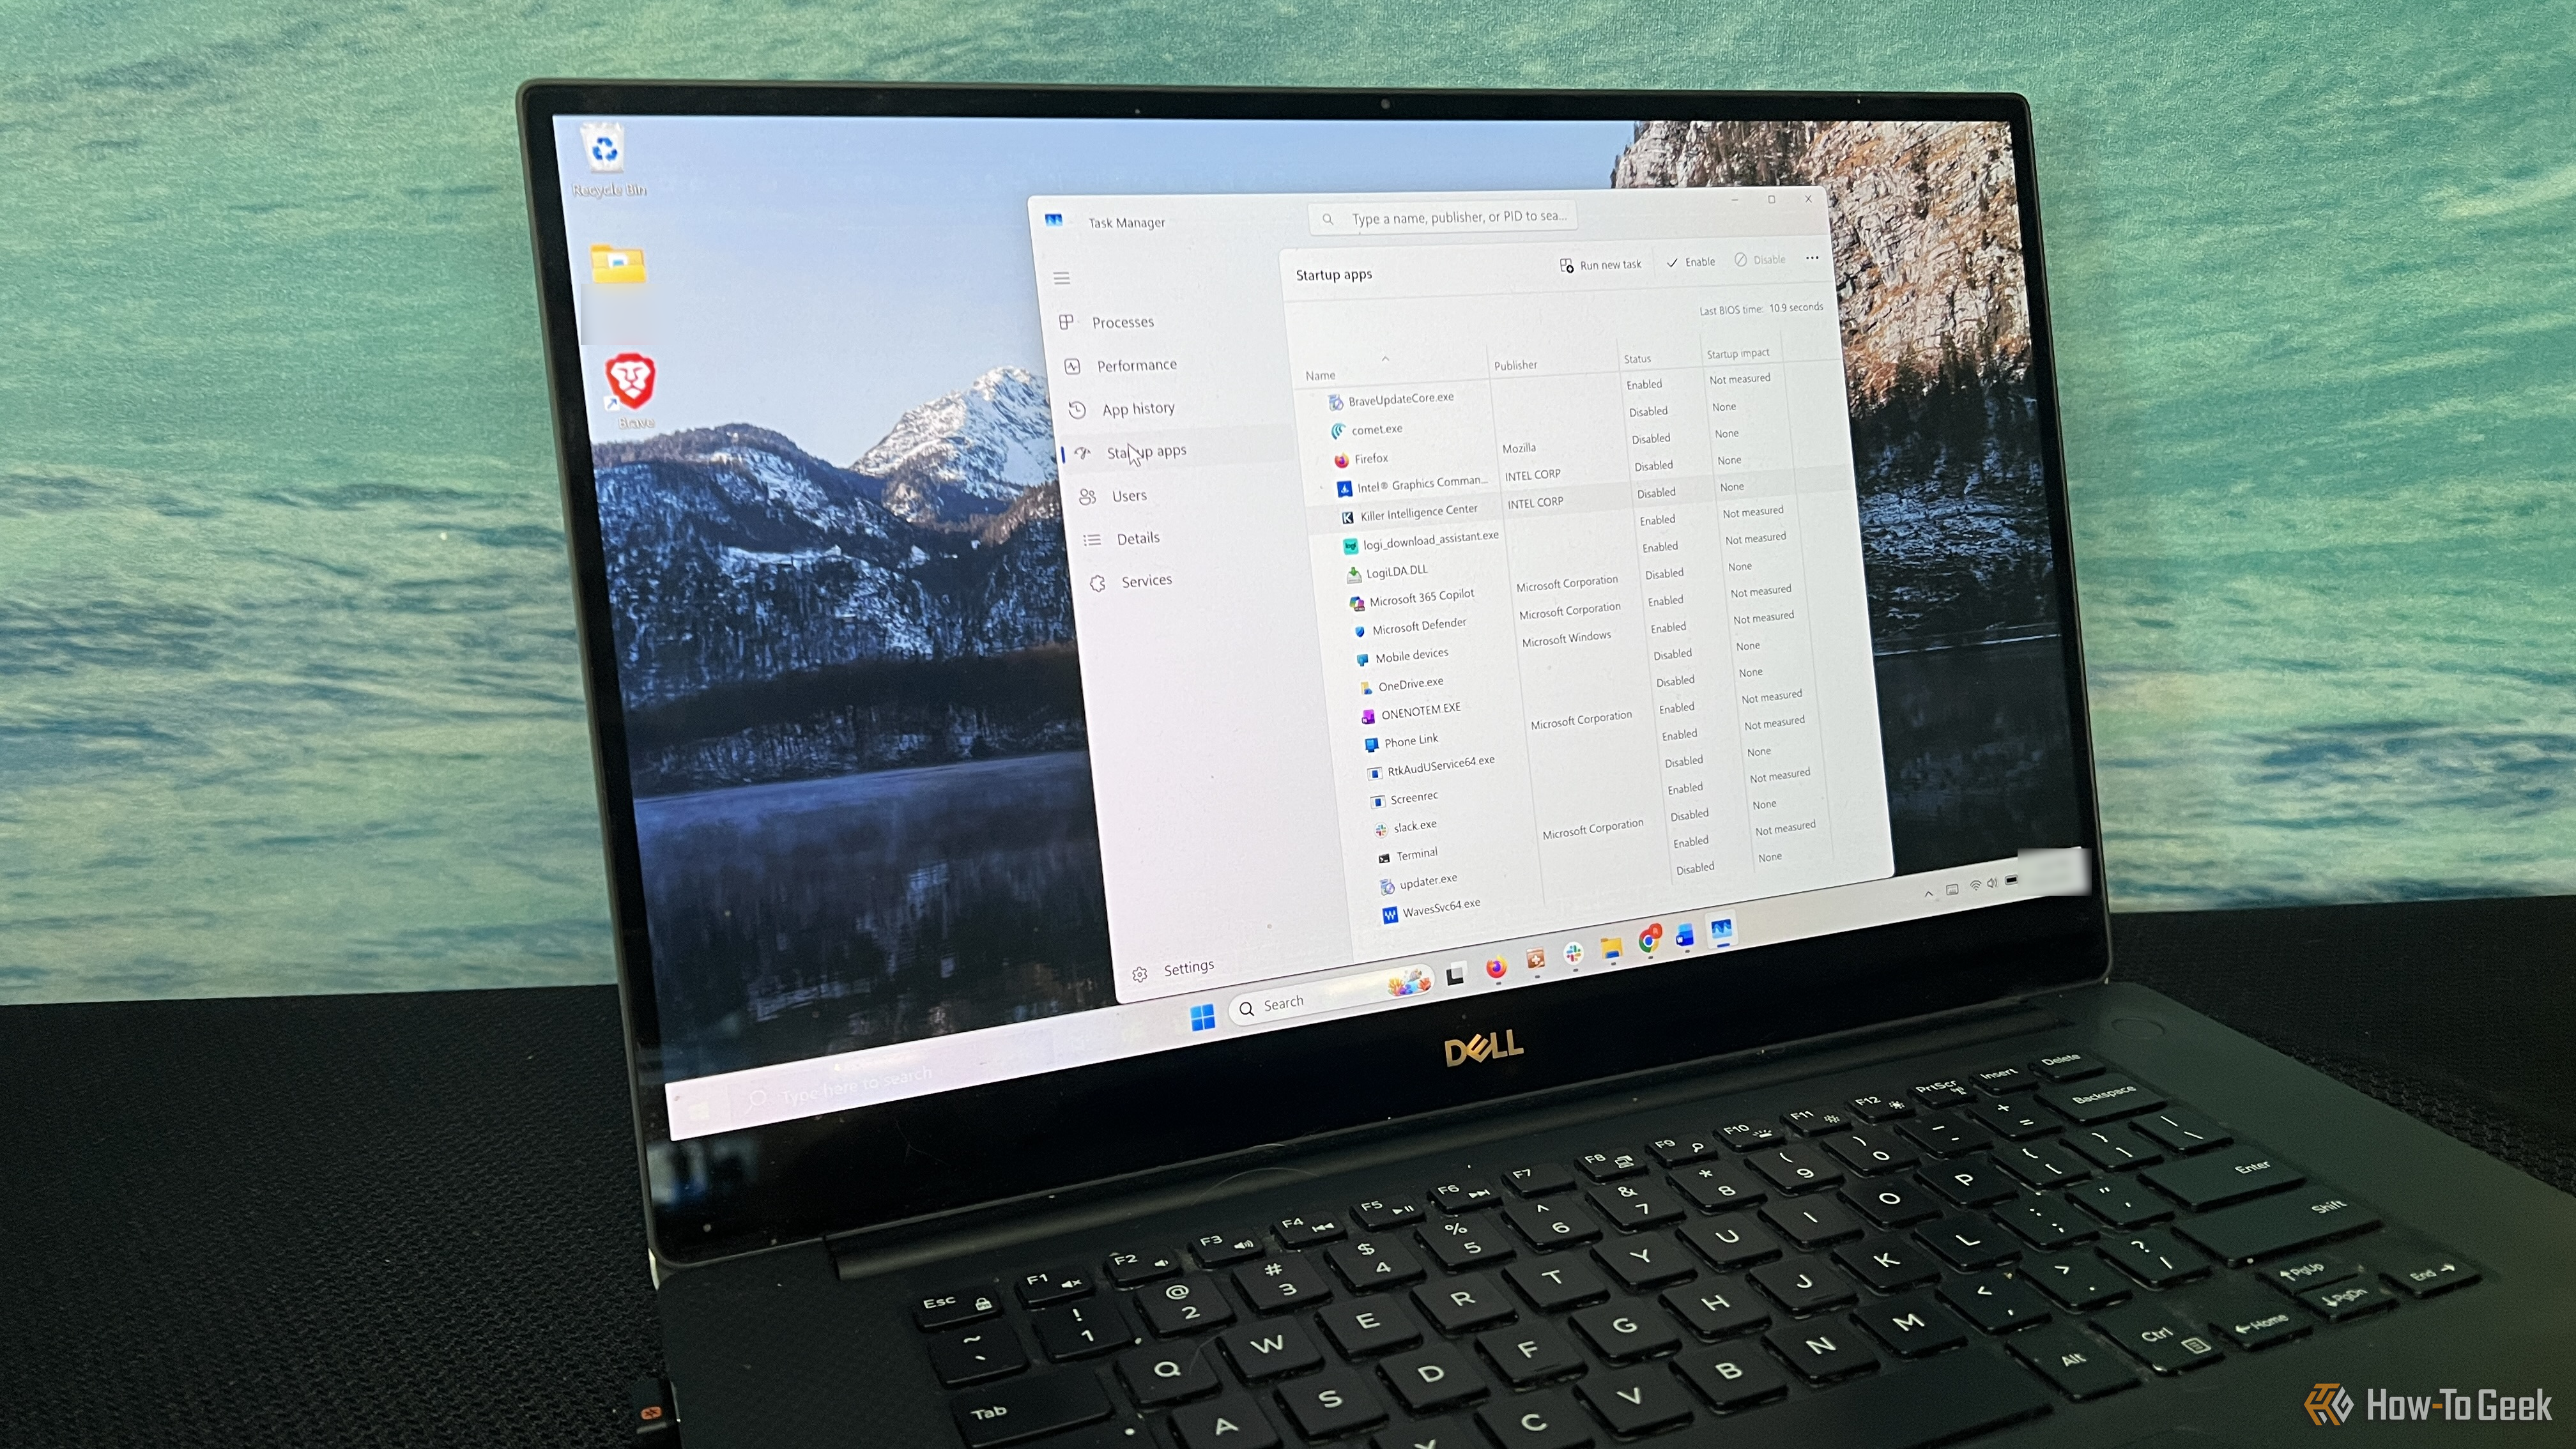
Even if Windows itself loads quickly, your overall boot experience can feel sluggish if dozens of programs attempt to launch simultaneously the moment your desktop appears. These startup programs consume CPU time and disk activity, making your computer unusable for several seconds or even minutes after logging in. Identifying and disabling unnecessary startup applications is a simple yet effective way to significantly improve your post-boot responsiveness.
-
Open Task Manager: Press
Ctrl + Shift + Escon your keyboard to open the Task Manager. -
Go to the Startup Tab: Click on the "Startup" tab at the top of the Task Manager window.
-
Identify High-Impact Programs: This tab lists all applications configured to launch with Windows. Pay close attention to the "Startup impact" column. Programs marked as "High impact" are consuming more than a second of CPU time or over 3MB of disk activity during startup, significantly slowing down your system.
-
Disable Unnecessary Programs: Right-click on any program you don't need to run immediately after startup (e.g., game launchers like Steam or Epic Games, cloud sync services you don't use constantly, or helper applications for peripherals) and select
Disable. You can always launch these programs manually when you need them.- Tip: If you're unsure what a program does, a quick online search can help you decide if it's essential or can be safely disabled.
-
Reboot Your PC: After making these changes, restart your computer to experience the difference.
Why Software Tweaks Matter (Even with Fast Hardware)
It's easy to assume that a cutting-edge NVMe SSD will instantly solve all boot time woes. While modern drives boast impressive speeds (NVMe drives can hit thousands of MB/s compared to SATA SSDs' 600 MB/s cap), raw hardware speed isn't a silver bullet for a poorly managed system. Even the fastest drive will struggle if your boot process is held up by factors like excessive CPU decompression, memory latency, or a bloated firmware initialization. Furthermore, an unmanaged system constantly writes unnecessary data in the background (e.g., pagefile resizing, indexing temporary folders), which quietly reduces your drive's lifespan.
Hardware upgrades only hide underlying issues like driver conflicts, software loops, or a desktop overwhelmed by too many auto-starting applications. By optimizing your software and firmware, you create a lean, efficient environment that allows your hardware to perform at its best, extending its life and ensuring a consistently fast experience.
Troubleshooting and Limitations
While these software and firmware adjustments offer significant improvements for most users, there are limits. If your storage drive is genuinely old, heavily fragmented (less common with SSDs but still possible with very old HDDs), or beginning to fail, these fixes won't completely compensate for hardware degradation. However, for a reasonably healthy system, these steps are typically all you need. The UEFI change and Fast Startup take only a few minutes, and cleaning your startup programs might take another ten. These are always the first, most effective places to look when your boot time is lagging.
FAQ
Q: Is UEFI Fast Boot the same as Windows Fast Startup?
A: No, they are distinct features. UEFI Fast Boot is a hardware-level setting in your motherboard's firmware that reduces the time spent on initial hardware checks. Windows Fast Startup is an operating system feature that uses a partial hibernation state to speed up Windows loading after a shutdown.
Q: Will disabling startup programs affect my computer's performance after it has booted?
A: Disabling startup programs primarily affects the boot time and the initial responsiveness of your desktop. It won't negatively impact the performance of those applications once you manually launch them. In fact, by reducing the background load, your PC might feel snappier overall.
Q: What if I can't find the "Fast Boot" option in my BIOS/UEFI?
A: The naming and location of this setting can vary widely between motherboard manufacturers. Look for terms like "Boot Mode," "Quick Boot," or "POST Time" within the Boot, Advanced, or Performance sections. If you still can't find it, consult your motherboard's manual or the manufacturer's support website for specific instructions for your model.
Conclusion
You don't need to break the bank for a faster PC startup. By methodically applying these three optimizations—enabling UEFI Fast Boot, activating Windows Fast Startup, and pruning your startup applications—you can reclaim precious seconds (or even minutes!) from your boot sequence. These adjustments are free, easy to implement, and will ensure your Windows system launches efficiently, allowing you to get to work or play much faster. Give them a try and enjoy a noticeably quicker Windows experience today!
Related articles
Android 17 QPR2 Beta 7.1: The Performance Relief You've Been Waiting
Android 17 QPR2 Beta 7.1: Finally Fixing the QPR1 Performance Woes Verdict: Android 17 QPR2 Beta 7.1 is a crucial and highly anticipated software update for Google Pixel users, specifically targeting and resolving the

TCG Pocket Responds: A Much-Needed Pace Shift for Pokémon Fans
Pokémon TCG Pocket is rolling out a major update for its second anniversary, primarily addressing player concerns about overwhelming content releases by shifting to a six-week set schedule. This aims to curb player decline and improve overall engagement by giving trainers more time to collect and strategize. The update also adds new collection methods, improved deck-building features, and enhanced trading functionality.
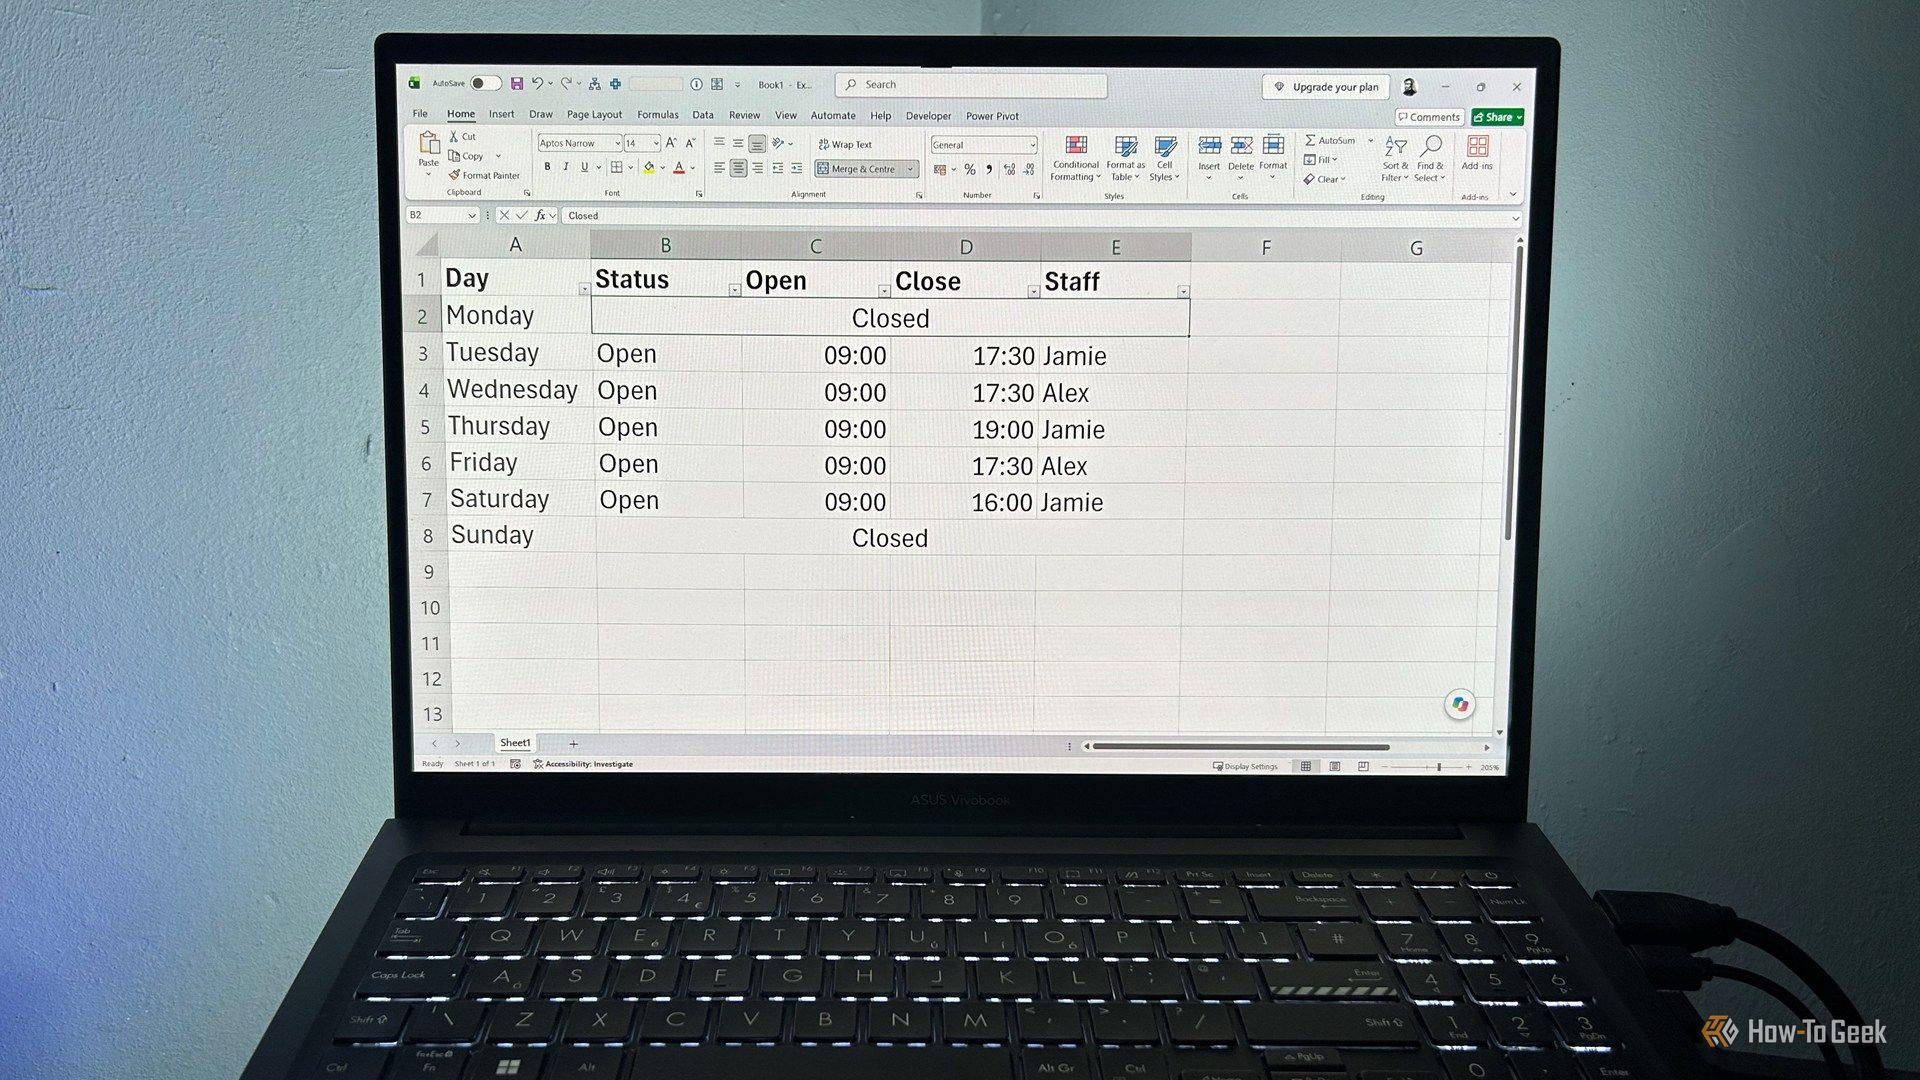
Ditch Merge & Center: The Better Way to Align Text in Excel
Learn to use Excel's "Center Across Selection" to align text across cells without merging, avoiding common data manipulation issues. This guide provides steps to utilize this newly accessible feature and add it to your Quick Access Toolbar.

Ars Technica's Rocket Report: Your Essential Space Industry Briefing
Quick Verdict Ars Technica's Rocket Report, presented by veteran space reporter Stephen Clark, offers an invaluable and meticulously organized weekly (or similar frequency, implied by "Edition 9.15") digest of the most

regional: A two-person Seattle startup lands $1M to reinvent
Seattle startup TriMagnetix has secured $1 million to develop semiconductor chips that consume 800 times less energy and are radiation-resistant. The two-person company, leveraging nanomagnetic technology, is targeting space applications and data centers. With new funding and key partnerships, TriMagnetix aims for commercial sales within a year.
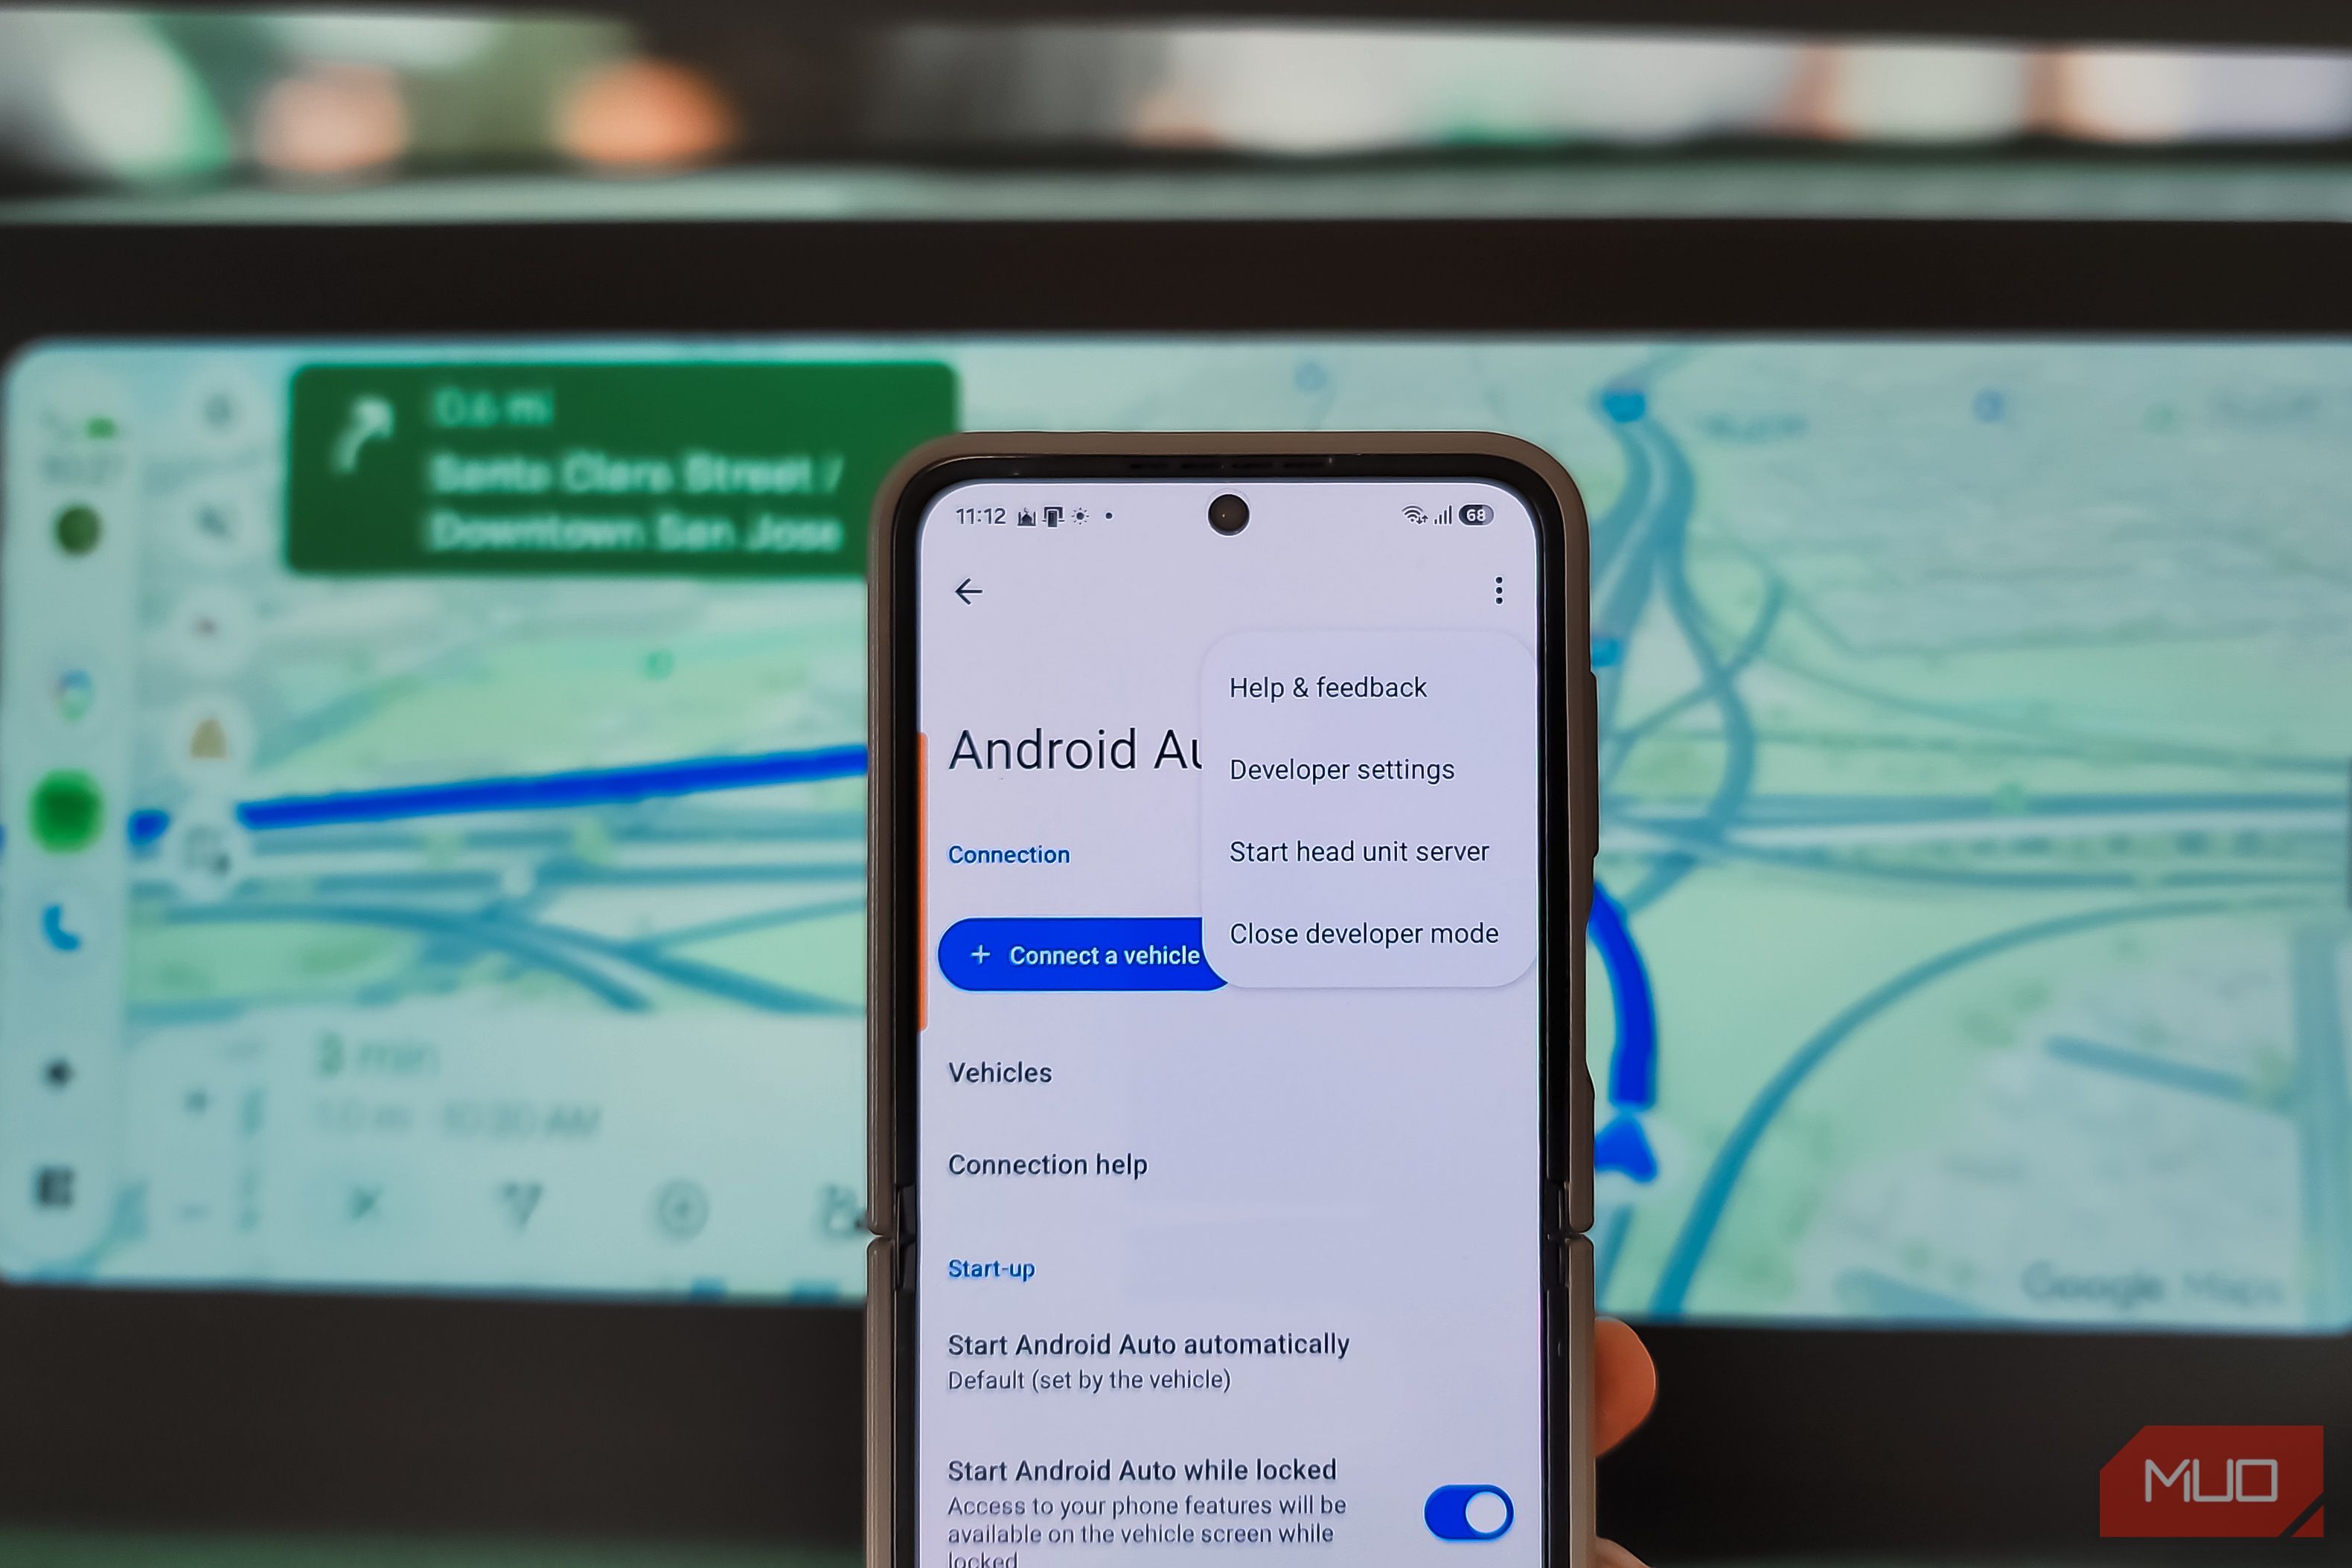
Stop Android Auto Battery Drain: Essential Features to Disable and
Android Auto offers unparalleled convenience, bringing your phone's most useful features directly to your car's display. From navigation and calls to messages and music, it keeps you connected without distracting you