
Build Your Own AI DJ: Set Up SUB/WAVE for Your Music Library
Have you ever wished Spotify's AI DJ could play your personal music collection, including those rare tracks digitized from vinyl? While Spotify excels with its vast commercial catalog, many music enthusiasts have built
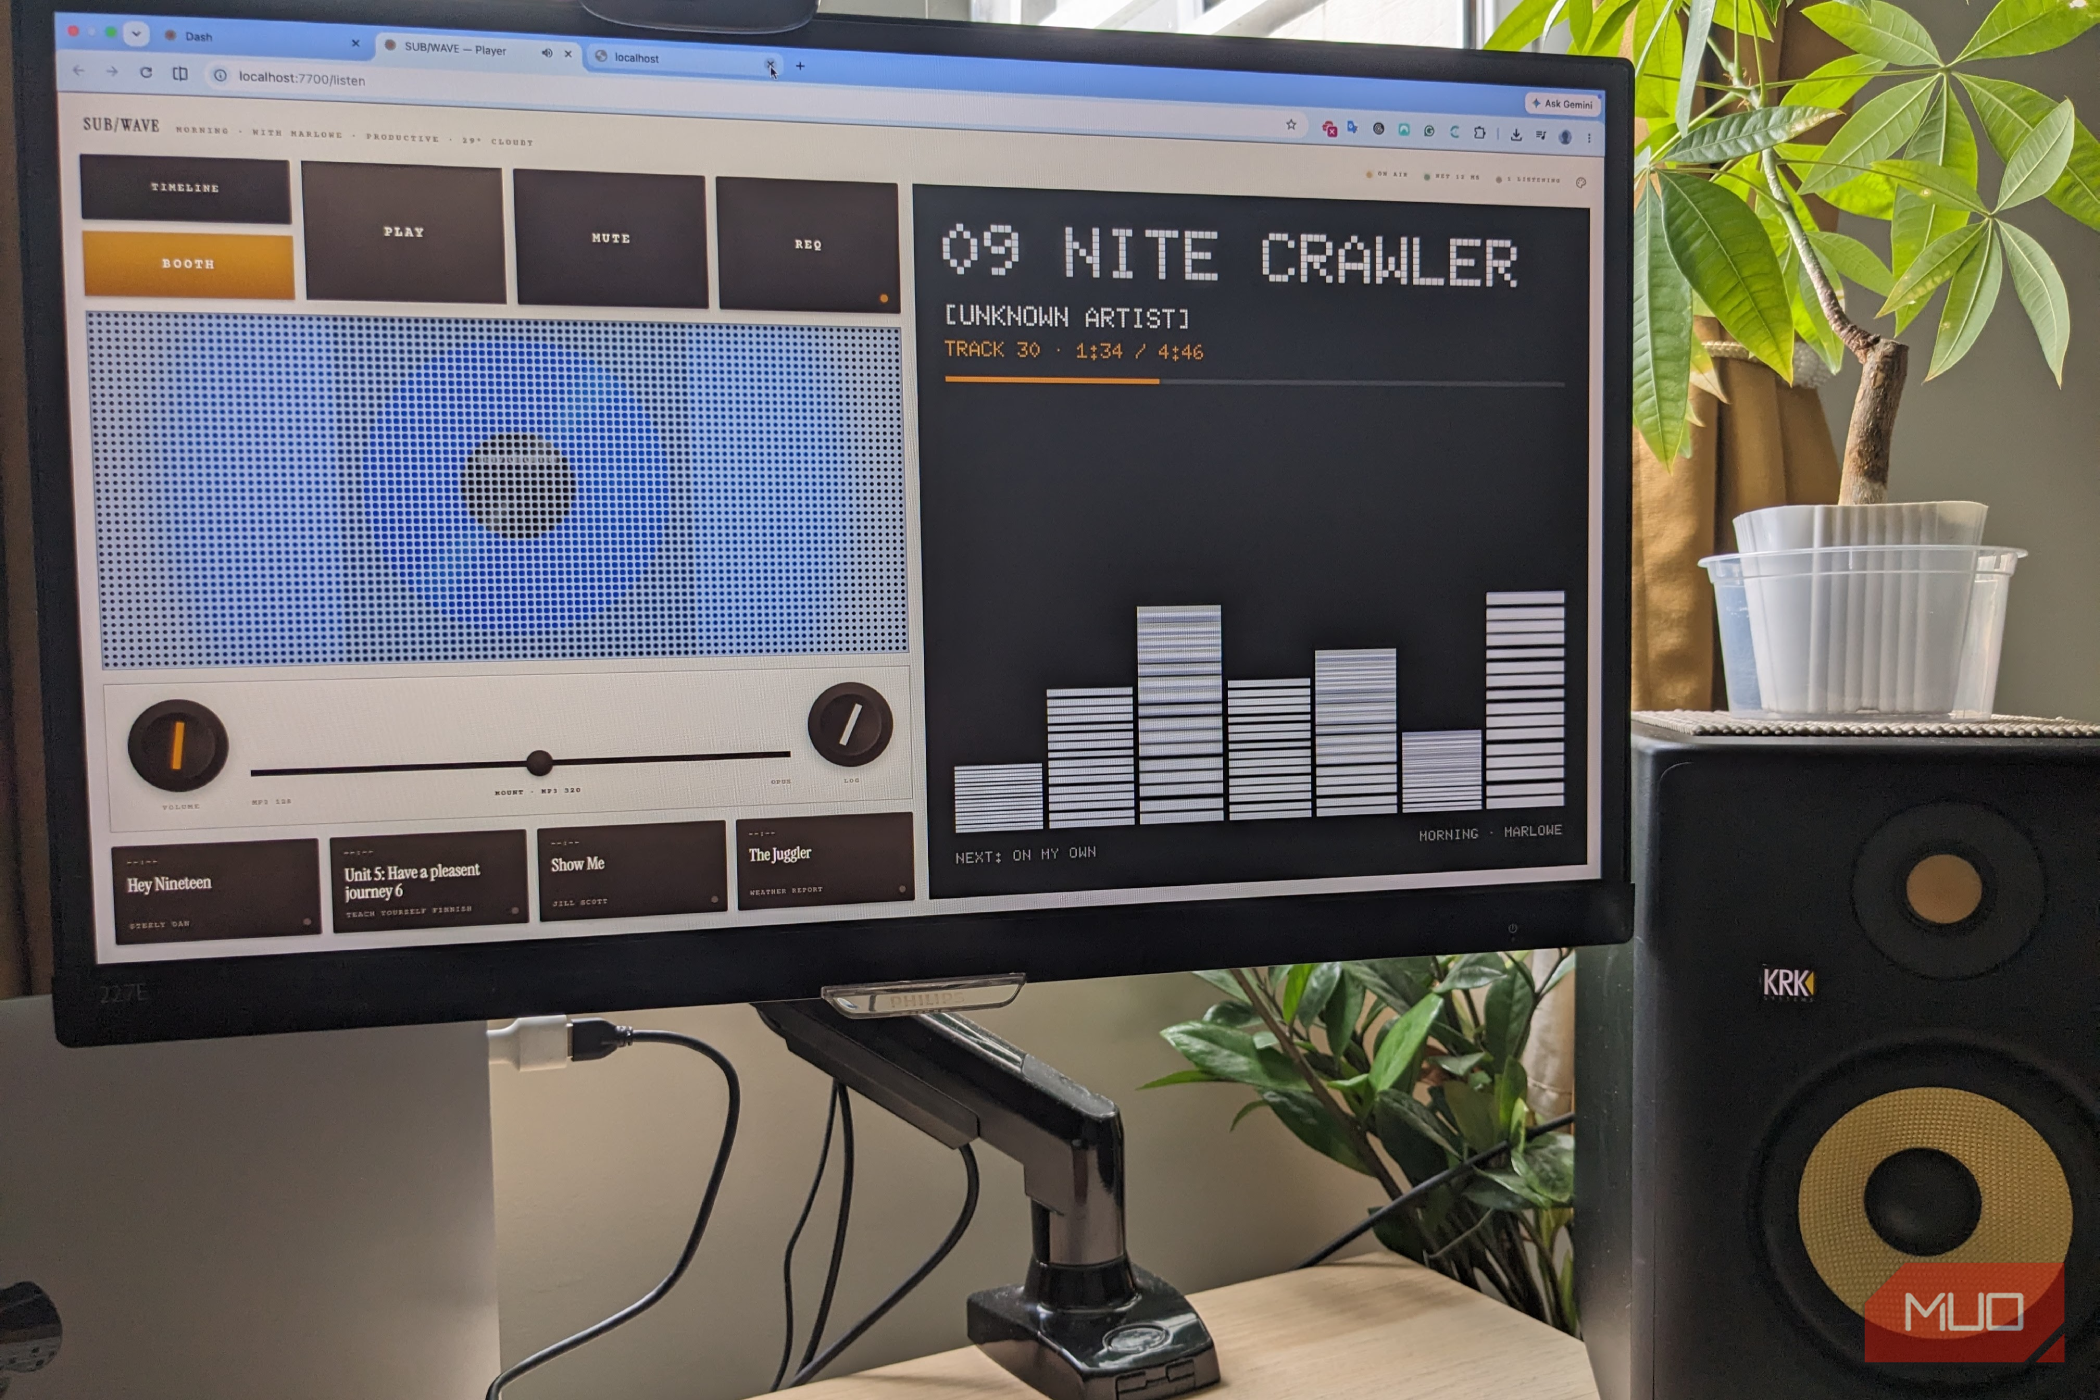
Have you ever wished Spotify's AI DJ could play your personal music collection, including those rare tracks digitized from vinyl? While Spotify excels with its vast commercial catalog, many music enthusiasts have built up extensive personal libraries over decades that they'd love to integrate into a smart, AI-driven radio experience. This guide will walk you through setting up SUB/WAVE, a self-hosted solution that transforms your private music into a continuous, AI-curated radio station.
SUB/WAVE allows you to create a bespoke radio experience directly from your own hardware, complete with crossfades, dynamic playlists, and even optional AI DJs. While it requires a bit of technical effort, the result is a deeply satisfying and personalized listening environment that runs independently of commercial streaming platforms. Expect to spend around an hour on the initial setup, even if you're relatively new to self-hosting projects.
What You'll Accomplish
By following this guide, you will:
- Transform your local music library into a personalized, AI-powered radio station.
- Gain a deeper appreciation for your entire music collection, rediscovering forgotten tracks and hearing seamless genre blends.
- Host your own internet radio stream, accessible via web browsers or compatible audio players throughout your home.
- Become familiar with essential self-hosting tools like Docker, Navidrome, and Ollama.
Prerequisites and Requirements
Before you begin, ensure you have the following:
- A Digital Music Library: Your collection of music files, ideally well-organized with metadata.
- A Server: A computer (could be a dedicated home server, a powerful desktop, or even a Raspberry Pi) capable of running Docker and handling music playback and AI processing.
- Docker: Docker Desktop (for Windows/macOS) or Docker Engine (for Linux) installed on your server. This will host the various components of SUB/WAVE in isolated containers.
- Basic Command Line Familiarity: You'll need to enter commands into your server's terminal (or PowerShell/Command Prompt for Windows Docker users) during the setup process.
- Patience and Persistence: Self-hosting solutions can involve troubleshooting, especially if you're new to Docker or Linux commands. The process is rewarding but may require some debugging.
Important Tip: As you create accounts and configure services, make sure to copy down all URLs and credentials. The SUB/WAVE installation wizard will prompt you for these details later on.
Step-by-Step Installation Guide
SUB/WAVE is not a single application but an ecosystem of interconnected services. Here’s how to bring them all together.
Step 1: Prepare Your Music Library
Ensure your entire music collection is accessible on your server. This could be stored on an internal drive, an attached external hard drive, or a network share. Navidrome, which you'll set up next, will need read access to this directory.
Step 2: Install and Configure Docker
Docker is the foundation for running SUB/WAVE's components. If you haven't already:
- Download and install Docker for your operating system from the official Docker website (docker.com/get-started).
- Verify your Docker installation by running
docker run hello-worldin your terminal. You should see a confirmation message. - Ensure Docker is running and configured to start automatically with your system.
Step 3: Set Up Navidrome for Music Indexing
Navidrome acts as the API that indexes your local music collection, allowing SUB/WAVE to browse, queue, and manage your tracks.
- Install Navidrome via Docker. You'll typically use a
docker runcommand or adocker-compose.ymlfile. Refer to the official Navidrome installation guide (navidrome.org/docs/installation/) for the most up-to-date instructions. You'll need to specify the path to your music library when setting this up. - Create a Navidrome user account and note down the username and password.
- Access Navidrome through your web browser (usually at
http://your-server-ip:4533) and confirm that it has successfully scanned and indexed your music library. Resolve any issues with file permissions or path mapping here.
Step 4: Install Ollama for Local AI Analysis
Ollama powers the local Large Language Model (LLM) that SUB/WAVE queries to generate playlists, create smooth transitions, and make programming decisions.
- Download and install Ollama on your server (ollama.com/download). Follow the instructions for your specific operating system.
- Once installed, you'll need to pull a suitable language model for Ollama to use. The SUB/WAVE documentation will recommend a specific model, or you can start with a general-purpose model like
llama2. Use the commandollama run llama2(or the recommended model name) to download and start the model for the first time. This might take some time depending on your internet connection and model size.
Step 5: Install and Connect SUB/WAVE
Now it's time to install SUB/WAVE itself and link all the components you've set up.
- Install SUB/WAVE via Docker. Like Navidrome, SUB/WAVE will run in its own Docker container. Consult the official SUB/WAVE setup guide (getsubwave.com/setup/prerequisites) for the precise Docker commands or
docker-composeconfiguration. - Access the SUB/WAVE installation wizard through your web browser (the URL will be provided during its Docker setup, typically
http://your-server-ip:PORT). - Enter the credentials and URLs for your Navidrome server and Ollama instance when prompted by the wizard. This is where those previously saved details become crucial.
Step 6: Configure Your AI DJ
Once SUB/WAVE is running and connected to Navidrome and Ollama, you can customize your radio experience.
- Explore the SUB/WAVE dashboard. You'll find options for DJ behavior, jingle types, and even different DJ voices (as shown in the source content's images).
- Adjust settings to your preference to fine-tune how the AI selects and transitions between tracks, ensuring it feels like a genuine live radio station tailored to your tastes.
The Finished Experience: Your Own AI Radio Station
After the setup, you'll have a highly convincing, personalized radio station that genuinely feels live. Because everything runs locally, you’re no longer reliant on external streaming services. SUB/WAVE broadcasts a proper internet radio stream, allowing you to listen through any web browser or compatible audio player around your house.
You'll enjoy smooth song transitions and a constantly generated queue, meaning you don't have to think about what to play next. The AI works intelligently in the background, blending genres seamlessly and maintaining momentum, helping you rediscover forgotten gems and connect with your music collection anew.
Troubleshooting Tips
Installation can be challenging for newcomers, but most issues are solvable with patience:
- Check Docker Logs: If a container isn't behaving as expected, use
docker logs [container_name_or_id]to inspect its output for error messages. - Verify Network Connections: Ensure all containers can communicate with each other and your music directory. Check firewall settings if you experience connection issues.
- Test API Endpoints: Try to access Navidrome's web interface or test Ollama's API directly to confirm they are running correctly before blaming SUB/WAVE.
- Storage Access: A common pitfall is an unmounted external hard drive or incorrect path mapping for your music library within Navidrome's Docker configuration. Double-check these.
- Consult Documentation: The official documentation for SUB/WAVE, Navidrome, and Docker are invaluable resources for specific error messages or configuration details.
Next Steps
With your personal AI DJ up and running, consider these next steps:
- Explore Docker: Learn more about Docker commands and
docker-composeto manage your self-hosted applications more efficiently. - Automate Backups: Implement a backup strategy for your Navidrome data to protect your music library's metadata and play history.
- Tune Your AI: Experiment with different Ollama models or SUB/WAVE settings to further refine your radio station's behavior.
- Discover Other Self-Hosted Services: Once comfortable with Docker, you might find other self-hosted applications that enhance your home server experience.
FAQ
Q: How does SUB/WAVE compare to Spotify's AI DJ?
A: Spotify's AI DJ is a convenient, out-of-the-box solution that works instantly with Spotify's massive commercial catalog. SUB/WAVE, on the other hand, is a self-hosted project for enthusiasts. It requires a server, Docker, and your own music library, but in return, it provides a deeply personalized AI-powered radio station built entirely from your curated music collection, running on your own hardware without reliance on external streaming services.
Q: What level of technical expertise is required to set this up?
A: While the guide is step-by-step, it's not an out-of-the-box solution. Basic familiarity with command-line interfaces, Docker concepts (like containers and volumes), and self-hosted applications is beneficial. Newcomers should be prepared for some troubleshooting, but the official documentation and online communities can provide support.
Q: Can I listen to my SUB/WAVE radio station from devices other than my server?
A: Yes! Once set up, SUB/WAVE broadcasts a standard internet radio stream. This means you can access and listen to your personal AI radio station through any web browser or compatible audio player on other devices within your home network. You can configure it for external access if you wish, though that involves additional networking steps like port forwarding and dynamic DNS.
Related articles
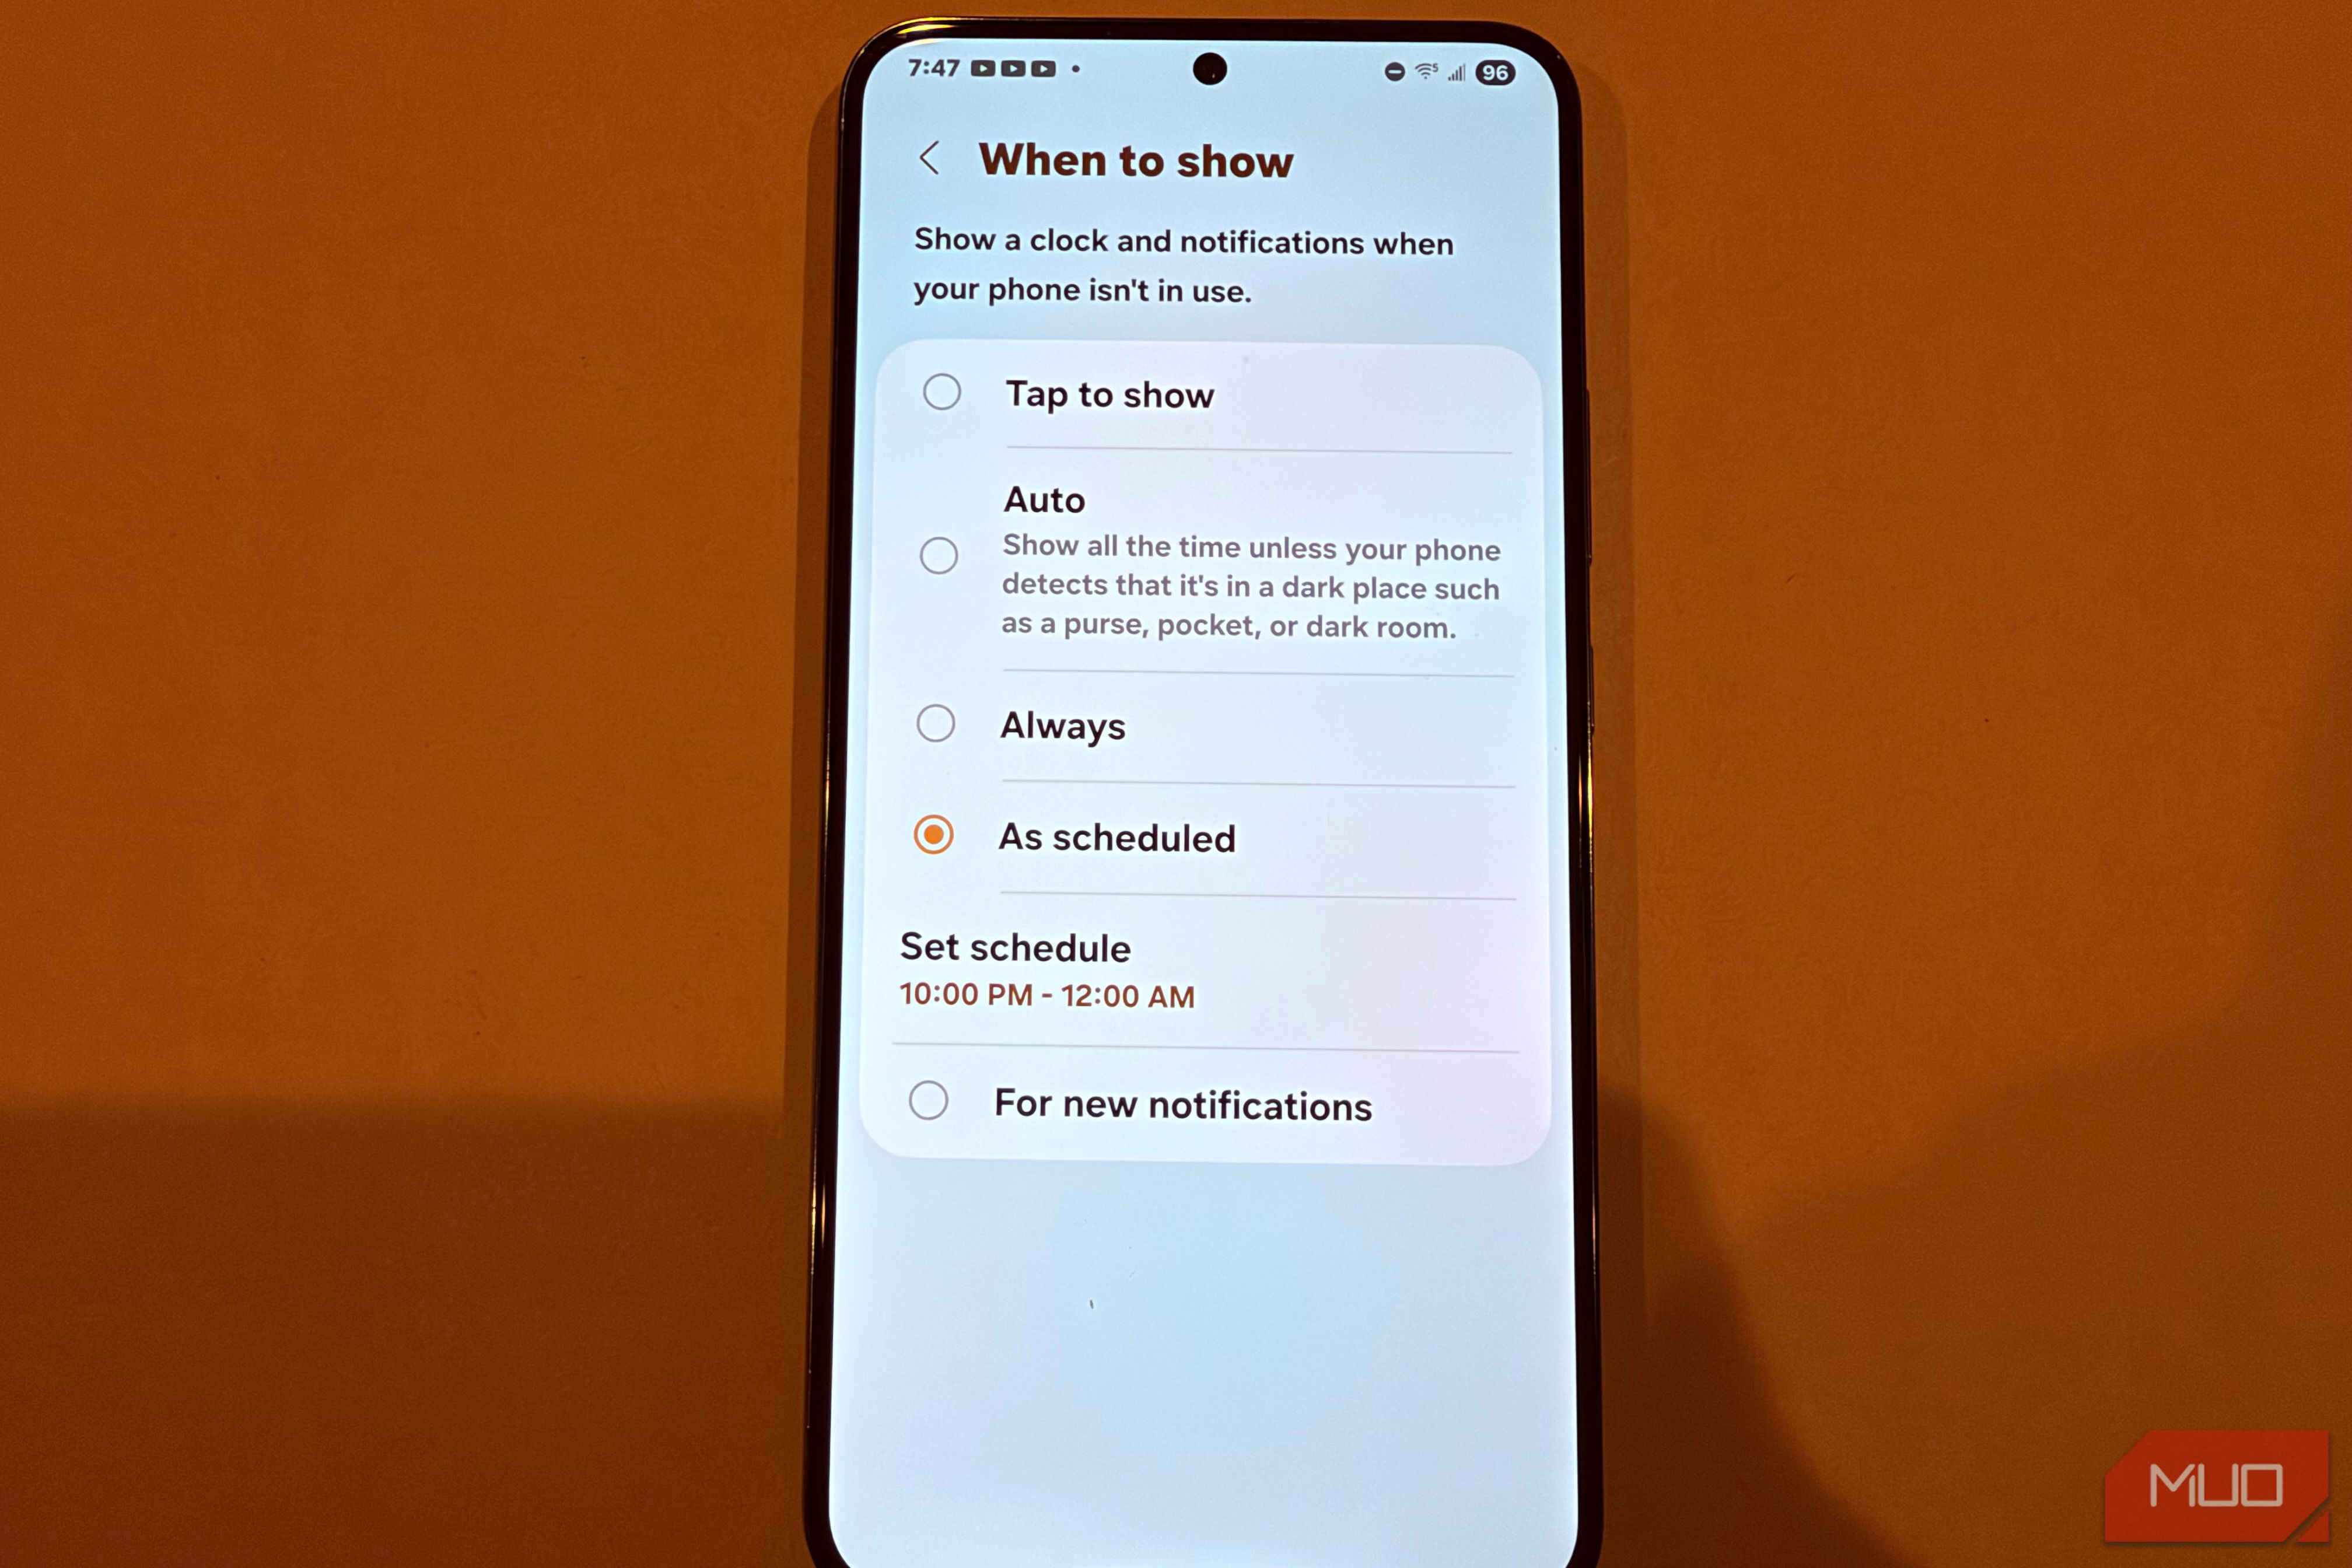
Your Galaxy's Always-On Display Draining Battery? Schedule a Hidden
Reclaim Your Battery: Schedule Your Galaxy's Always-On Display Your Samsung Galaxy's Always-On Display (AOD) is a handy feature, showing you the time and notifications at a glance. However, keeping it active all day can
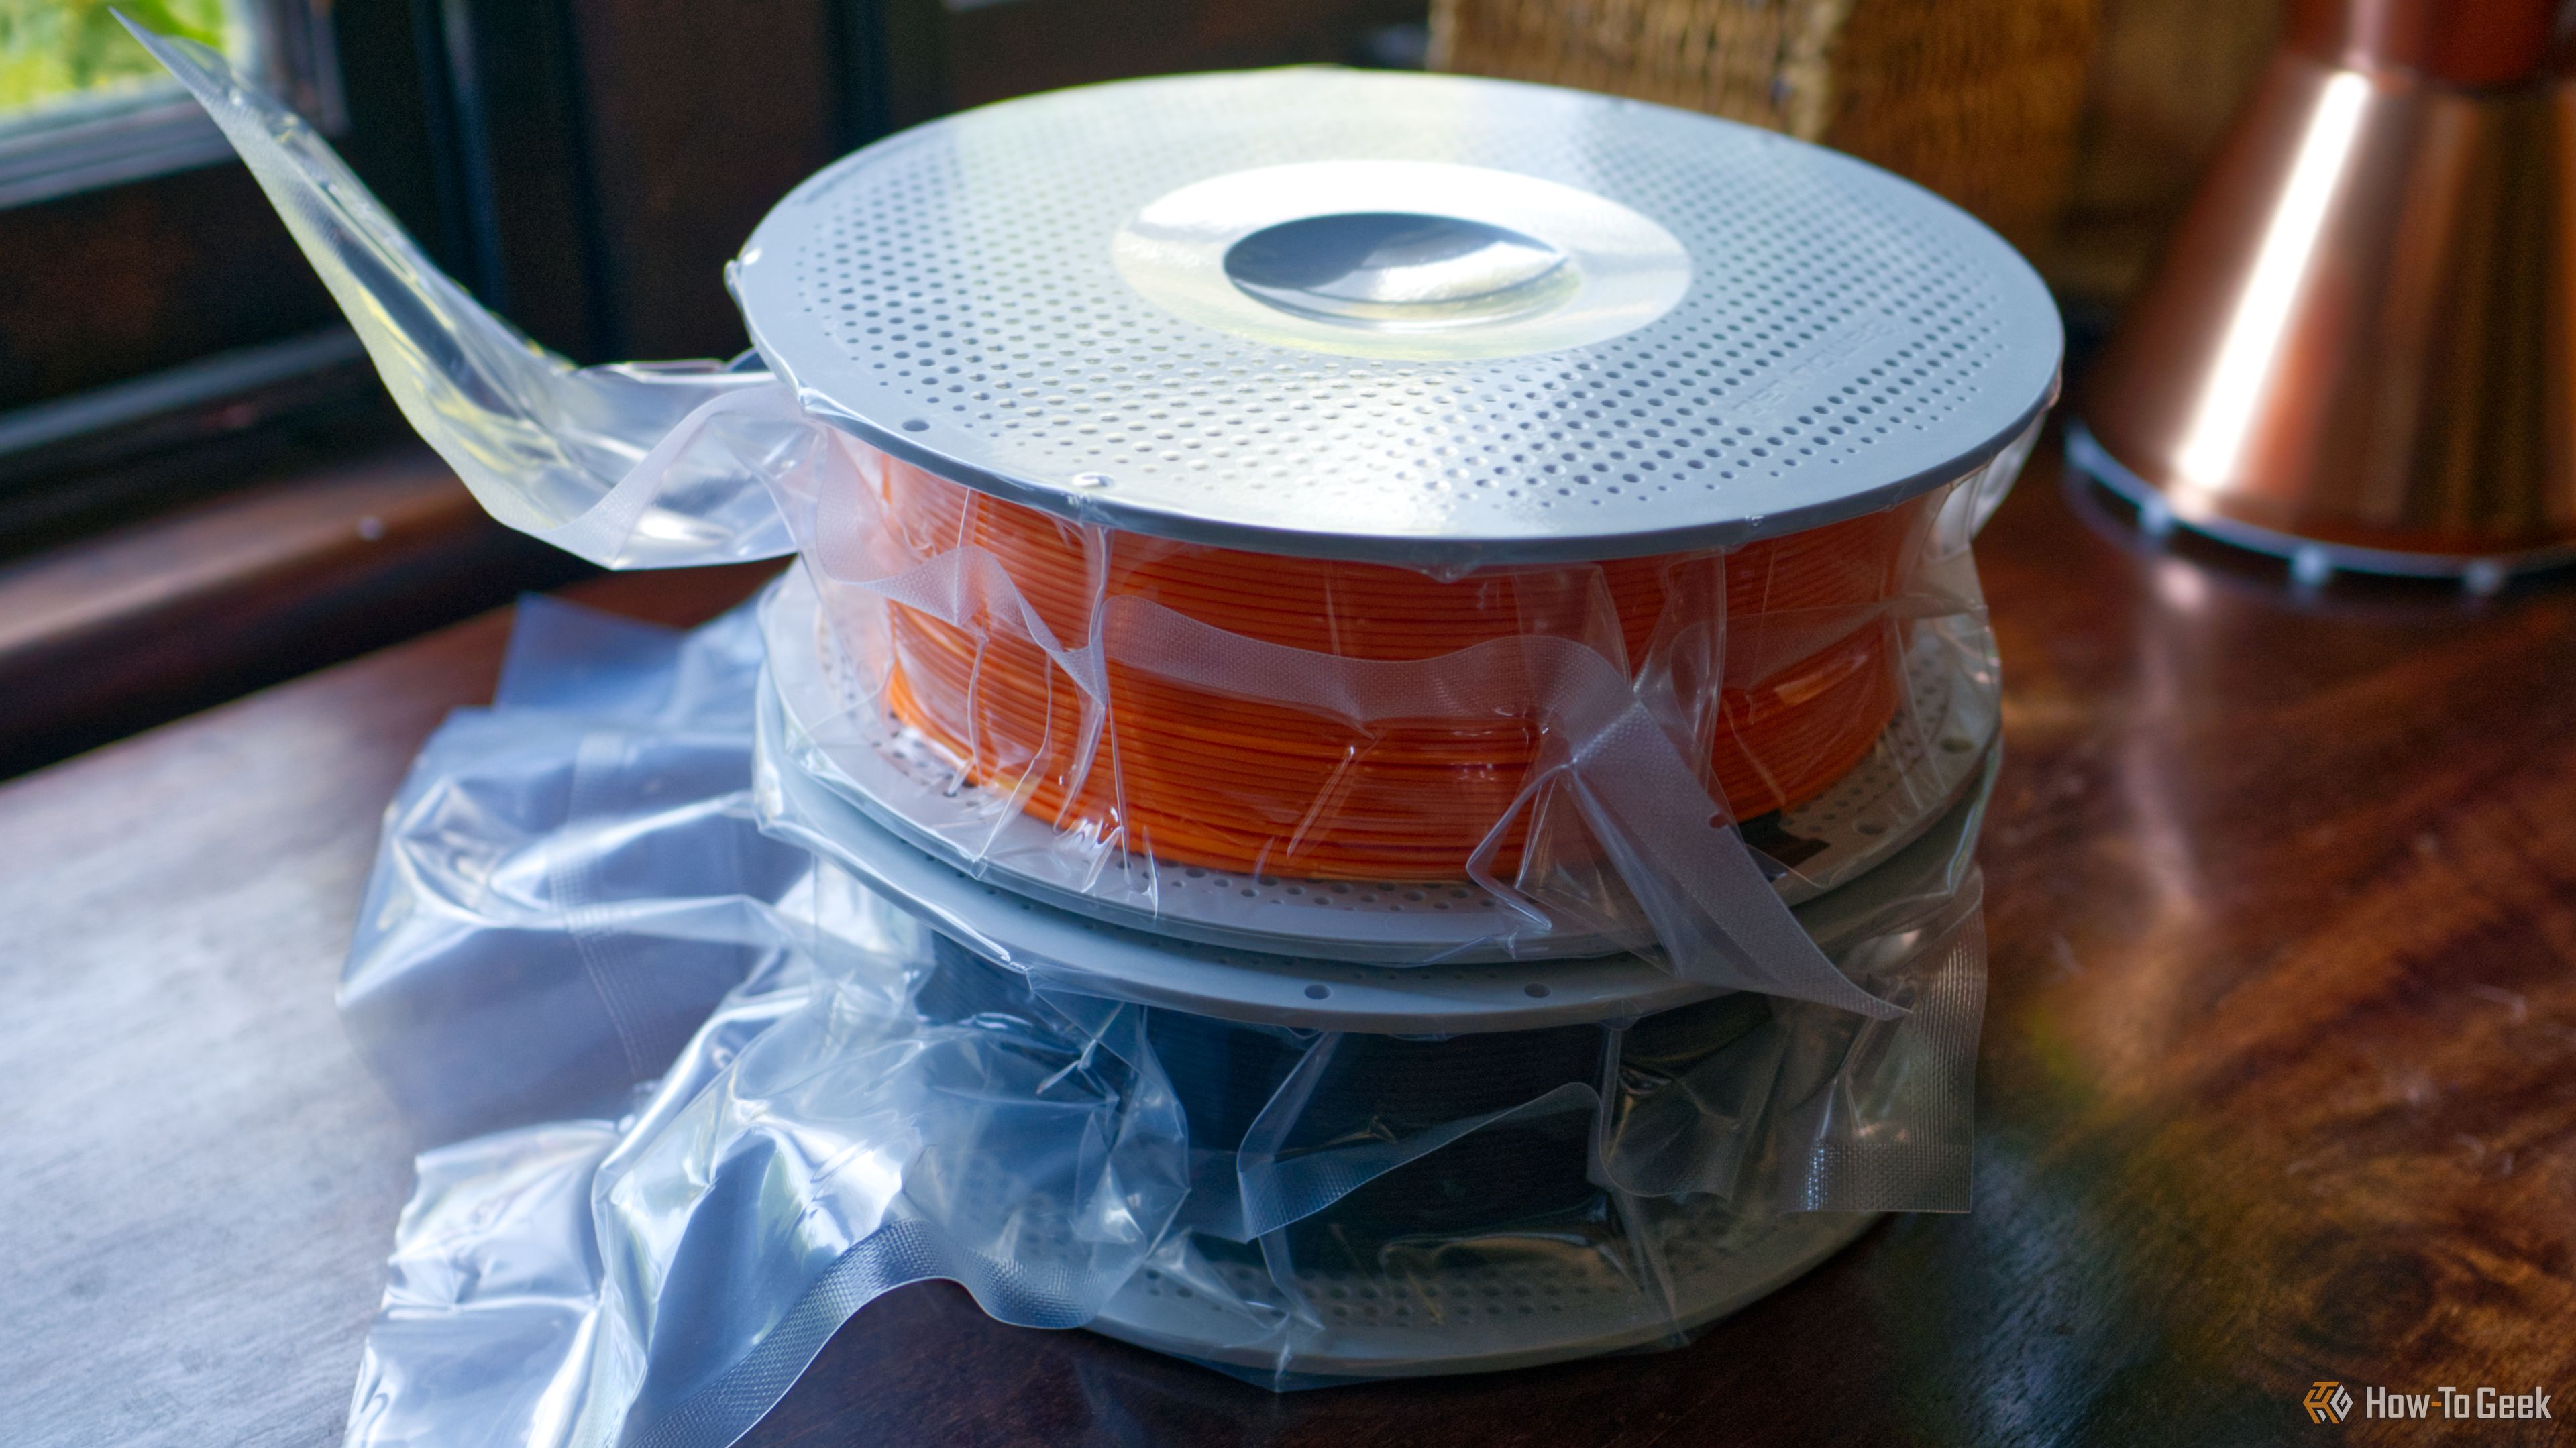
Turn Filament Packaging into Free 3D Printer Upgrades
Repurpose empty filament spools, boxes, and silica packets into free 3D printer upgrades and storage solutions in a few simple steps. Organize your workshop and protect your filament.
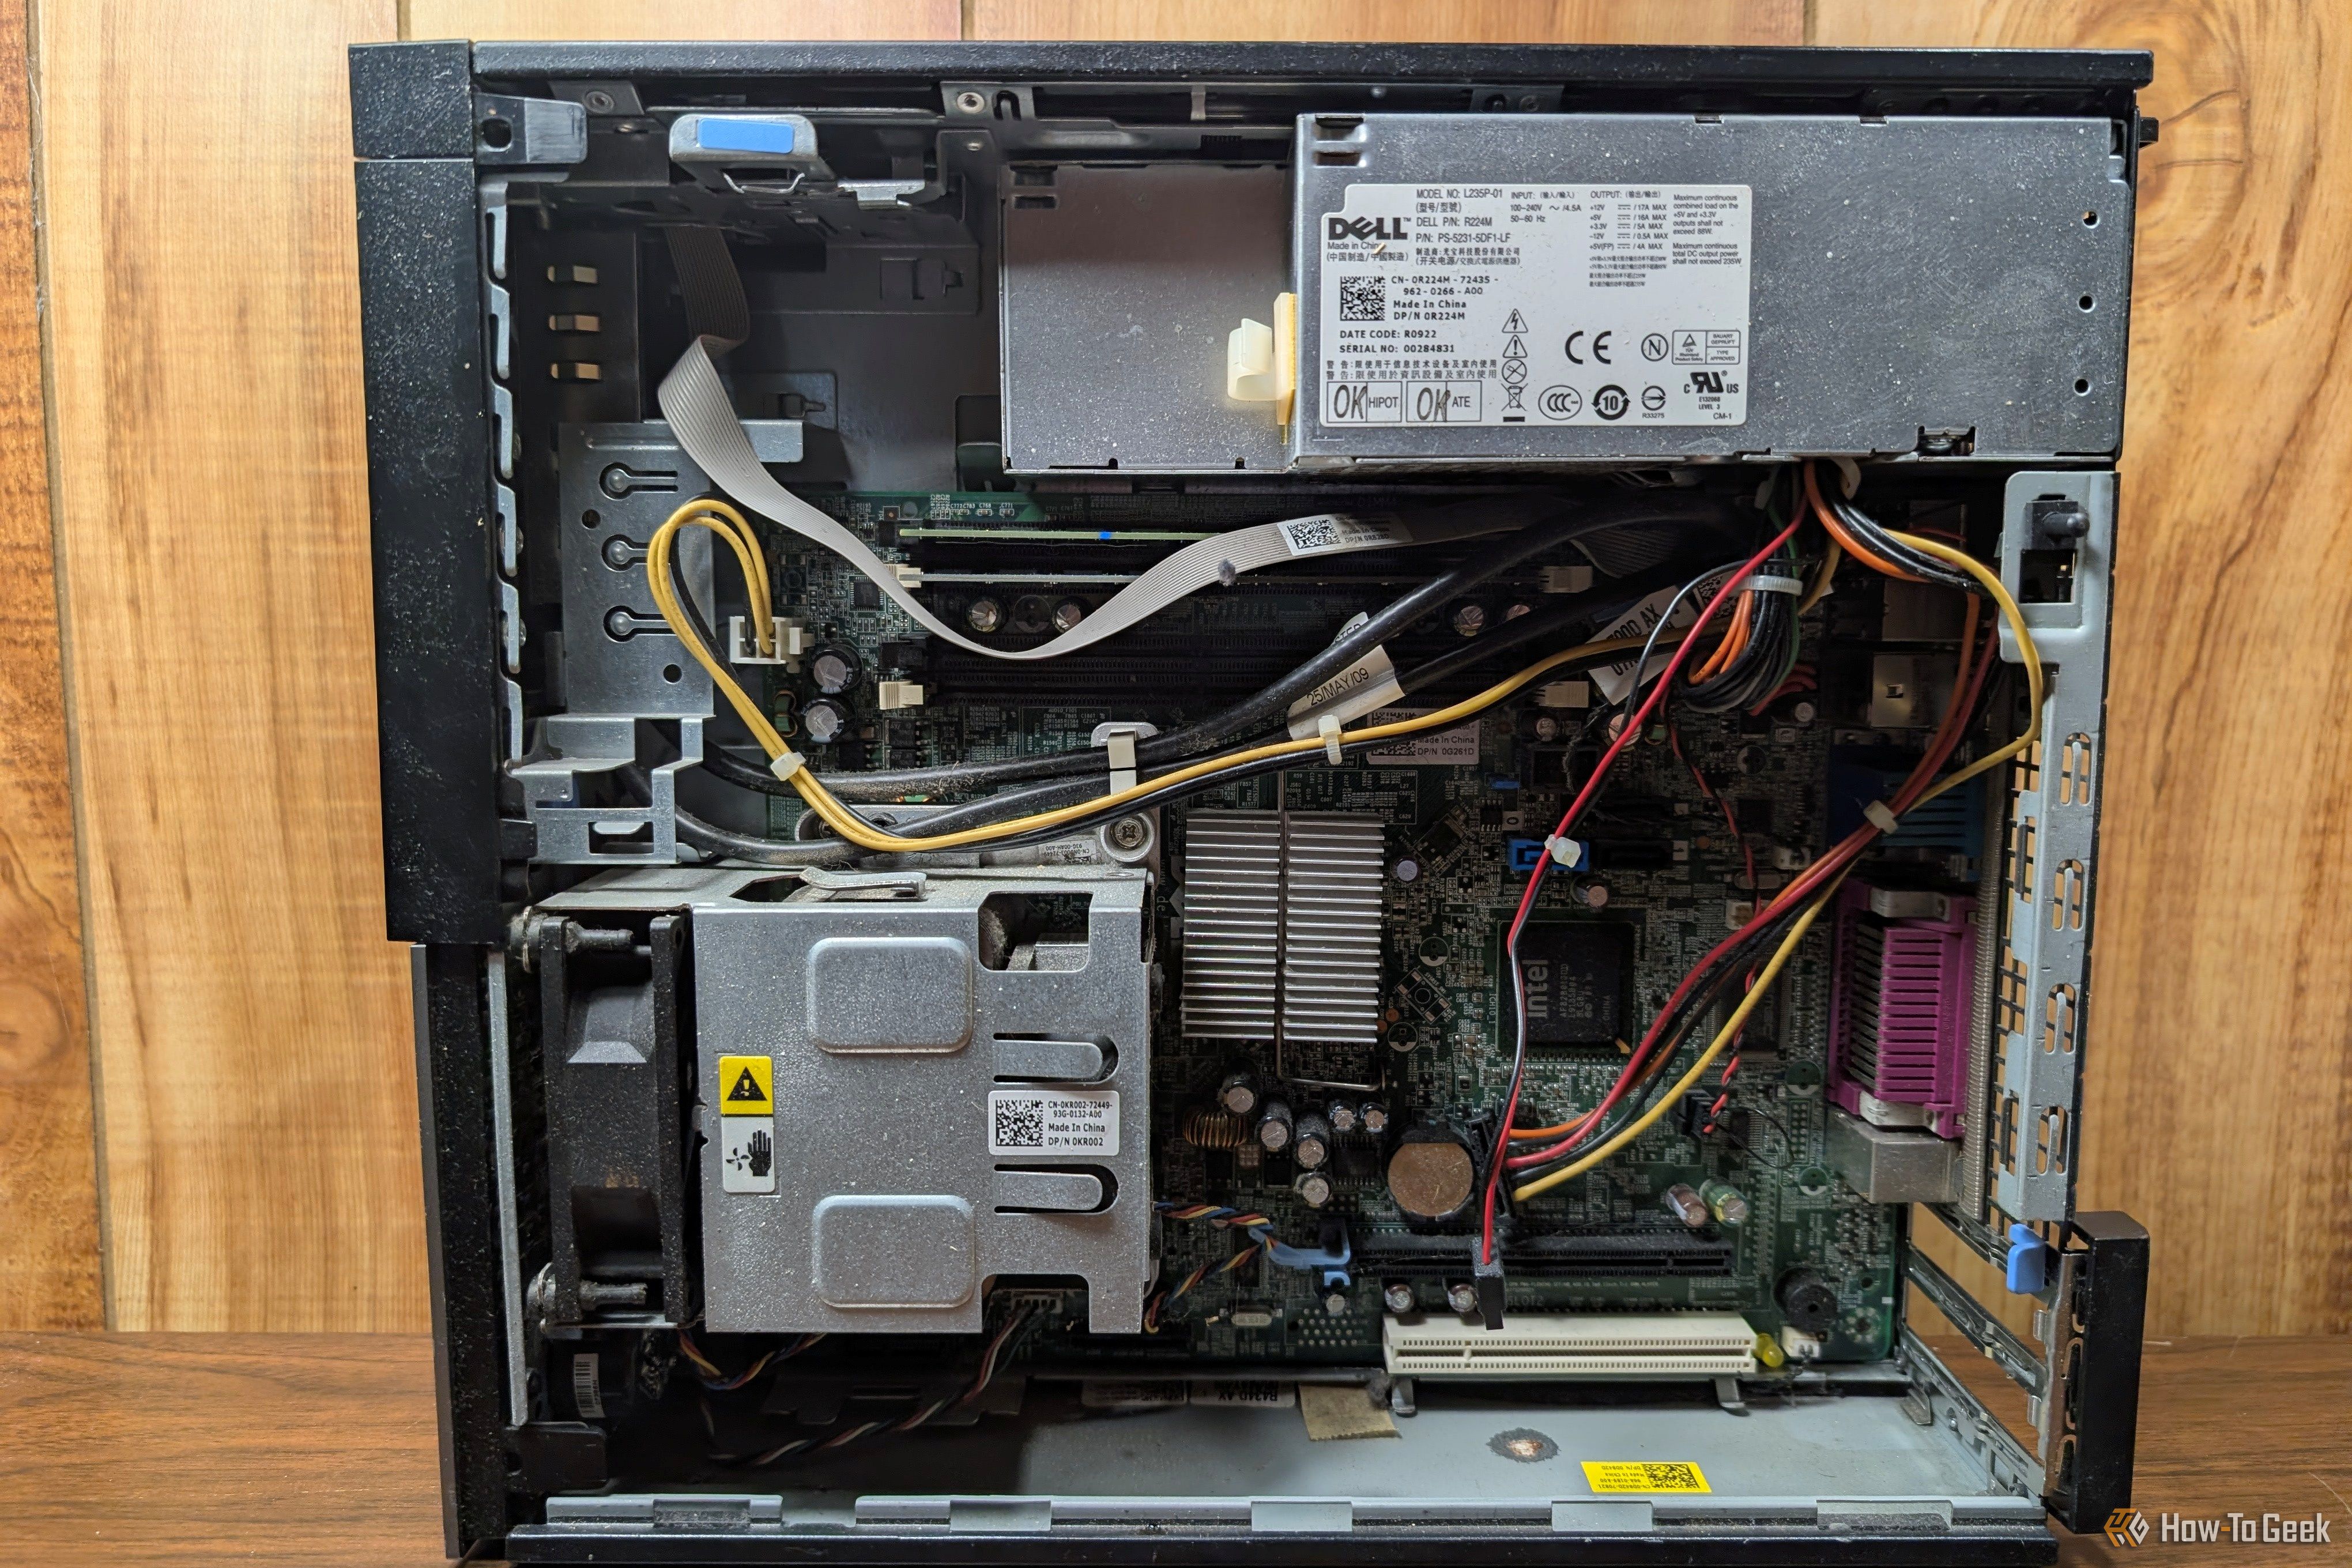
Turn Your Old PC into a Homelab: 6 Beginner Self-Hosting Projects
Breathe New Life into Your Old PC with Self-Hosting Don't let that dusty old laptop or desktop gather cobwebs! While it might not keep up with today's demanding software, an older PC often has more than enough power to

How to Choose the Best Smart Speaker in 2026 - Find Your Perfect Match
This guide helps you choose the best smart speaker in 2026 by evaluating your ecosystem, prioritizing features, and reviewing top Amazon, Google, Apple, and portable options. Learn to pick a device that integrates seamlessly and enhances your smart home.

Salvaging Machinist Knowledge: Young Founders Tackle Retirement Wave
Neuramill, a startup founded by Nistha Mitra and Nick Khormaei, is developing AI-powered software to capture the invaluable knowledge of retiring machinists in America. Their technology creates an "intelligence layer" for high-precision manufacturing, suggesting optimal production plans that are reviewed by human experts. The Seattle-rooted company aims to prevent the loss of critical expertise, with early traction including a defense contractor and machine shop partners.
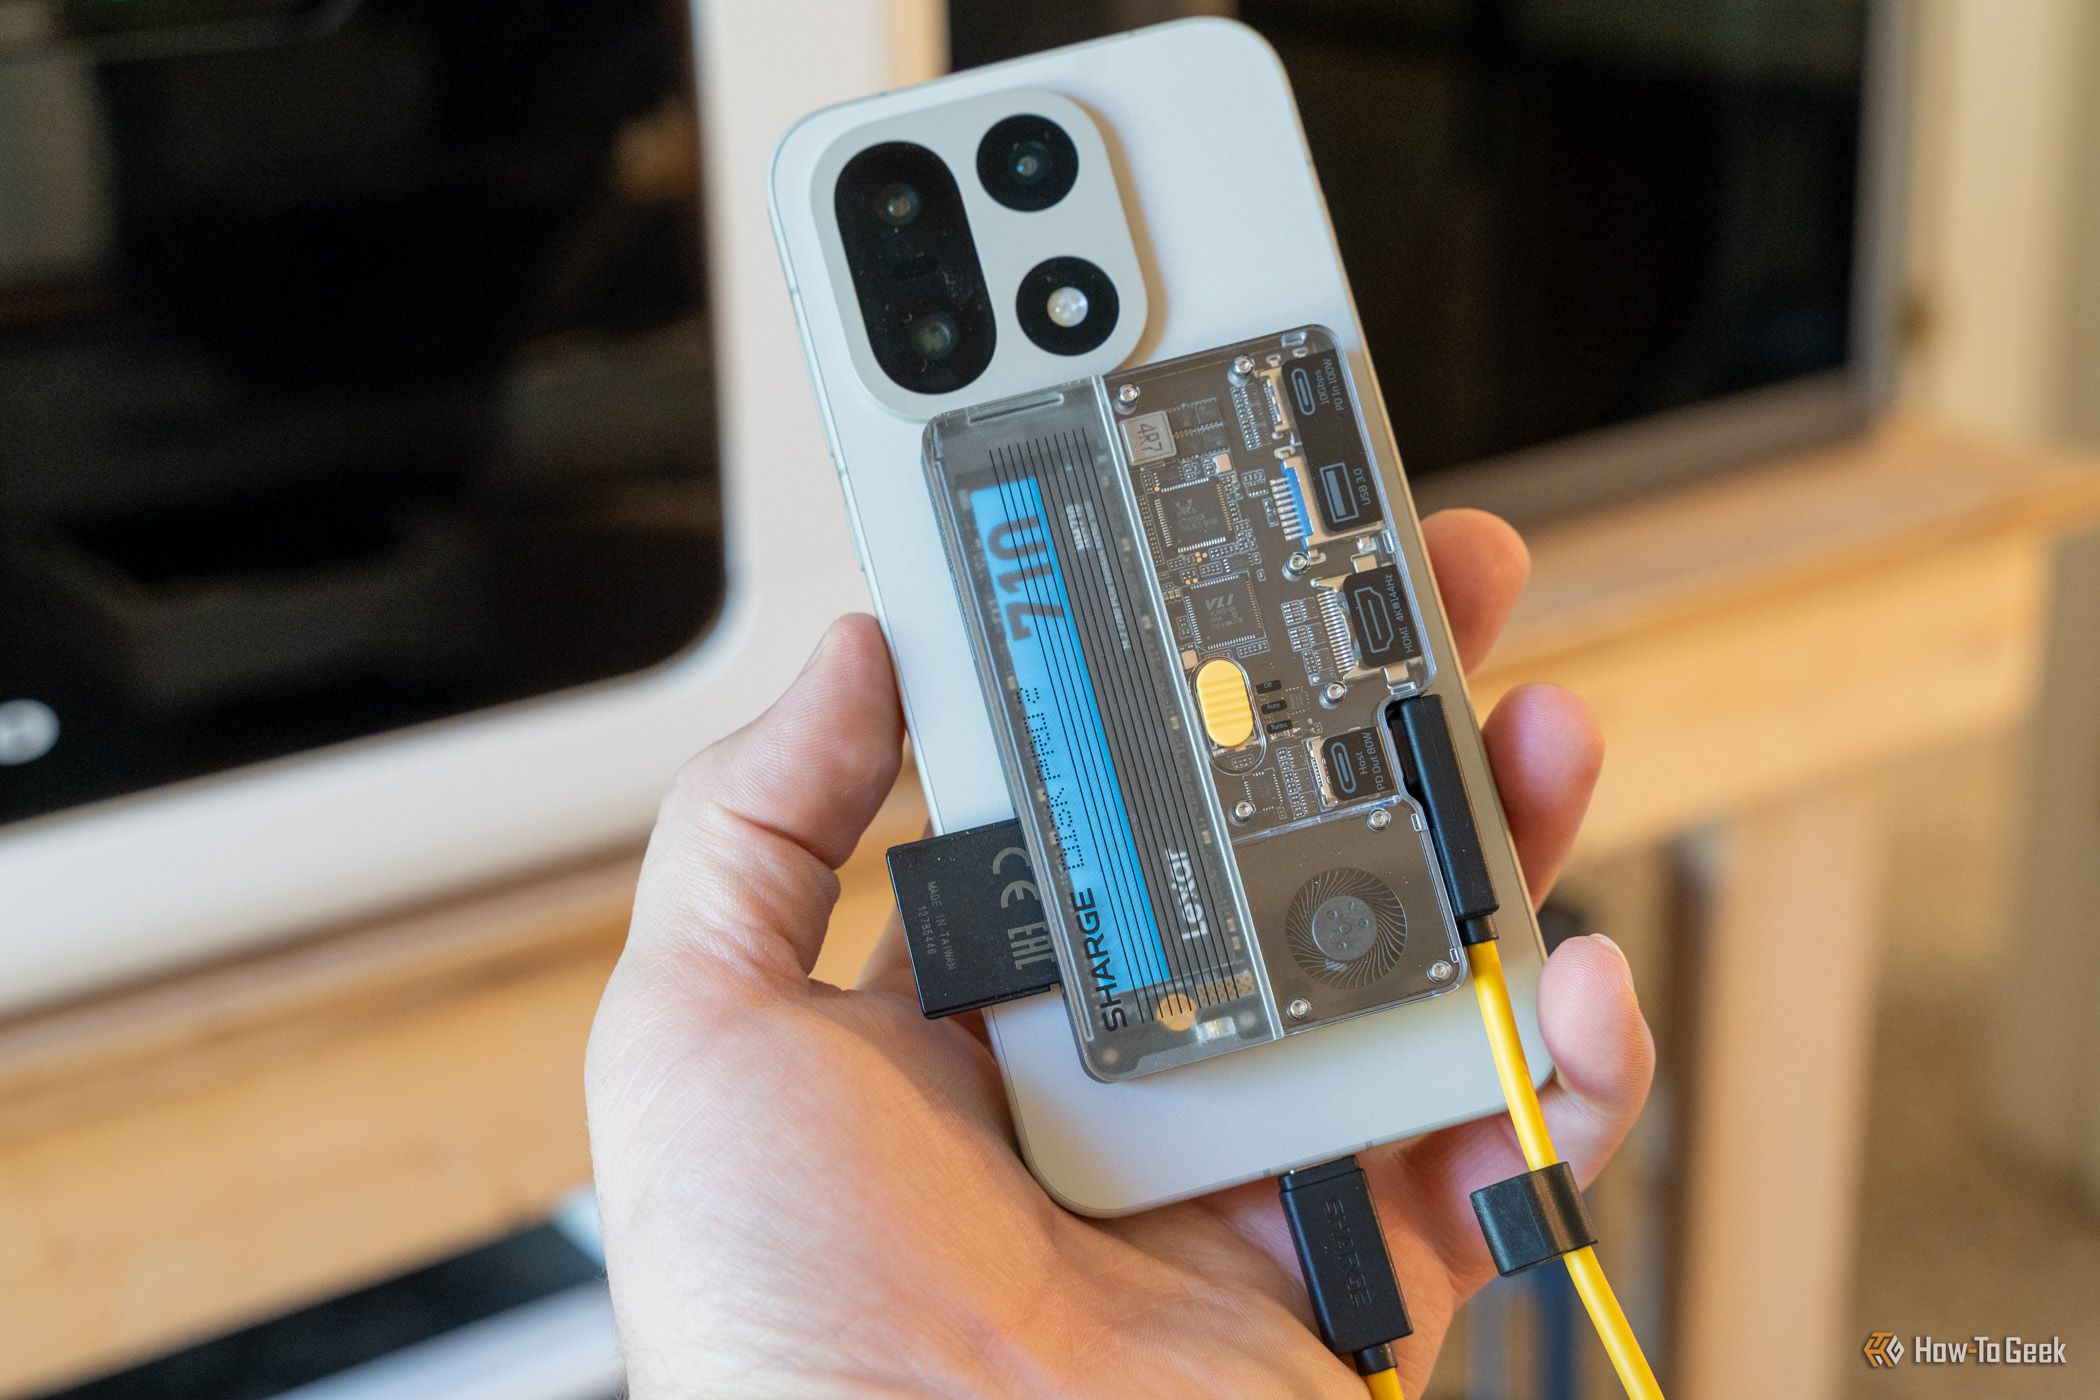
Maximize Your Sharge Disk Pro 2: Setup, Storage & Hub Features
Learn how to set up, install an SSD, and utilize all features of your Sharge Disk Pro 2, including its HDMI output, card readers, and power delivery, in this comprehensive guide.