
Build an Admin Dashboard Sidebar with shadcn/ui and Shadcn Space
This article guides developers through building an admin dashboard sidebar using `shadcn/ui` and `Shadcn Space`. It covers project setup, installing pre-built UI blocks, structuring navigation data, handling active states, and styling, demonstrating how to create a feature-rich and accessible sidebar efficiently.

Admin dashboards are a staple in modern web applications, and at their core lies a well-structured sidebar for navigation. Building such a component from scratch can be surprisingly complex, requiring careful consideration for features like collapsible submenus, active state tracking, accessibility, and maintaining a consistent design system across various screen sizes. This tutorial dives into constructing a robust and accessible admin dashboard sidebar using shadcn/ui, a popular collection of React components, and Shadcn Space, a community library providing pre-built UI blocks.
shadcn/ui stands out by not being a traditional component library dependency. Instead, you use a CLI to copy components directly into your project. This approach grants you full ownership over the code, enabling complete customization and ensuring updates to a library don't introduce breaking changes to your components. Its benefits include inherent accessibility, styling with Tailwind CSS, zero lock-in, and compatibility with various React frameworks.
Shadcn Space complements shadcn/ui by offering ready-to-use UI blocks like dashboard layouts and sidebars. These blocks are also installed via the shadcn CLI, becoming part of your codebase without external runtime dependencies. For this tutorial, we leverage the sidebar-06 block from Shadcn Space to quickly get a floating admin sidebar with grouped navigation and collapsible submenus.
Project Setup and Block Installation
To begin, ensure you have Node.js 18+, basic React and TypeScript knowledge, and familiarity with Tailwind CSS. Start by initializing a new Next.js project using the shadcn CLI, which sets up Tailwind CSS, Base UI as the component foundation, and other configurations:
javascript npx shadcn@latest init --preset b0 --base base --template next
After configuring your project, modify your components.json file to include the Shadcn Space registry, allowing you to fetch their blocks:
javascript { "registries": { "@shadcn-space": { "url": "https://shadcnspace.com/r/{name}.json" } } }
With the setup complete, install the sidebar-06 block using your preferred package manager. This command fetches the block and its dependencies (like Sidebar, ScrollArea, Card, Button, Collapsible from shadcn/ui) directly into your project:
javascript npx shadcn@latest add @shadcn-space/sidebar-06
Understanding the Folder Structure
Upon installation, you'll find a clear folder structure:
app/sidebar-06/page.tsx: The main page entry point integrating the sidebar withSidebarProvider.assets/logo/logo.tsx: The application's logo component.components/shadcn-space/blocks/sidebar-06/app-sidebar.tsx: The primary sidebar shell, orchestrating the header, scroll area, navigation data, and promotional card.components/shadcn-space/blocks/sidebar-06/nav-main.tsx: Contains all the navigation rendering logic, including section labels, leaf items, collapsible parents, and active state management.
Building the Page Layout
The app/sidebar-06/page.tsx file defines the overall page layout. It uses SidebarProvider to manage the sidebar's open/closed state via React context. The --sidebar-width CSS custom property, set inline, allows for dynamic width configuration. A SidebarTrigger component in the page header enables users to toggle the sidebar's visibility.
javascript import { SidebarProvider, SidebarTrigger } from "@/components/ui/sidebar"; import { AppSidebar } from "@/components/shadcn-space/blocks/sidebar-06/app-sidebar";
const Page = () => { return ( <SidebarProvider className="p-4 bg-muted" style={{ "--sidebar-width": "300px" } as React.CSSProperties}> <AppSidebar /> {/* Main content area */} <div className="flex flex-1 flex-col gap-4"> <header className="flex h-14 shrink-0 items-center gap-2 rounded-xl bg-background px-4 shadow-sm"> <SidebarTrigger className="cursor-pointer" /> </header> <main className="flex-1 rounded-xl bg-background" /> </div> </SidebarProvider> ); };
export default Page;
Defining Navigation Data
The navData in app-sidebar.tsx is a flat array of NavItem objects. This simplified structure supports three types of navigation items:
- Section Labels: Marked with
isSection: trueand alabelstring, rendering as uppercase group headings. - Leaf Items: Possessing a
title,icon, andhref, serving as direct navigation links. - Parent Items: Including a
title,icon, and achildrenarray, which render as collapsible triggers for sub-items.
This flat array is straightforward to maintain, with the NavMain component handling the rendering logic based on each item's shape.
javascript export const navData: NavItem[] = [ // Dashboards Section { label: "Dashboards", isSection: true }, { title: "Analytics", icon: PieChart, href: "#" }, { title: "CRM Dashboard", icon: ClipboardList, href: "#" }, // Pages Section { label: "Pages", isSection: true }, { title: "Tables", icon: Table, href: "#" }, { title: "Forms", icon: ClipboardList, href: "#" }, { title: "User Profile", icon: CircleUserRound, href: "#" }, // Apps Section { label: "Apps", isSection: true }, { title: "Notes", icon: Notebook, href: "#" }, { title: "Tickets", icon: Ticket, href: "#" }, { title: "Blogs", icon: Languages, children: [ { title: "Blog Post", href: "#" }, { title: "Blog Detail", href: "#" }, { title: "Blog Edit", href: "#" }, { title: "Blog Create", href: "#" }, { title: "Manage Blogs", href: "#" }, ]}, // Form Elements Section { label: "Form Elements", isSection: true }, { title: "Shadcn Forms", icon: NotepadText, children: [ { title: "Button", href: "#" }, { title: "Input", href: "#" }, { title: "Select", href: "#" }, { title: "Checkbox", href: "#" }, { title: "Radio", href: "#" }, ]}, { title: "Form layouts", icon: AlignStartVertical, children: [ { title: "Forms Horizontal", href: "#" }, { title: "Forms Vertical", href: "#" }, { title: "Forms Validation", href: "#" }, { title: "Forms Examples", href: "#" }, { title: "Forms Wizard", href: "#" }, ]}, ];
Building NavMain and Handling Active States
The nav-main.tsx file orchestrates the rendering of navigation items. It maintains activeParent and activeChild states to track the currently selected items, ensuring the sidebar always has a highlighted selection. These states are passed down to individual NavMainItem components for reactivity.
Section labels are rendered using SidebarGroup and SidebarGroupLabel, with first:pt-0 to align the first section. Collapsible parent items utilize shadcn/ui's Collapsible component. A useEffect hook ensures that when a parent item becomes active, its collapsible state automatically opens. The ChevronRight icon dynamically rotates 90 degrees to indicate the open/closed state of submenus.
Leaf items render as direct links. The render prop on SidebarMenuButton is crucial here, replacing the default button with an <a> tag to maintain correct semantic HTML and accessibility. Clicking a leaf item activates it and resets activeChild to null.
For child items within submenus, the NavMainSubItem function handles rendering. When a child is clicked, it sets both activeChild to itself and activeParent to its parent's title, ensuring both parent and child are visually highlighted. This uses bg-muted and text-foreground for child active states, distinct from the parent's bg-primary and text-primary-foreground, providing clear visual hierarchy.
Styling the Sidebar
The AppSidebar component's render function brings all the visual elements together:
javascript export function AppSidebar() { return ( <Sidebar variant="floating" className="p-4 h-full [&_[data-slot=sidebar-inner]]:h-full"> <div className="flex flex-col gap-6 overflow-hidden"> {/* Header with Logo /} <SidebarHeader className="px-4"> <SidebarMenu> <SidebarMenuItem> <a href="#" className="w-full h-full"> <Logo /> </a> </SidebarMenuItem> </SidebarMenu> </SidebarHeader> {/ Scrollable Navigation Content /} <SidebarContent className="overflow-hidden"> <ScrollArea className="h-[calc(100vh-100px)]"> <div className="px-4"> <NavMain items={navData} /> </div> {/ Promotional Card */} <div className="pt-5 px-4"> <Card className="shadow-none ring-0 bg-secondary px-4 py-6"> <CardContent className="p-0 flex flex-col gap-3 items-center"> <img src="https://images.shadcnspace.com/assets/backgrounds/download-img.png" alt="sidebar-img" width={74} height={74} className="h-20 w-20" /> <div className="flex flex-col gap-4 items-center"> <div> <p className="text-base font-semibold text-card-foreground text-center"> Grab Pro Now </p> <p className="text-sm font-regular text-muted-foreground text-center"> Customize your admin </p> </div> <Button className="w-fit h-9 px-4 py-2 shadow-none cursor-pointer rounded-xl hover:bg-primary/80"> Get Premium </Button> </div> </CardContent> </Card> </div> </ScrollArea> </SidebarContent> </div> </Sidebar> ); }
The variant="floating" property applies a card-like appearance with rounded corners and a subtle drop shadow, visually distinguishing the sidebar. The arbitrary Tailwind selector [&_[data-slot=sidebar-inner]]:h-full ensures the sidebar's internal container correctly fills its available height. For independent scrolling of the navigation list, ScrollArea is used with a calculated height h-[calc(100vh-100px)], accounting for the header and padding to prevent overflow.
Practical Takeaways
Leveraging shadcn/ui and Shadcn Space significantly streamlines the development of complex UI components like admin sidebars. The direct component ownership model provides unparalleled flexibility and control, allowing for deep customization without the typical constraints of external libraries. By combining robust primitives with pre-built blocks, developers can achieve fully functional, accessible, and visually appealing interfaces efficiently, focusing more on application logic rather than intricate UI details.
FAQ
Q: Why does shadcn/ui encourage copying components instead of installing them as a dependency?
A: This approach gives developers full ownership and control over the component's code. You can modify every line, ensuring complete customization and preventing breaking changes from upstream library updates that are outside your control.
Q: What is the purpose of the "use client" directive at the top of app-sidebar.tsx?
A: The "use client" directive is required because components like app-sidebar.tsx utilize React state (through NavMain) and event handlers. These features need to run in the client-side browser environment, rather than being exclusively server-rendered by Next.js.
Q: How does the sidebar manage its open/closed state across different components?
A: The sidebar's open/closed state is managed by SidebarProvider, which wraps the entire page layout. This provider uses React context to pass the state down to child components like SidebarTrigger and AppSidebar, allowing them to read and update the sidebar's visibility as needed.
Related articles
TCG Pocket Responds: A Much-Needed Pace Shift for Pokémon Fans
Pokémon TCG Pocket is rolling out a major update for its second anniversary, primarily addressing player concerns about overwhelming content releases by shifting to a six-week set schedule. This aims to curb player decline and improve overall engagement by giving trainers more time to collect and strategize. The update also adds new collection methods, improved deck-building features, and enhanced trading functionality.
AI's Confidence vs. Formal Methods' Rigor: Design Flaws & Verification
While AI accelerates code generation, formal methods remain critical for ensuring system correctness. Languages like TLA+ and tools like Quint enable developers to model and verify system designs before coding, catching subtle flaws. Quint makes formal methods more accessible with developer-friendly syntax and executability. This approach is vital for verifying AI-generated code through trace validation and model-based testing, ensuring reliability against real-world data.

Ephemeral PR Preview Environments on GKE: A Deep Dive
Every development team eventually grapples with the limitations of shared staging environments. The familiar scenario: multiple features deployed simultaneously, database migrations clashing, and the phrase "it works on
Galaxy Watch One UI 9 Beta: Promising Progress, But Patience Needed
Galaxy Watch 8, Watch Ultra, and Watch 7 are receiving a new One UI 9 Watch beta build with bug fixes and a security patch. Active development signals progress, but a stable release date remains elusive.

Secure Internal API Access for AI Agents with MCP
AI agents accessing internal APIs directly pose significant risks, including identity loss, unrestricted queries, and security bypasses. The Model Context Protocol (MCP) offers a solution by defining explicit tools. A secure architecture involves an MCP server wrapping the API with strict input validation, coupled with a gateway that handles authentication, rate limiting, and audit logging, ensuring safe and accountable access.
regional: ‘What is fusion?’ Helion Energy harnesses the power of
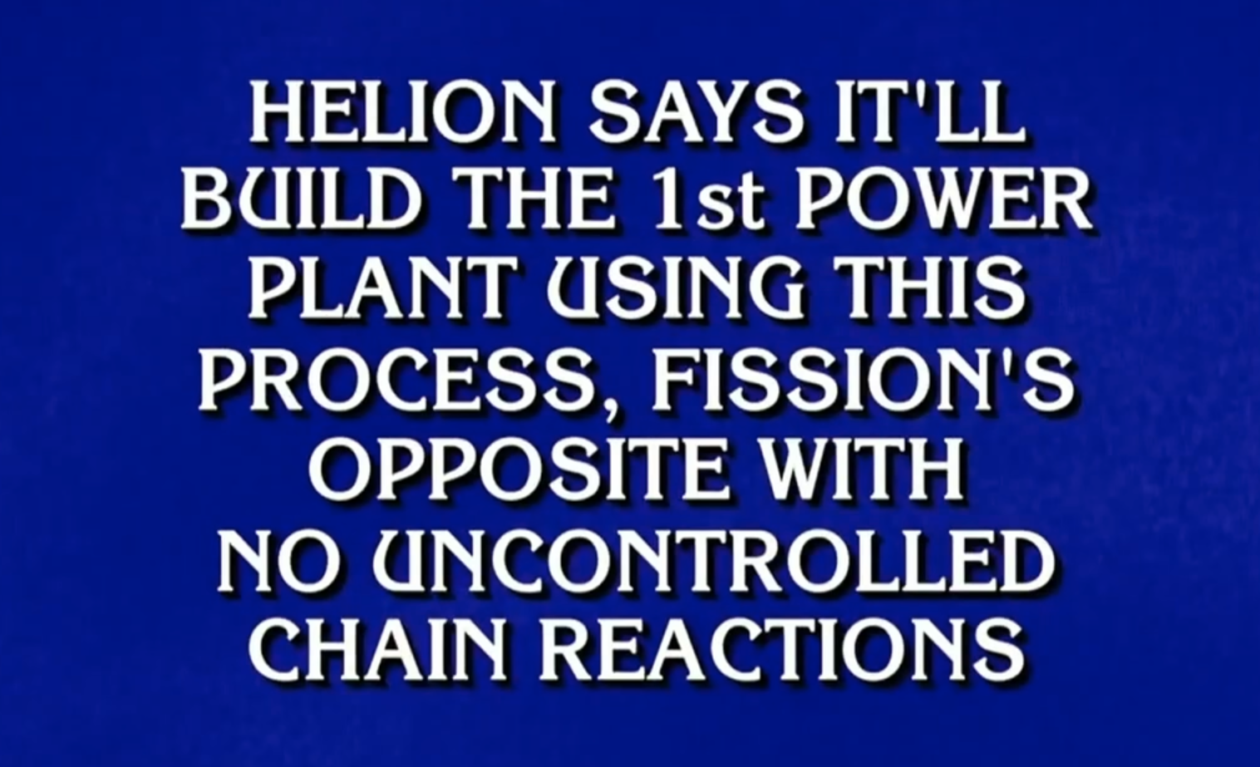
Helion Energy, the Everett-based fusion startup, gained mainstream attention this week after being featured as a clue on the popular game show "Jeopardy!". The $800 clue, part of a "Y Combinator" category, highlighted Helion's mission to build the first fusion power plant, bringing the concept of clean energy to a wider audience. CEO David Kirtley celebrated the "surreal" moment as a sign that reliable clean power is becoming more accessible.